Challenge
Challenge - Change application source
In this challenge, you will make one change to the BeanstalkManager application to automatically create an Elastic Beanstalk, Environment, and Version. These are the tasks that CodePipeline completes when you choose Elastic Beanstalk to deploy. This will give you some insight into the benefits of using the AWS Developer Tools to provision and deploy your applications and the powerful features they provide. To get started, you can refer to the Java SDK documentation at http://docs.aws.amazon.com/AWSJavaSDK/latest/javadoc/com/amazonaws/services/elasticbeanstalk/AWSElasticBeanstalkClient.html
You will need to create an application
public void CreateApp()
{
	CreateApplicationRequest request = new CreateApplicationRequest()
			.withApplicationName("my-app")
			.withDescription("my application");
	CreateApplicationResult response = eb.createApplication(request);
	System.out.print("my-app created!");
	System.out.print(response);
}
Next, you’ll need to package up your deployment artifact (be it the TravelBuddy site we’re using, or you can create your own java web app) and upload that WAR file to S3. You learned how to programmatically upload files to an S3 bucket in the first exercise of this course. In the following tutorial, the file sample.war is a java application that has been packaged and uploaded to an S3 bucket named mybucket1234567890. To create an instance in Elastic Beanstalk, we write the CreateAppVersion() function as follows:
private CreateApplicationRequest withApplicationName(String string)
{
	return null;
}
public void CreateAppVersion()
{
	CreateApplicationVersionRequest request = new CreateApplicationVersionRequest()
			.withApplicationName("my-app")
			.withAutoCreateApplication(true)
			.withDescription("my-app-v1")
			.withProcess(true)
			.withSourceBundle(
					new S3Location().withS3Bucket("mybucket1234567890").withS3Key(
							"sample.war")).withVersionLabel("v1");
	CreateApplicationVersionResult response = eb.createApplicationVersion(request);
}
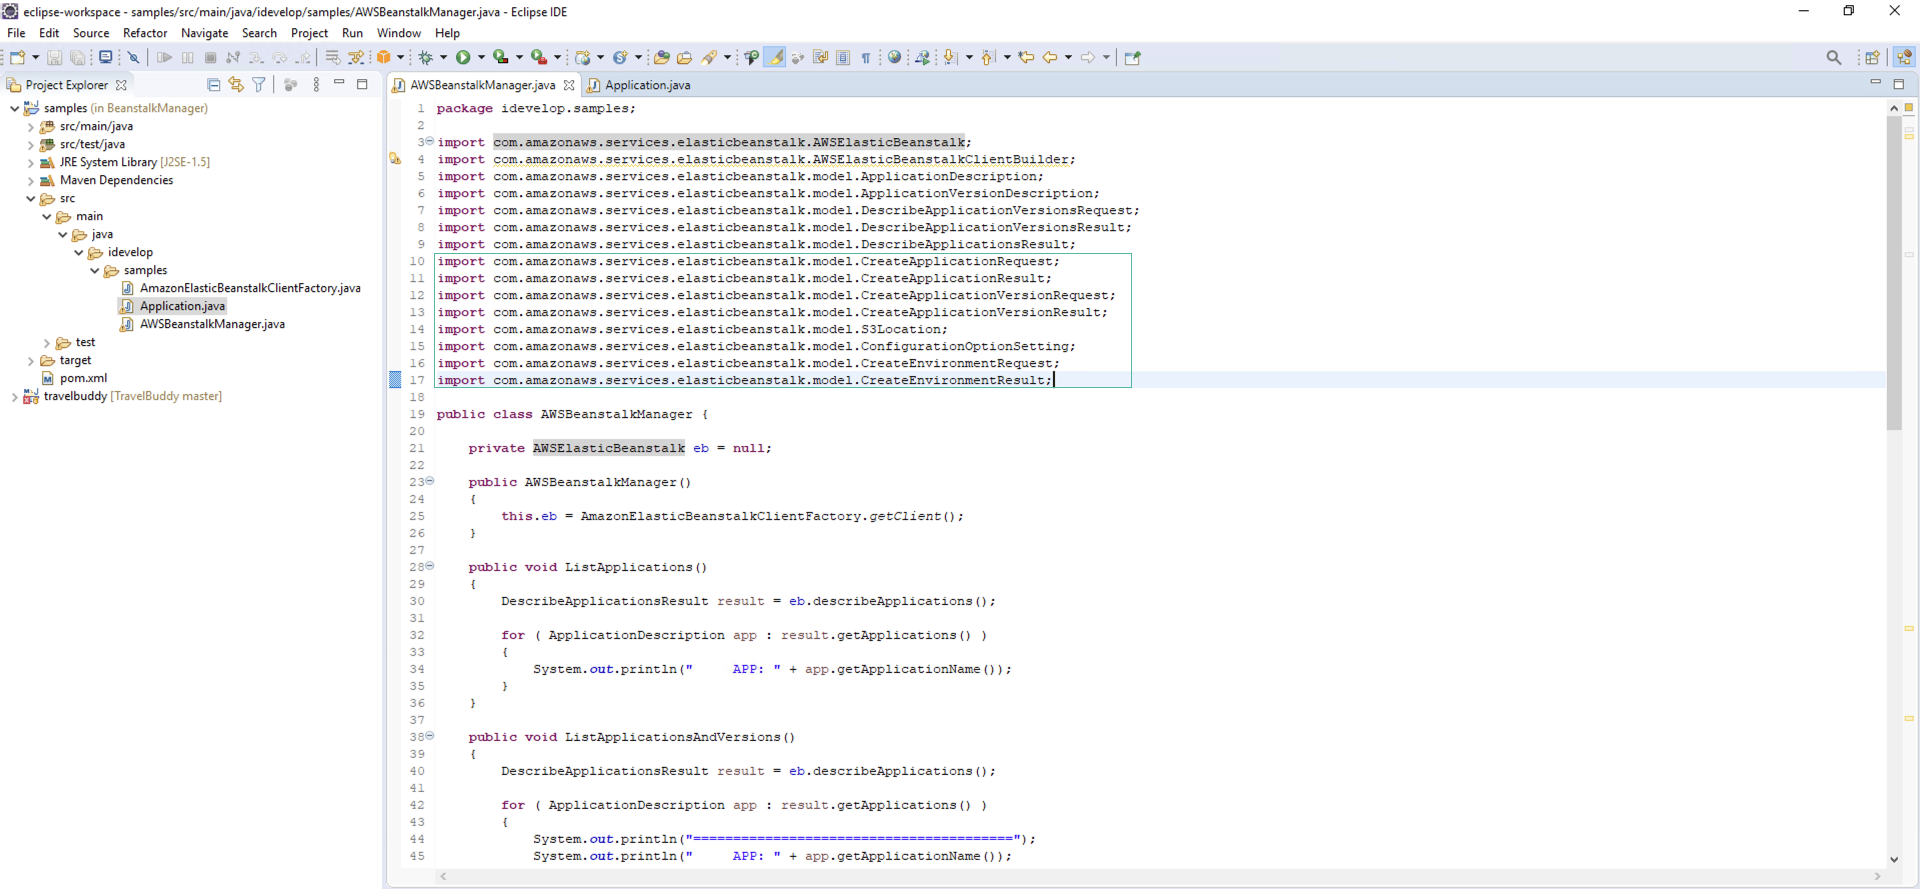
Import more necessary libraries
import com.amazonaws.services.elasticbeanstalk.model.CreateApplicationRequest;
import com.amazonaws.services.elasticbeanstalk.model.CreateApplicationResult;
import com.amazonaws.services.elasticbeanstalk.model.CreateApplicationVersionRequest;
import com.amazonaws.services.elasticbeanstalk.model.CreateApplicationVersionResult;
import com.amazonaws.services.elasticbeanstalk.model.S3Location;
Next, we need to create the environment for this application.
public void CreateEnviroment()
{
	ConfigurationOptionSetting cos = new ConfigurationOptionSetting("aws:autoscaling:launchconfiguration","IamInstanceProfile","aws-elasticbeanstalk-ec2-role");
	CreateEnvironmentRequest request = new CreateEnvironmentRequest()
			.withApplicationName("my-app")
			.withEnvironmentName("env-my-app")
			.withSolutionStackName("64bit Amazon Linux 2 v3.1.7 running Corretto 8")
			.withOptionSettings(cos);
	CreateEnvironmentResult response = eb.createEnvironment(request);
	System.out.print(response);

}
And import the following libraries:
import com.amazonaws.services.elasticbeanstalk.model.ConfigurationOptionSetting;
import com.amazonaws.services.elasticbeanstalk.model.CreateEnvironmentRequest;
import com.amazonaws.services.elasticbeanstalk.model.CreateEnvironmentResult;
We have all the libraries to import:
import com.amazonaws.services.elasticbeanstalk.model.CreateApplicationRequest;
import com.amazonaws.services.elasticbeanstalk.model.CreateApplicationResult;
import com.amazonaws.services.elasticbeanstalk.model.CreateApplicationVersionRequest;
import com.amazonaws.services.elasticbeanstalk.model.CreateApplicationVersionResult;
import com.amazonaws.services.elasticbeanstalk.model.S3Location;
import com.amazonaws.services.elasticbeanstalk.model.ConfigurationOptionSetting;
import com.amazonaws.services.elasticbeanstalk.model.CreateEnvironmentRequest;
import com.amazonaws.services.elasticbeanstalk.model.CreateEnvironmentResult;
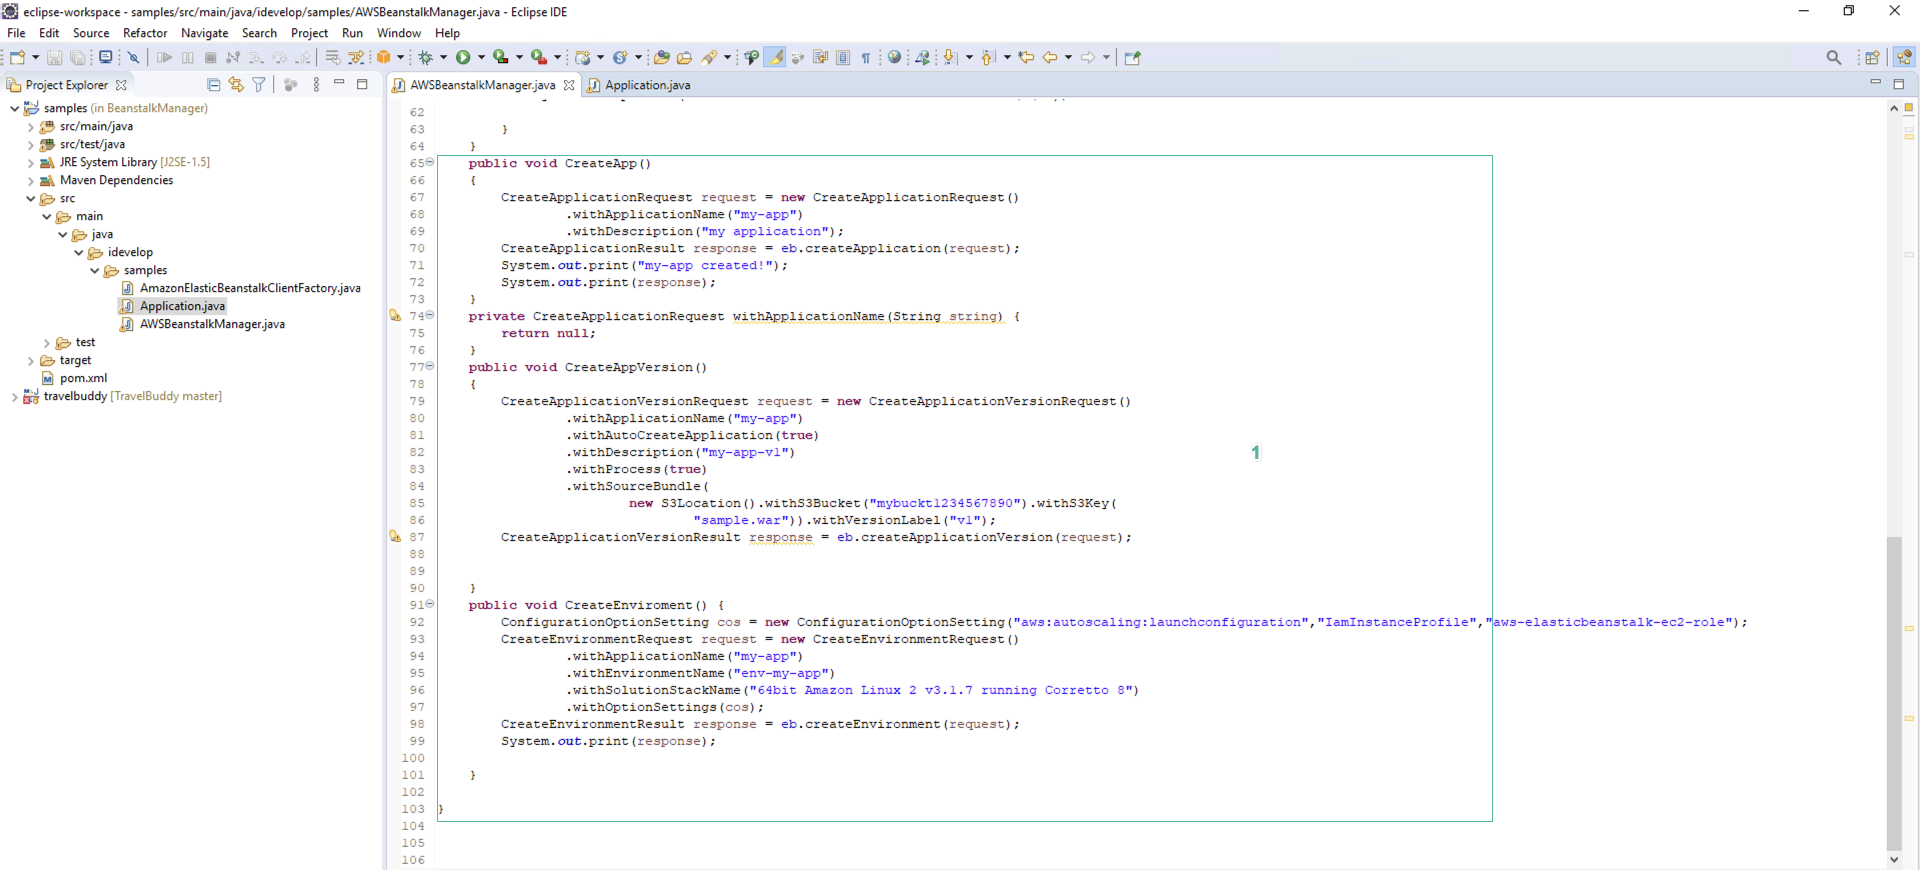
And the entire code to create Application and Environment is as follows:
public void CreateApp(){
	CreateApplicationRequest request = new CreateApplicationRequest()
			.withApplicationName("my-app")
			.withDescription("my application");
	CreateApplicationResult response = eb.createApplication(request);
	System.out.print("my-app created!");
	System.out.print(response);
}
private CreateApplicationRequest withApplicationName(String string) {
	return null;
}
public void CreateAppVersion()
{
	CreateApplicationVersionRequest request = new CreateApplicationVersionRequest()
			.withApplicationName("my-app")
			.withAutoCreateApplication(true)
			.withDescription("my-app-v1")
			.withProcess(true)
			.withSourceBundle(
					new S3Location().withS3Bucket("mybuckt1234567890").withS3Key(
							"sample.war")).withVersionLabel("v1");
	CreateApplicationVersionResult response = eb.createApplicationVersion(request);


}
public void CreateEnviroment() {
	ConfigurationOptionSetting cos = new ConfigurationOptionSetting("aws:autoscaling:launchconfiguration","IamInstanceProfile","aws-elasticbeanstalk-ec2-role");
	CreateEnvironmentRequest request = new CreateEnvironmentRequest()
			.withApplicationName("my-app")
			.withEnvironmentName("env-my-app")
			.withSolutionStackName("64bit Amazon Linux 2 v3.1.7 running Corretto 8")
			.withOptionSettings(cos);
	CreateEnvironmentResult response = eb.createEnvironment(request);
	System.out.print(response);

}
Call these two functions in the Application.java file.
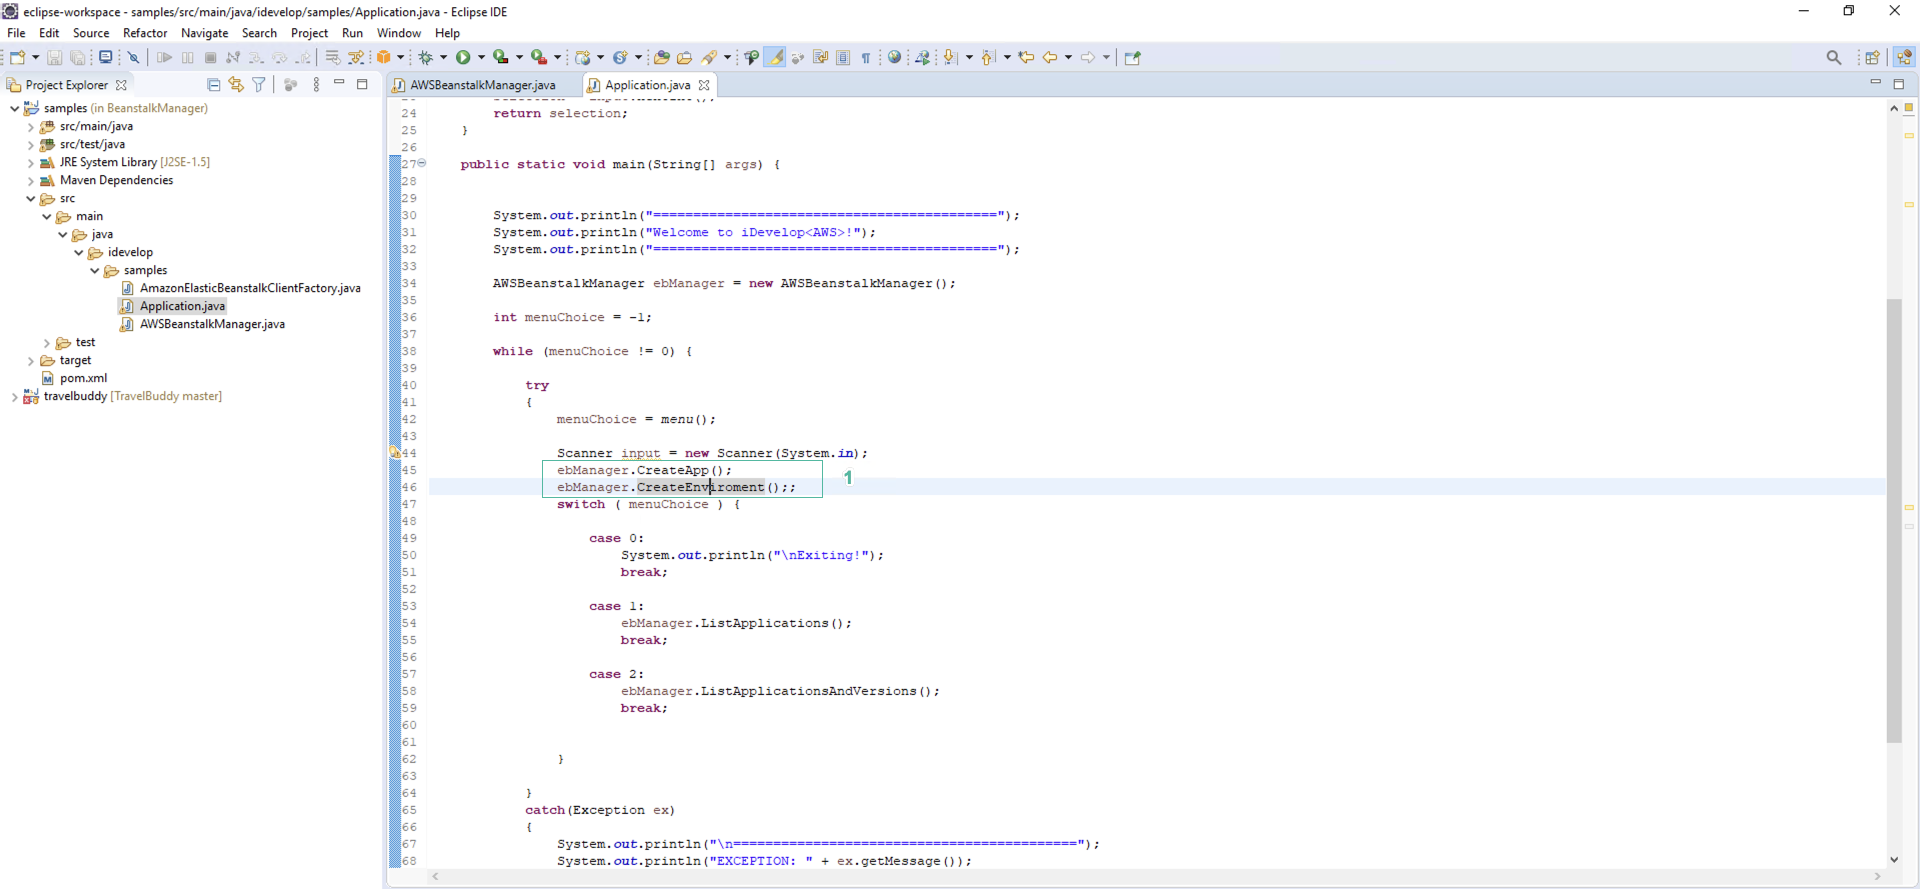
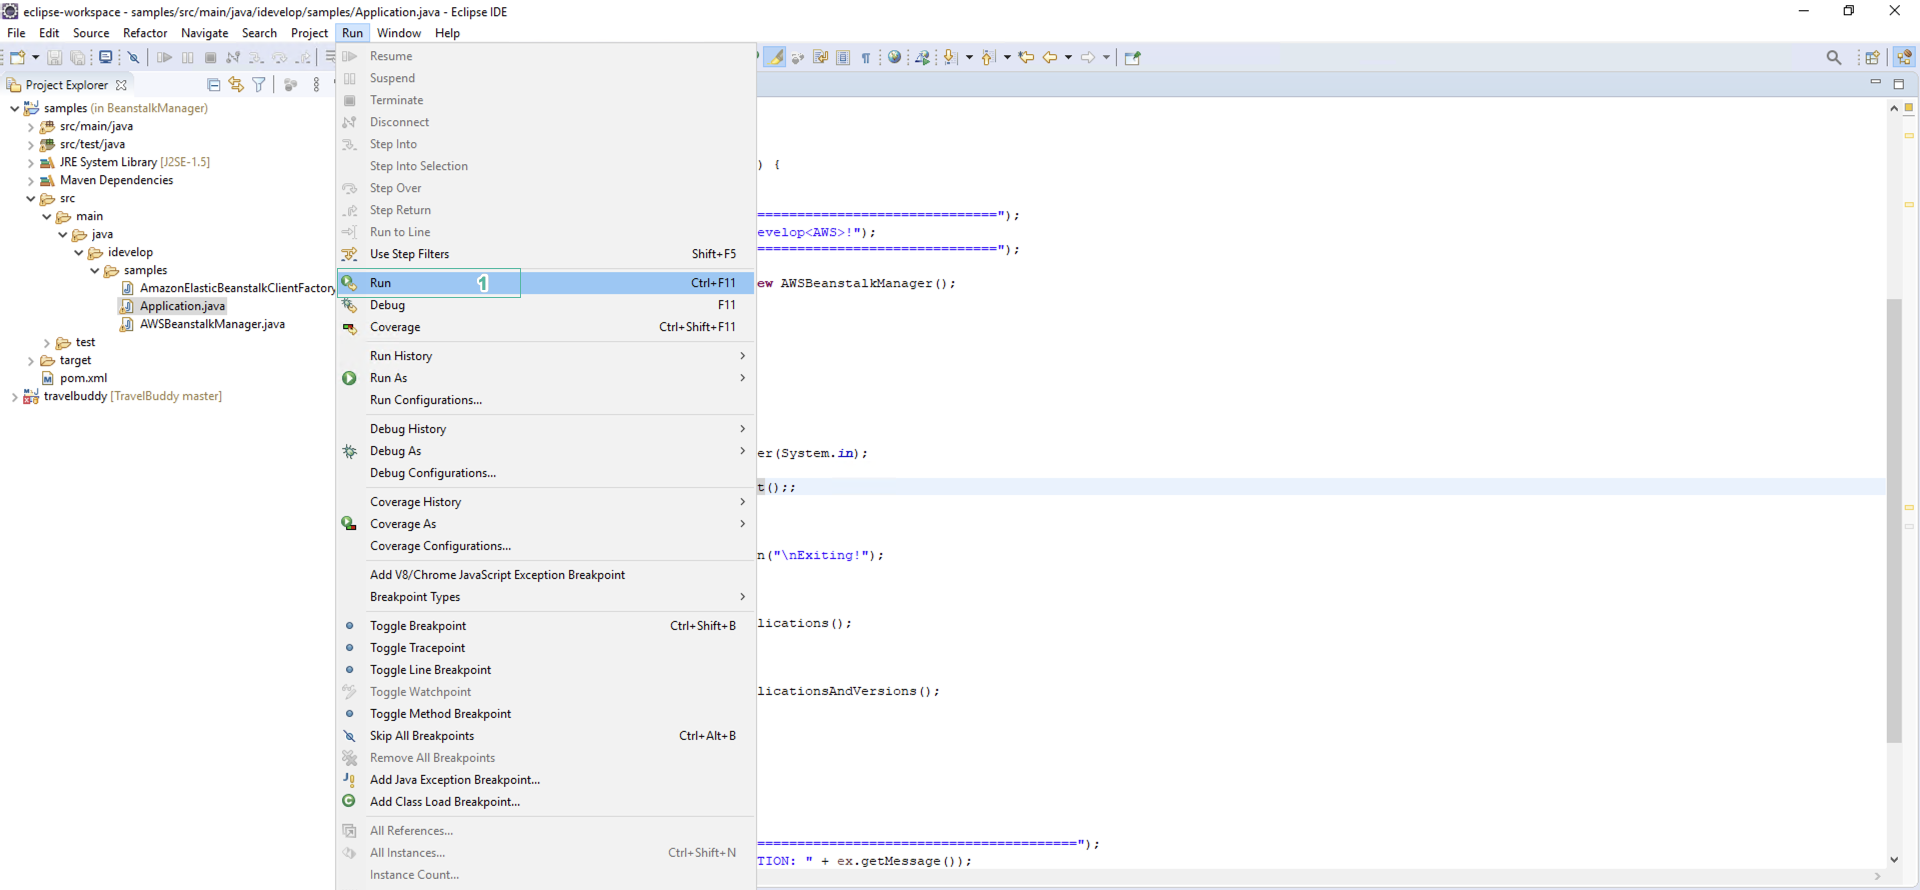
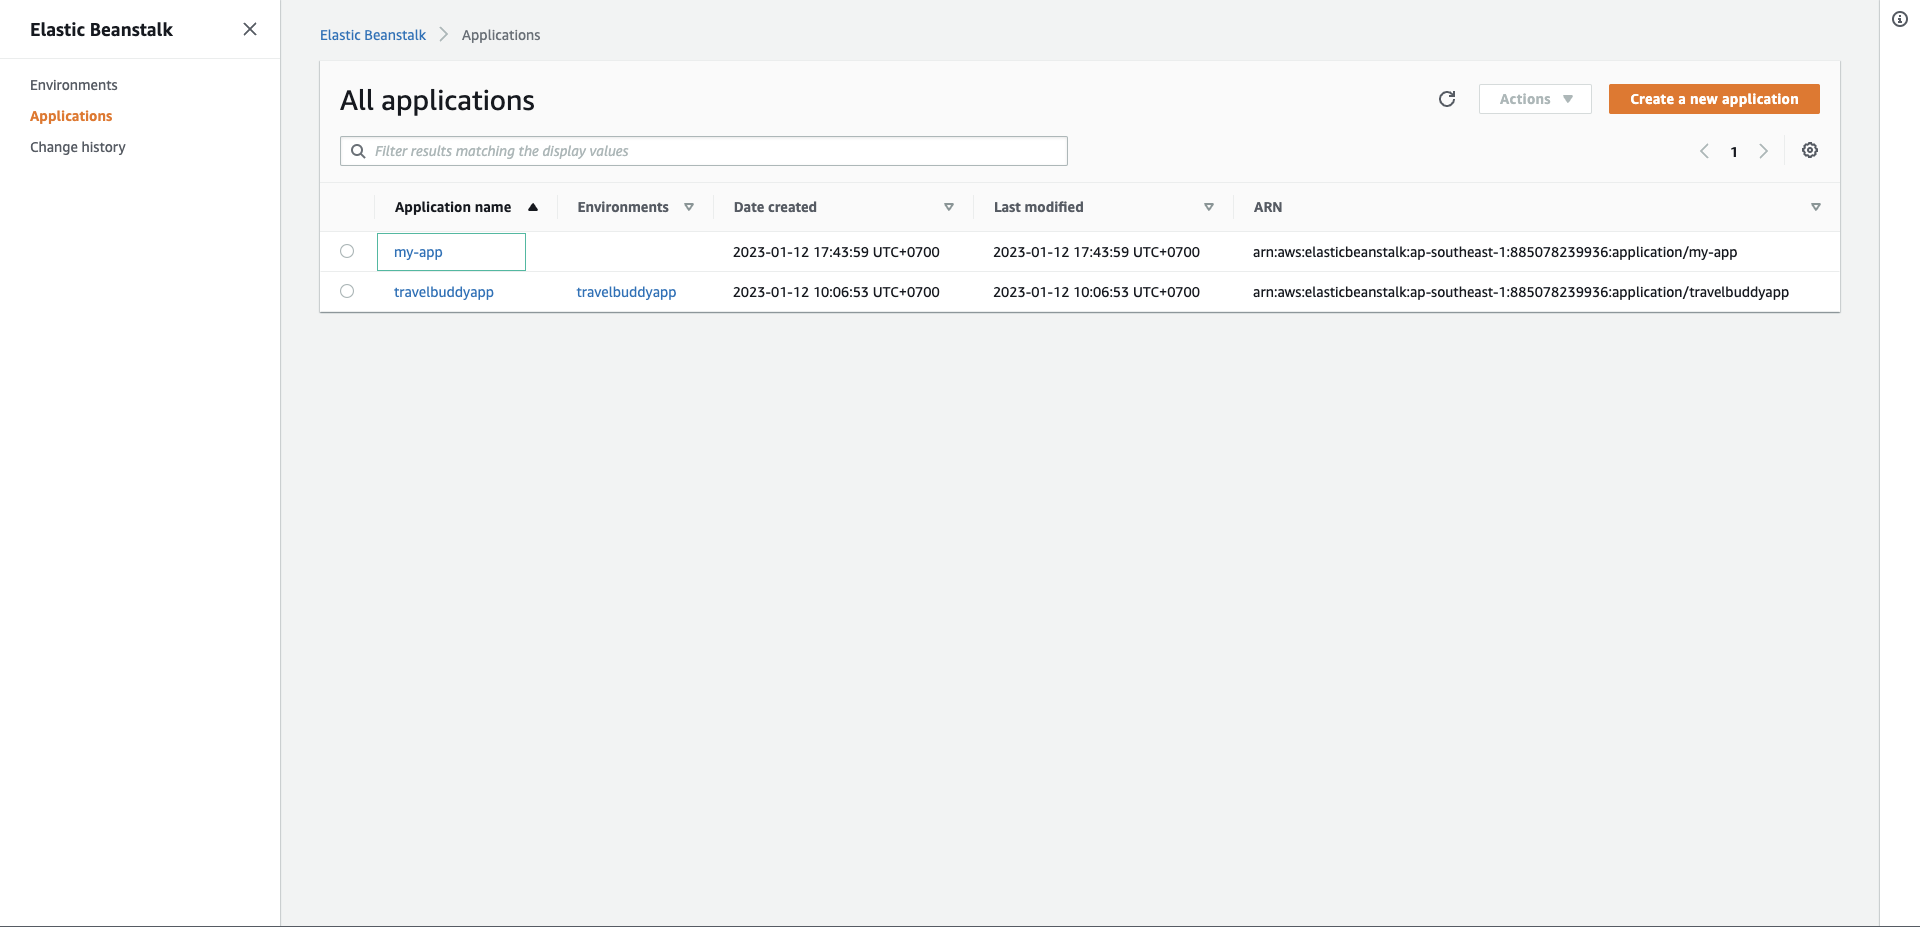
Use the command mvn install or select Ctrl + F11 to launch the program. After successfully running, we have a my-app application deployed on env-my-app environment.
Nếu gặp lỗi trong quá trình chạy chương trình liên quan tới tạo môi trường cho ứng dụng tương tự như SolutionStackName 64bit Amazon Linux 2 v3.1.7 running Corretto 8 not found, bạn cần cập nhật Solution Stack Name.
Mở CLI và chạy lệnh aws elasticbeanstalk list-available-solution-stacks |grep Corretto để liệt kê các Solution Stack Name corretto hiện có. Chọn Solution Stack Name Corretto 8 phù hợp