Configure AWS CodeStar project
Setting up an AWS CodeStar project
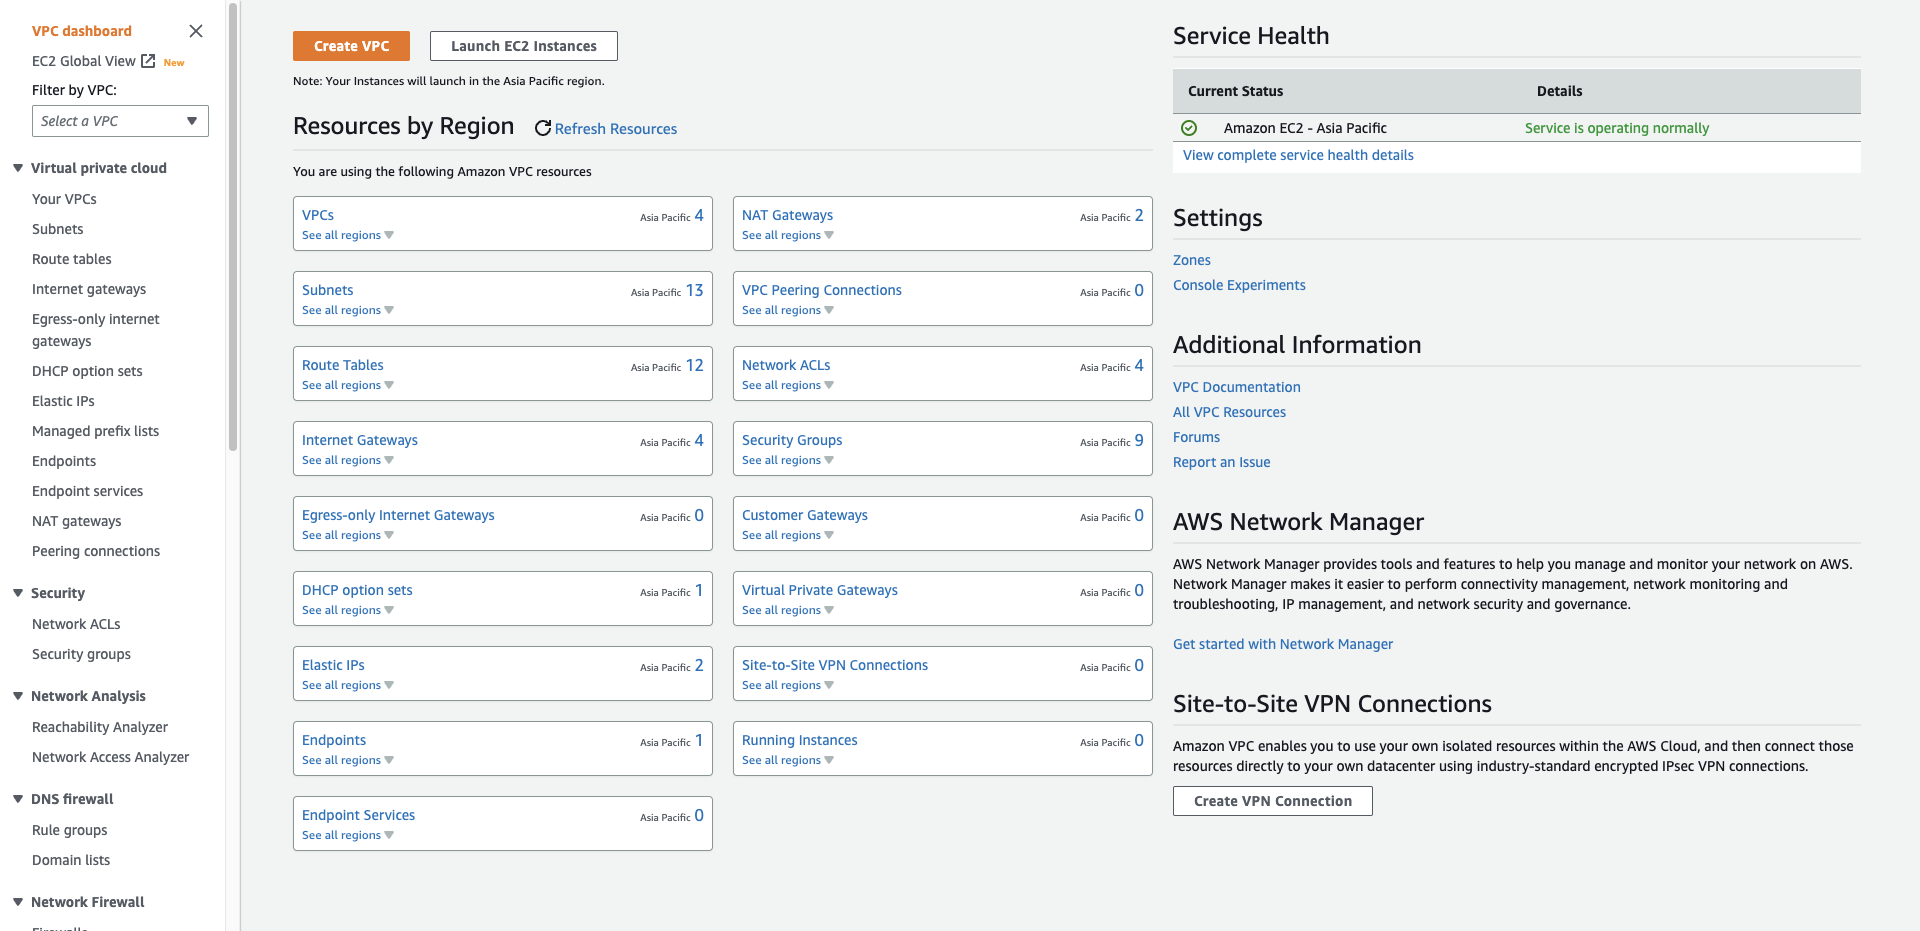
- Access to AWS VPC dashboard.
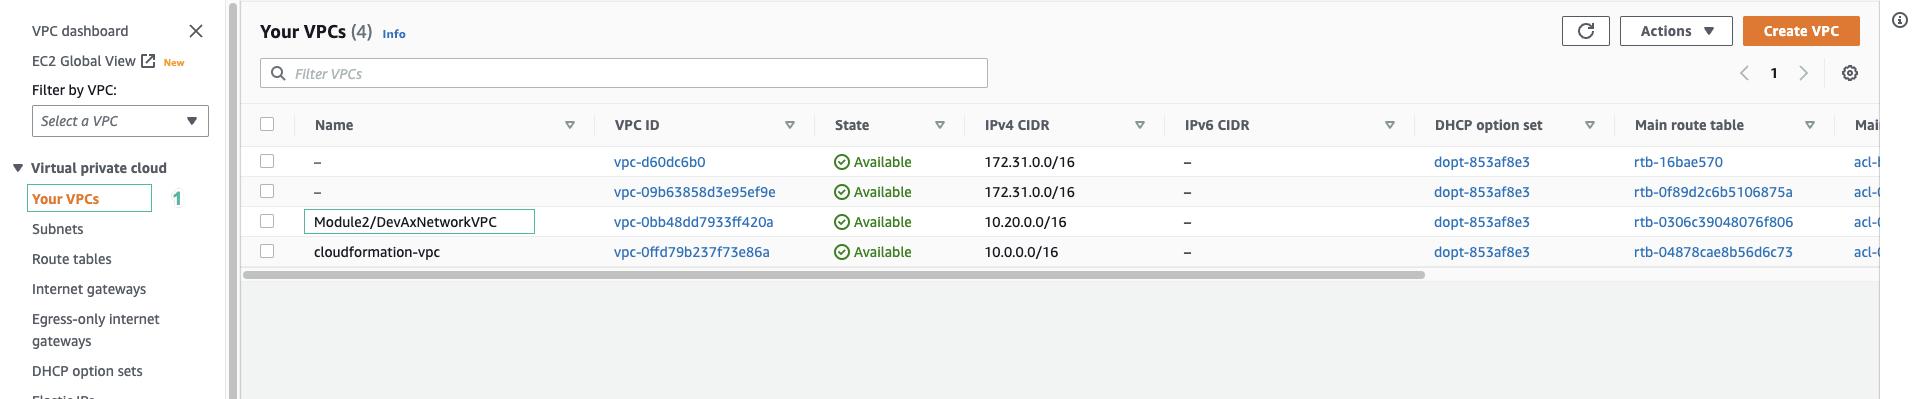
- Select Your VPCs. We should see a VPC named Module2/DevAxNetworkVPC.
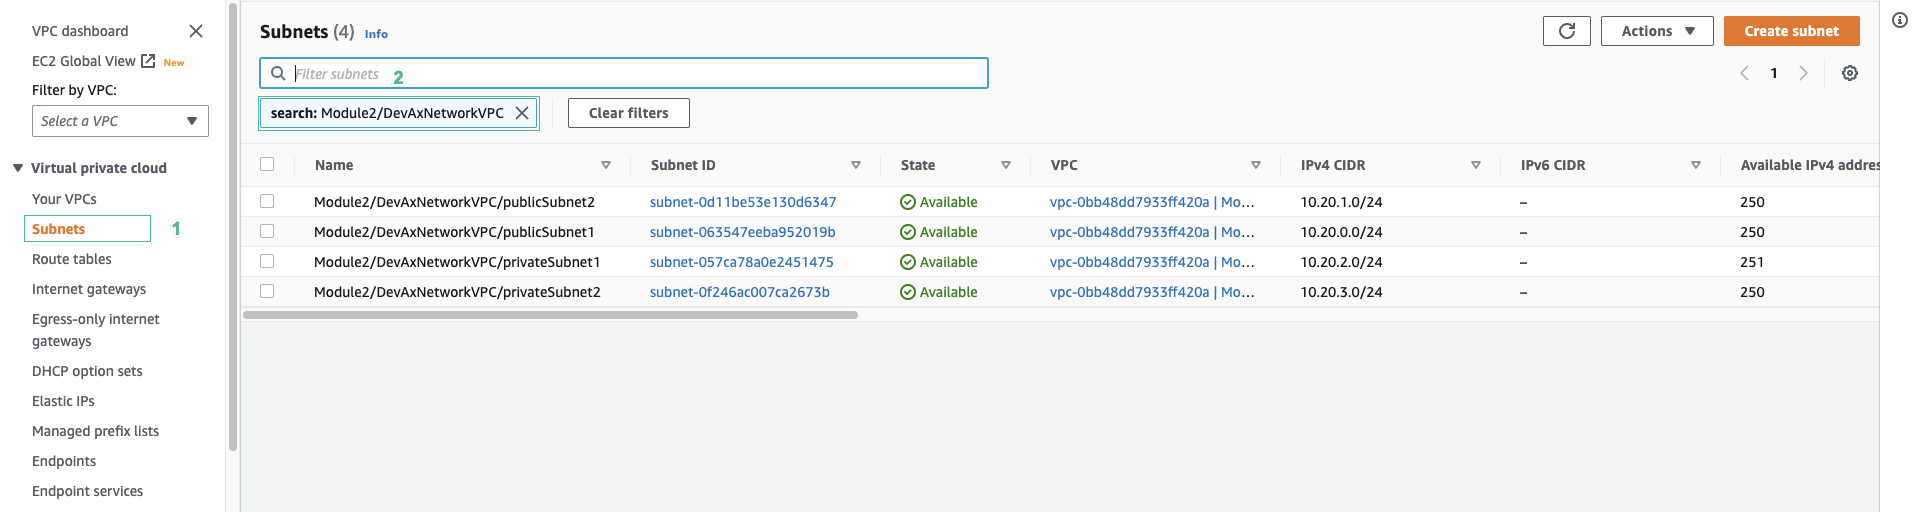
- Select Subnets on the left menu và filter by VPC ID of Module2/DevAxNetworkVPC VPC ở menu bên trái và lọc theo VPC ID của VPC Module2/DevAxNetworkVPC. We should see 4 subnets - 2 privates and 2 public.
- Open CodeStar dashboard. Select Create project.
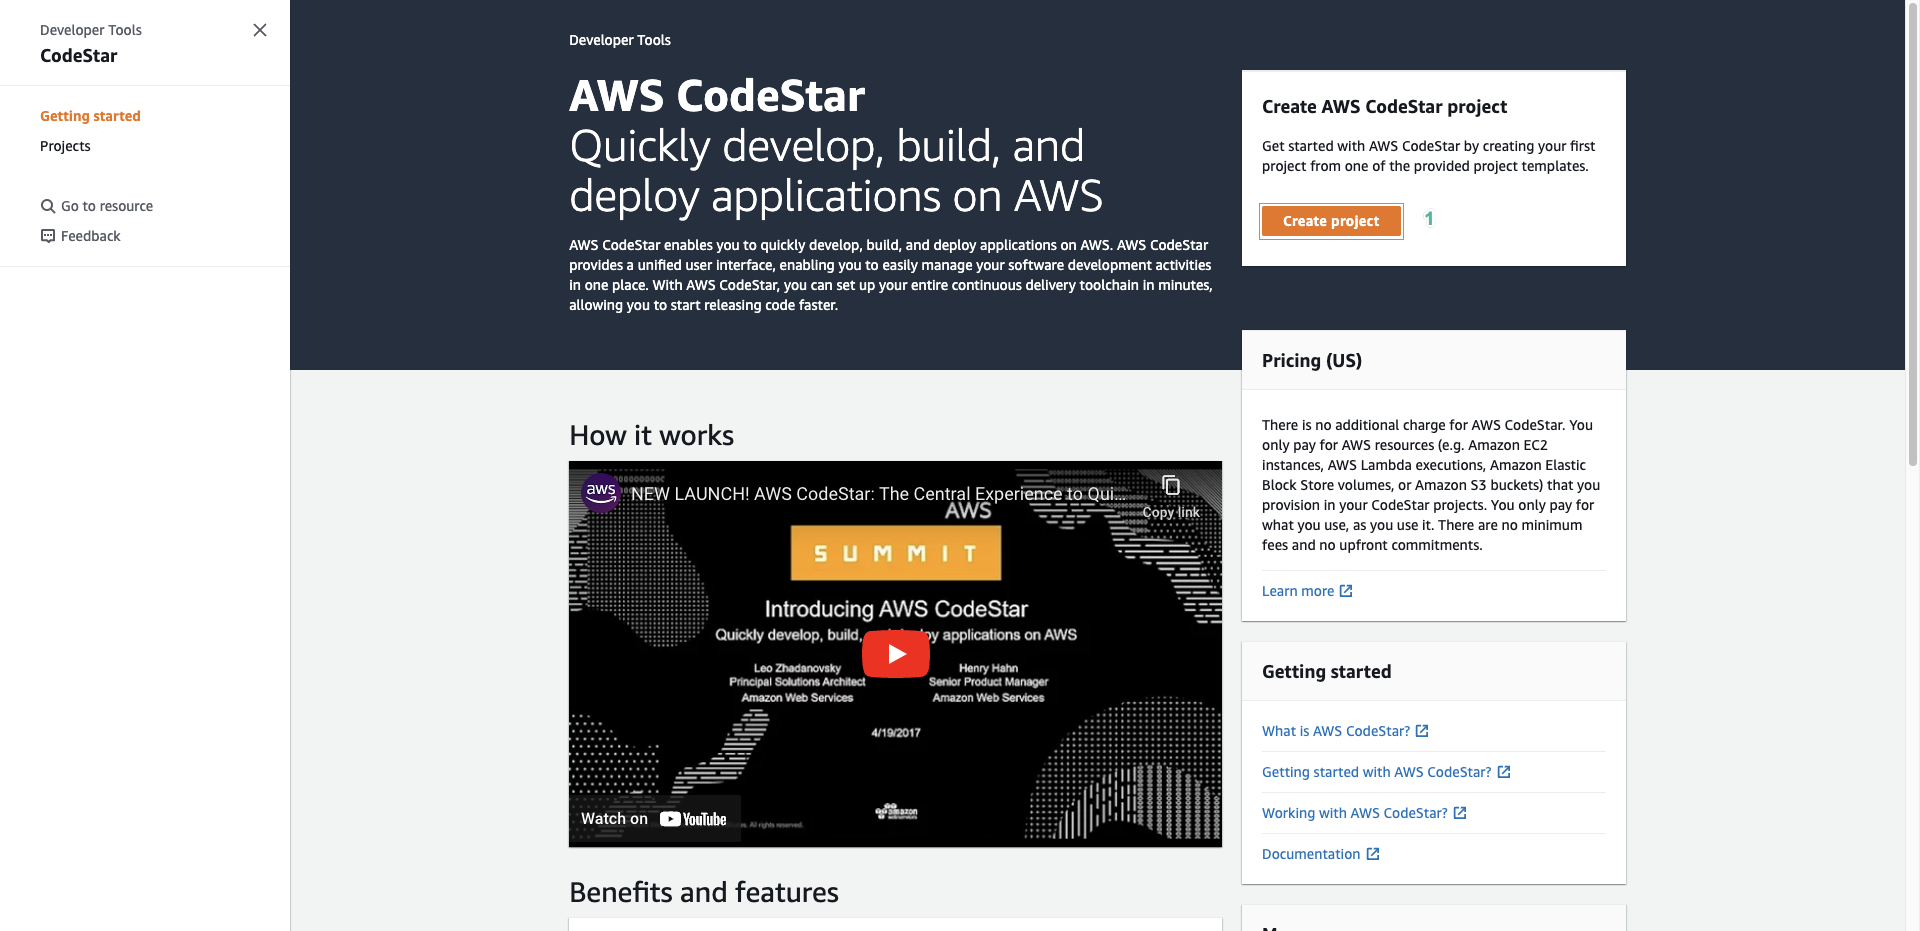
- We should see many project template.
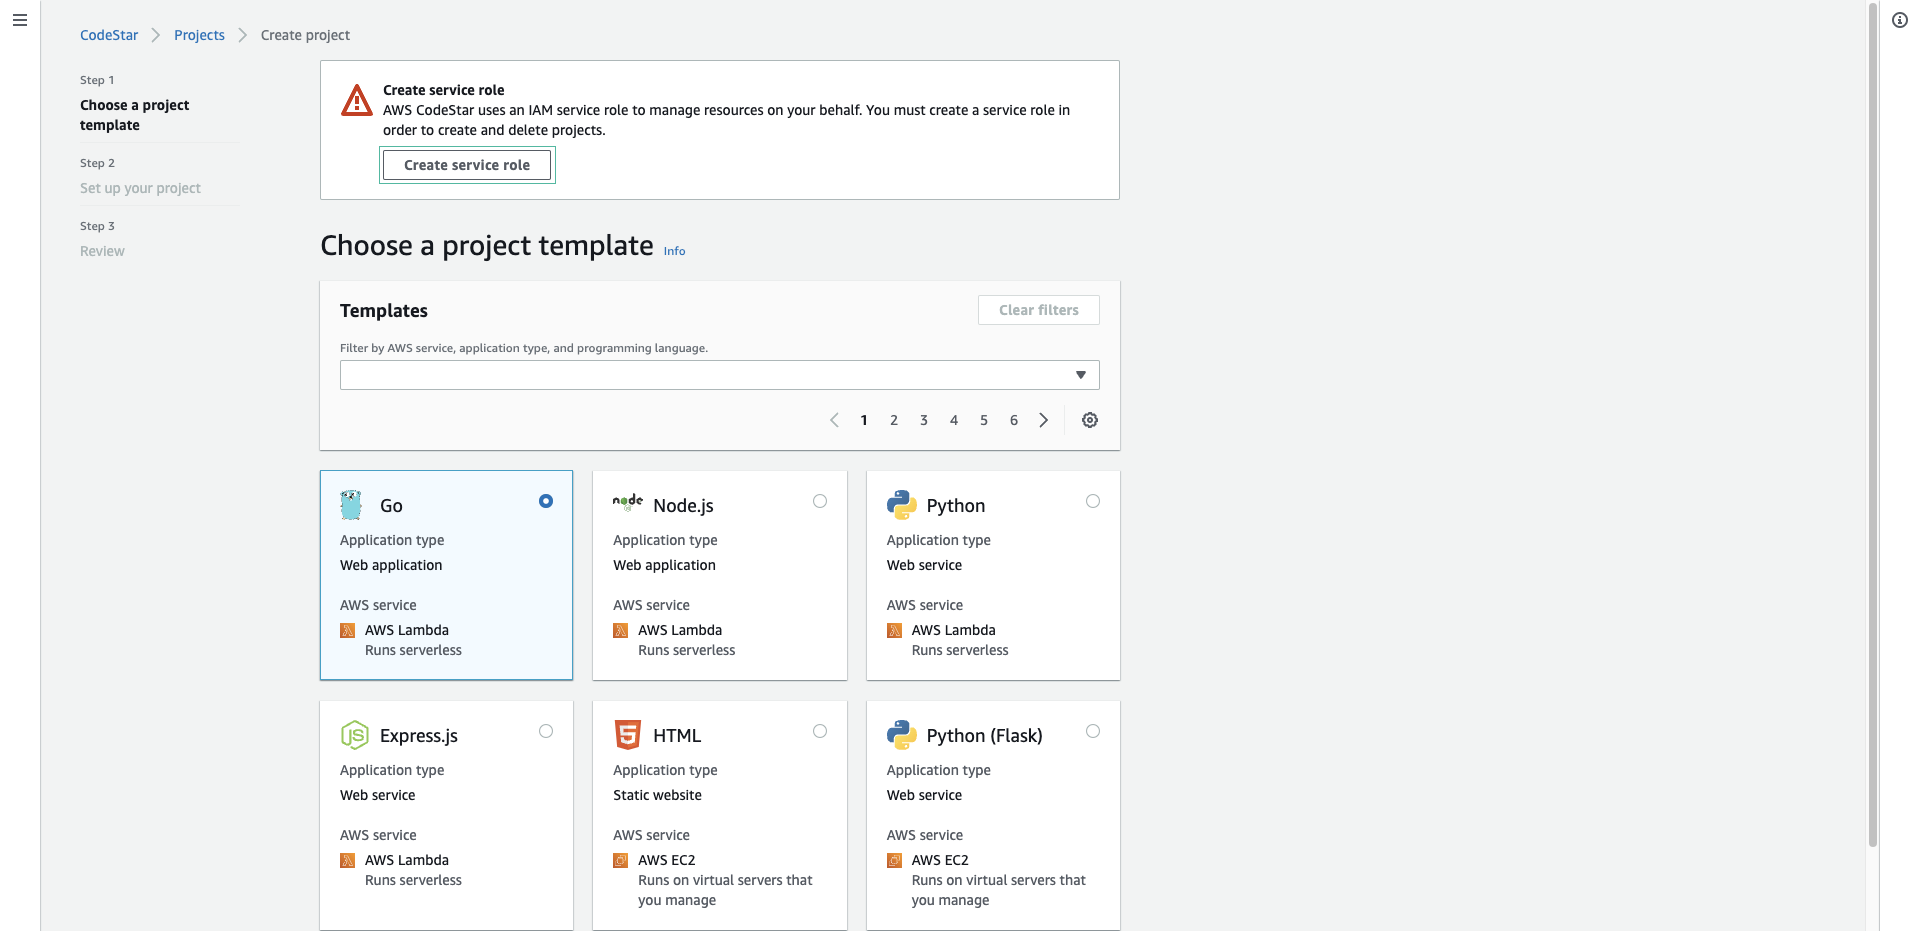
If you see a message related to the missing service role. Select Create service role
- AWS Elastic Beanstalk
- Web Application
- Java
This will list the template tags that match the request - select the tag Java Spring - Web Application
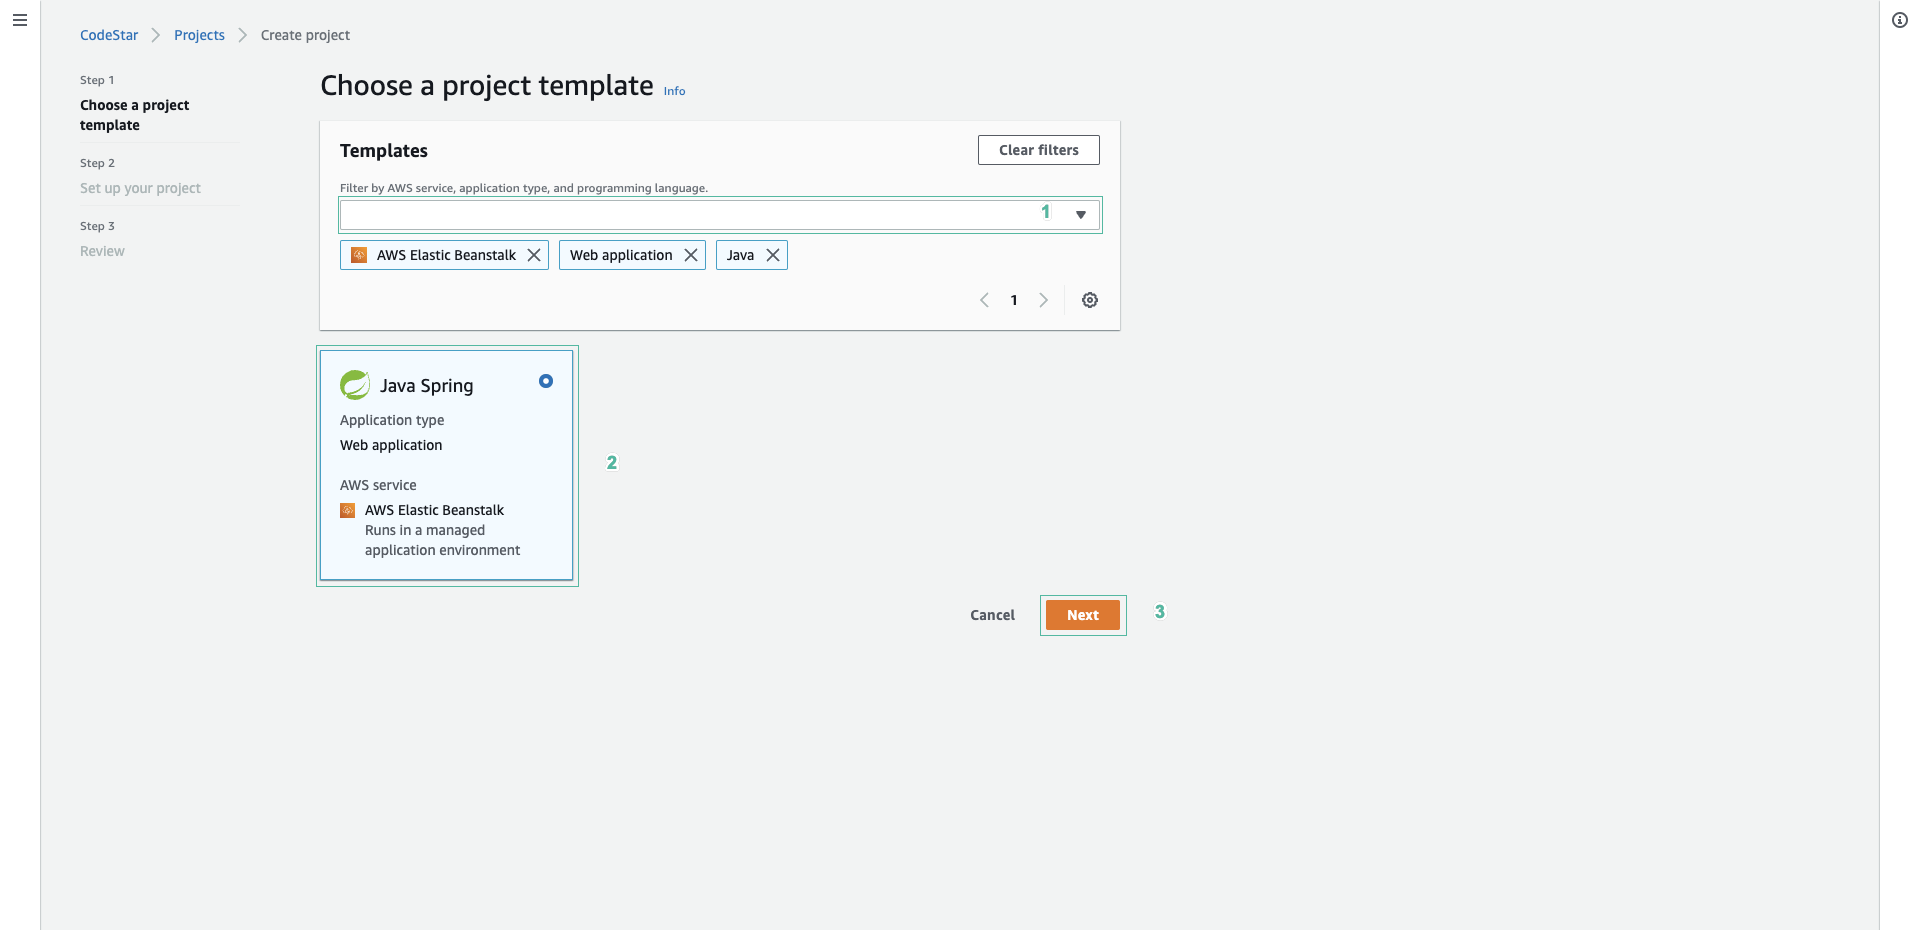
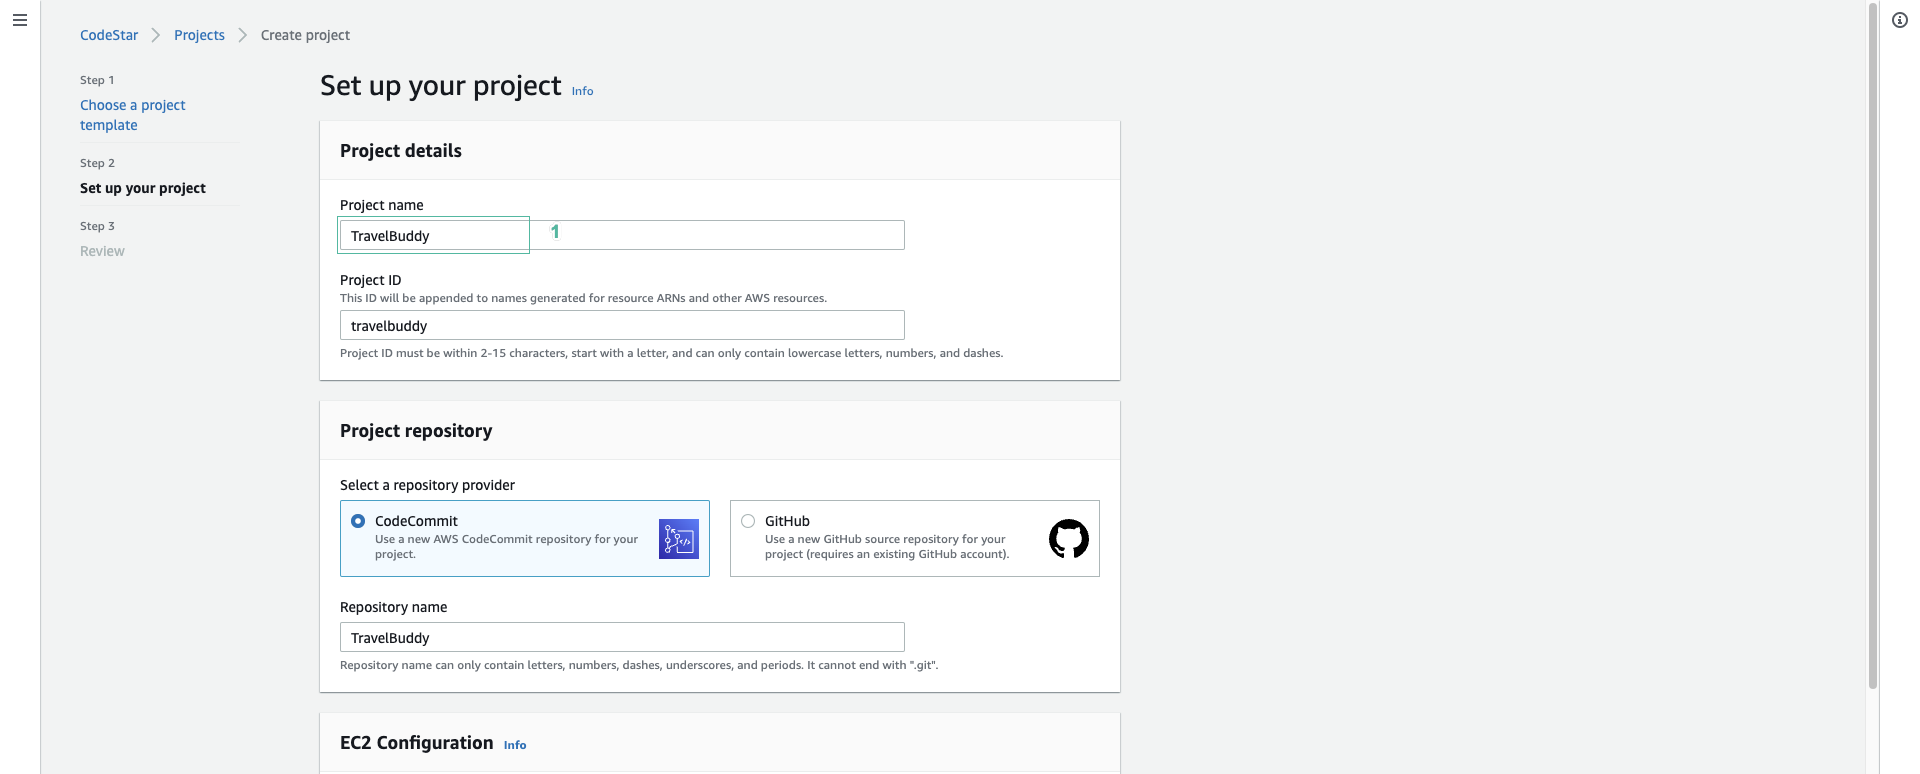
- In the next page, enter TravelBuddy for Project name.
- In repository section, make sure that CodeCommit is selected and repository name (Travel Buddy) is auto filled.
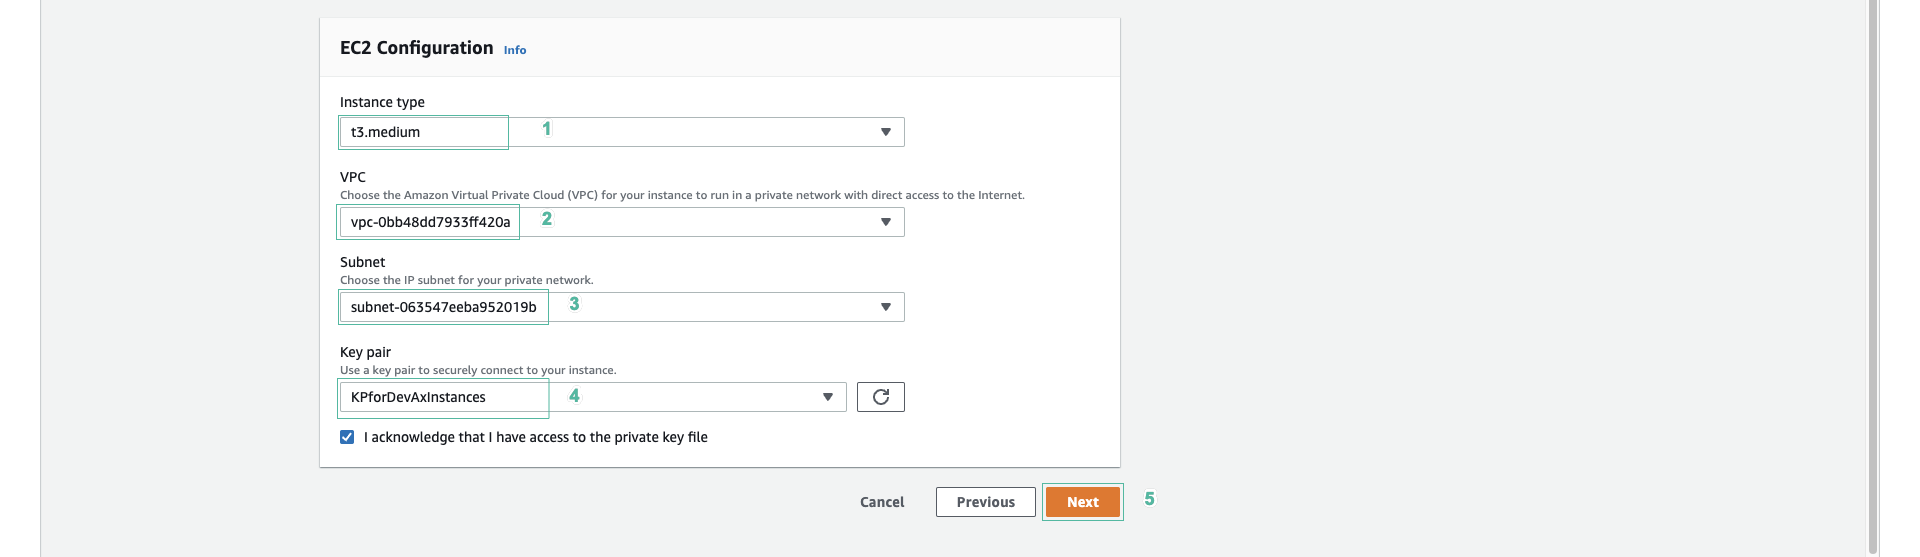
- In EC2 Configuration section, select t3.medium for Instance Type
- Select vpc match the VPC name of the exercise.
- Select Subnet is public subnet id seen above.
- Select KPforDevAxInstances keypair.
- Select Next
- Select Create Project

- The CodeStar will start creating a pipeline. After a few minutes, the new project is displayed.
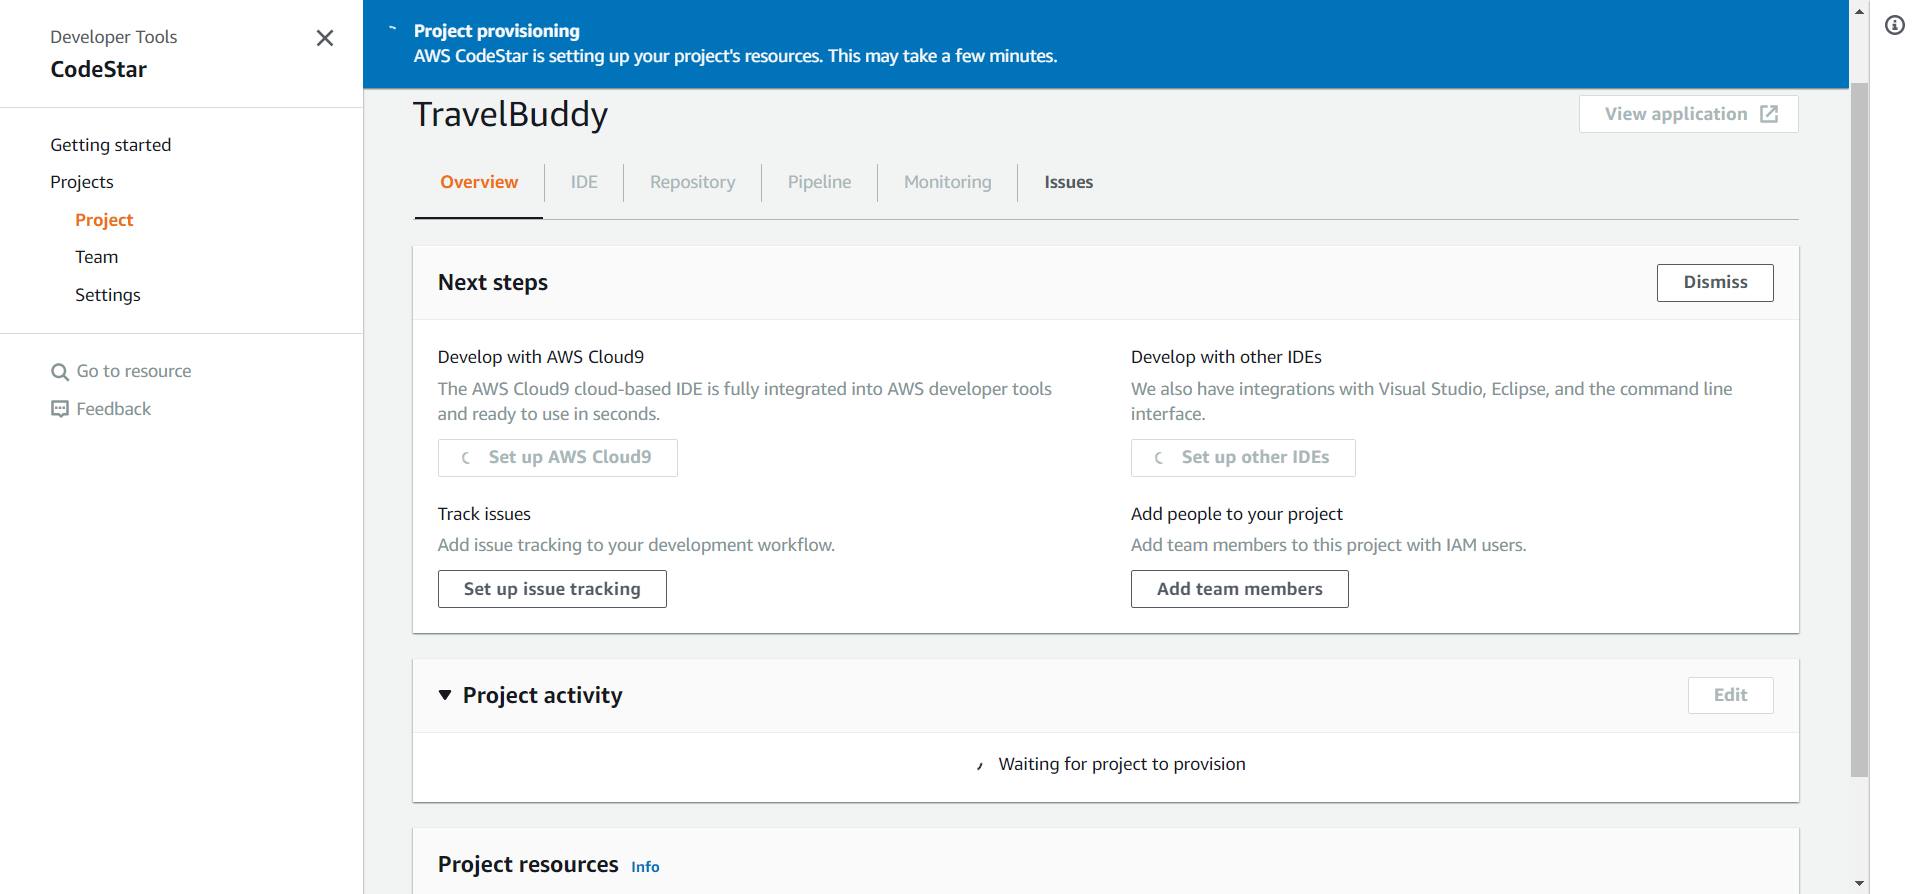
- While waiting for project creation completed, explore the IDE tab and learn how to access the project source code.
- On the left menu, select Team.
- Select Add team member.

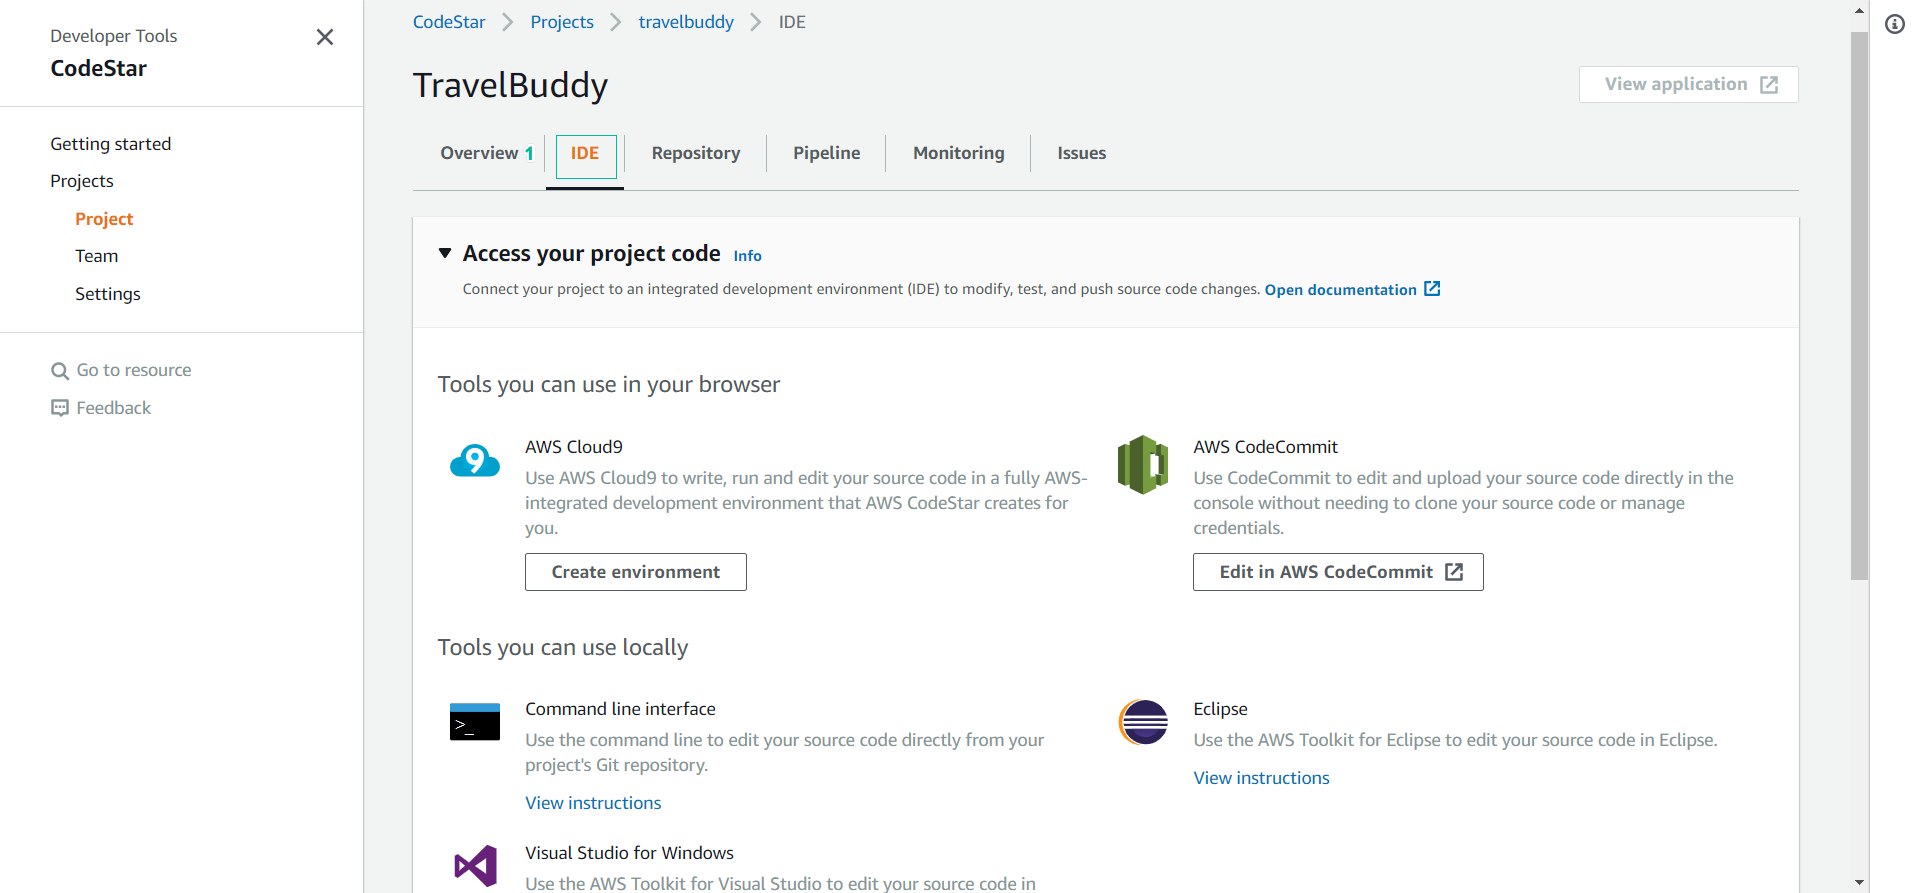
- We will add an existing user awsstudent. In the Select user section, select awsstudent
- CodeStar requires members to have an email address. Therefore, remember to add an email address for the user.
- In Role Type section, select Owner.
- Select Remote Access.
- Click Add team member.
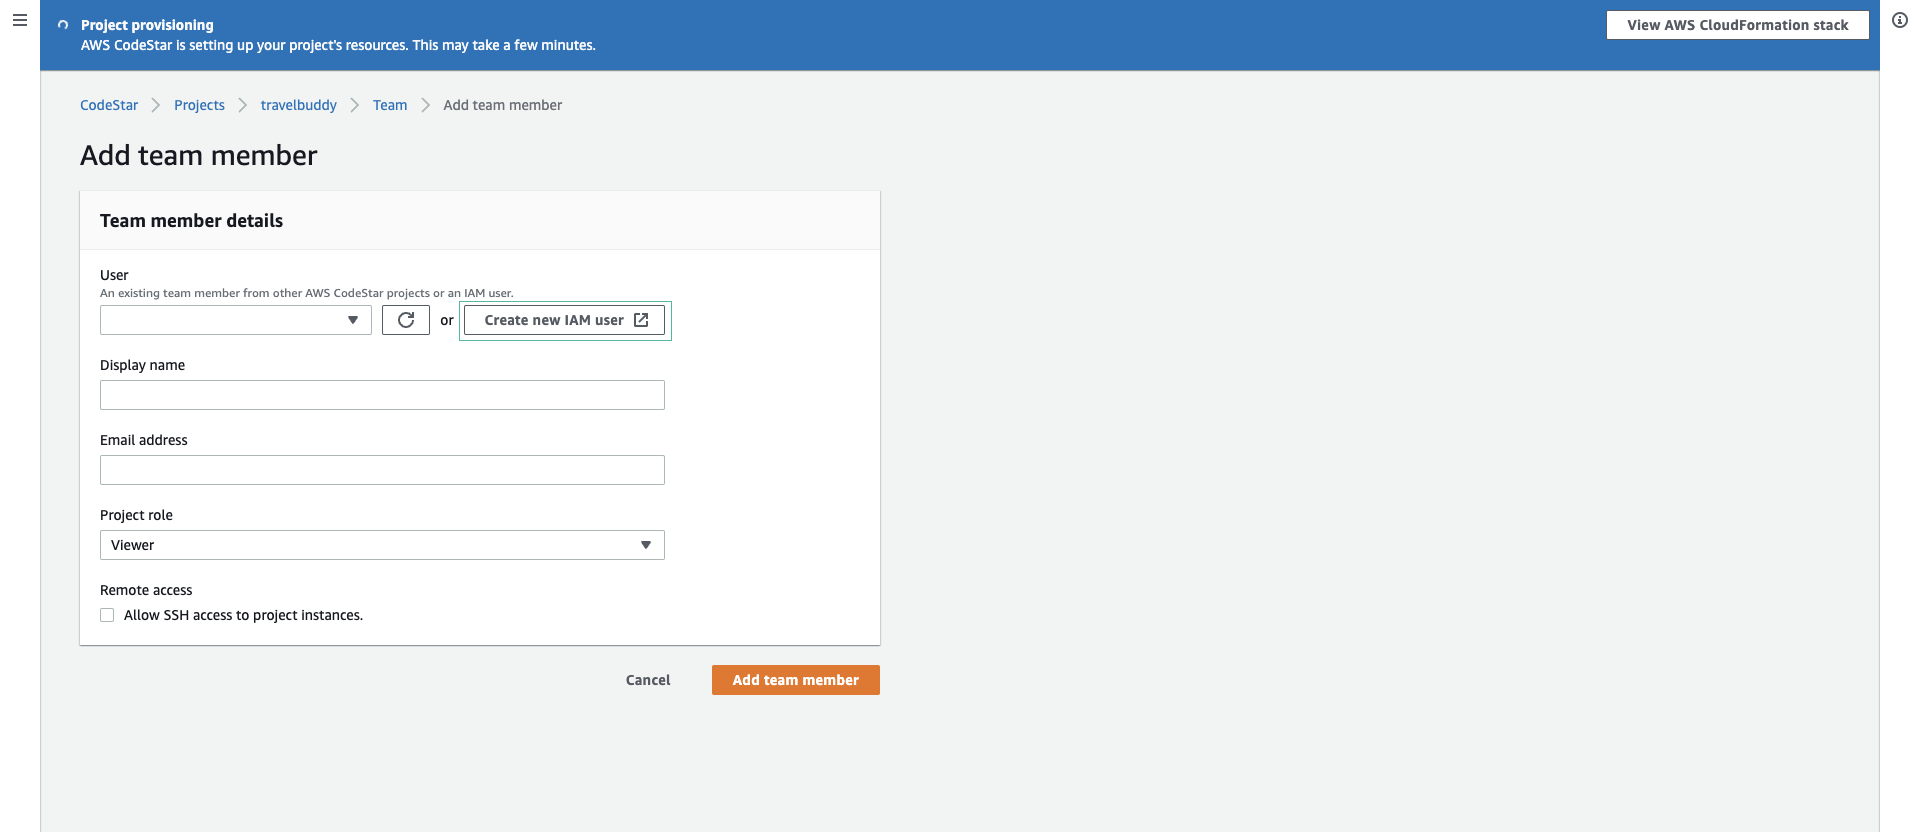
- Next, we will create a new user. Click Add team member.
- In User section, select Create new IAM user. This will redirect you to IAM Management to create a user.
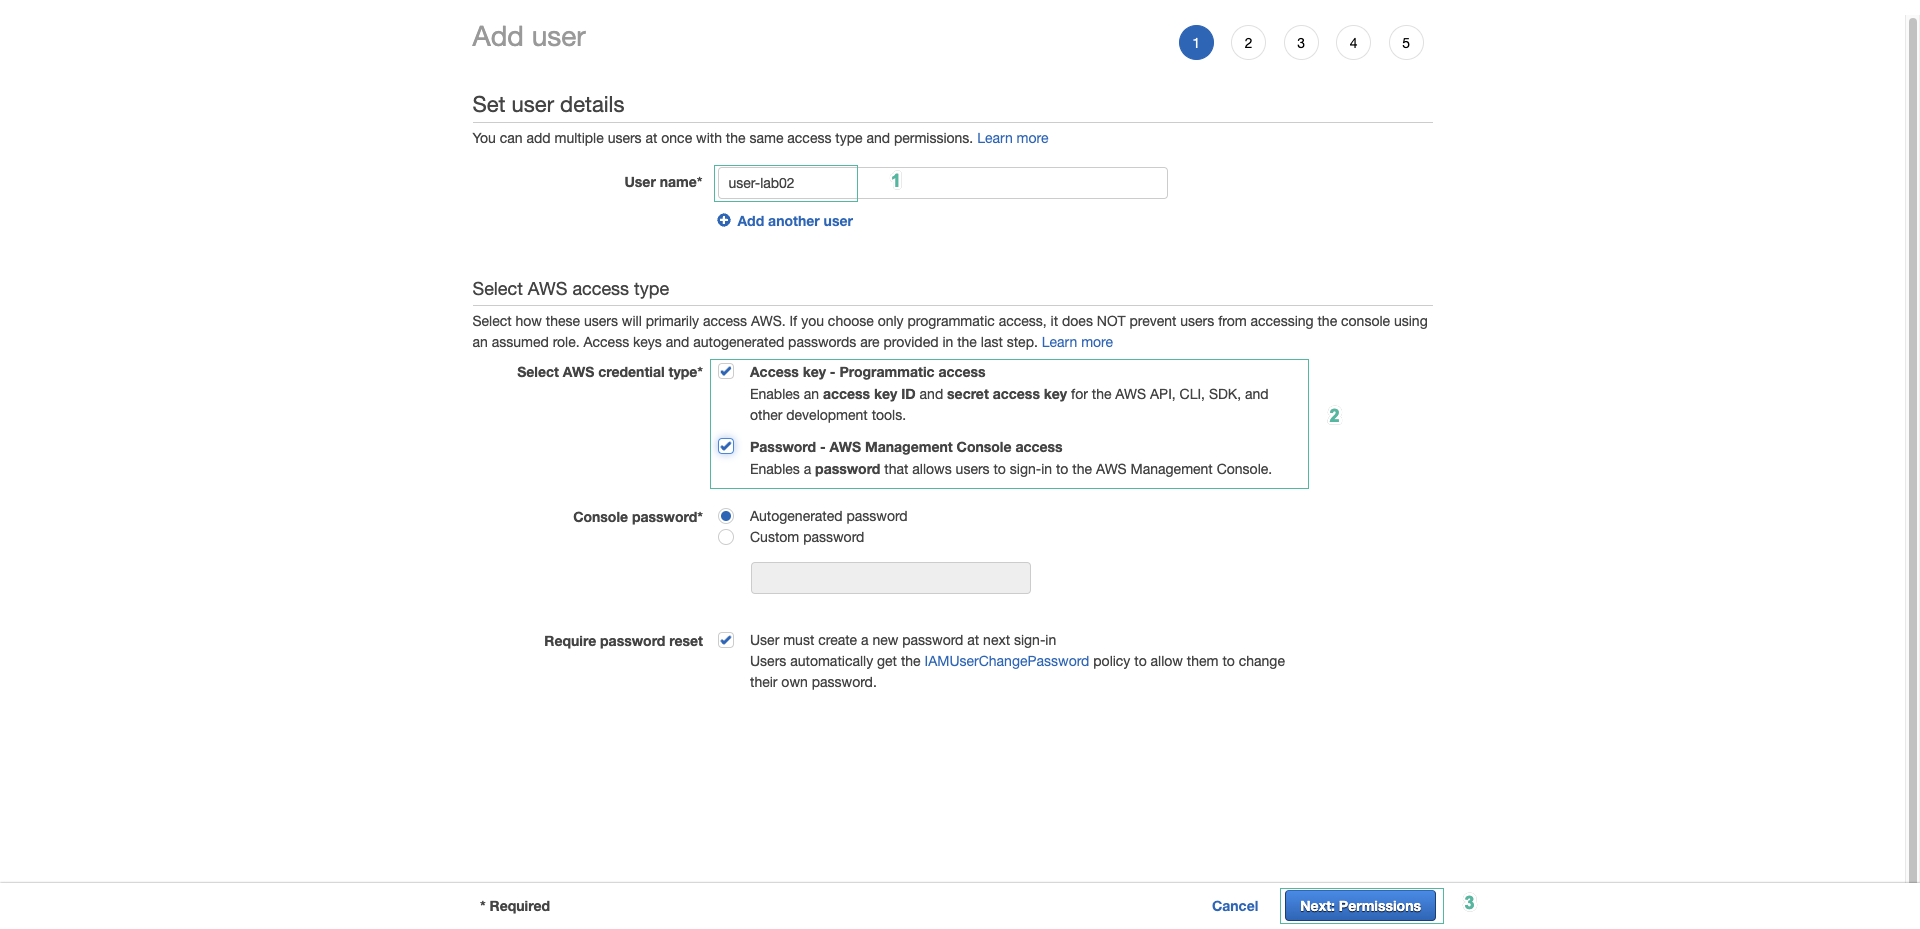
- In IAM Management Console, enter
user-lab02for username, select both access types: Programmatic access and AWS Management Console access. - Click Next: Permissions.
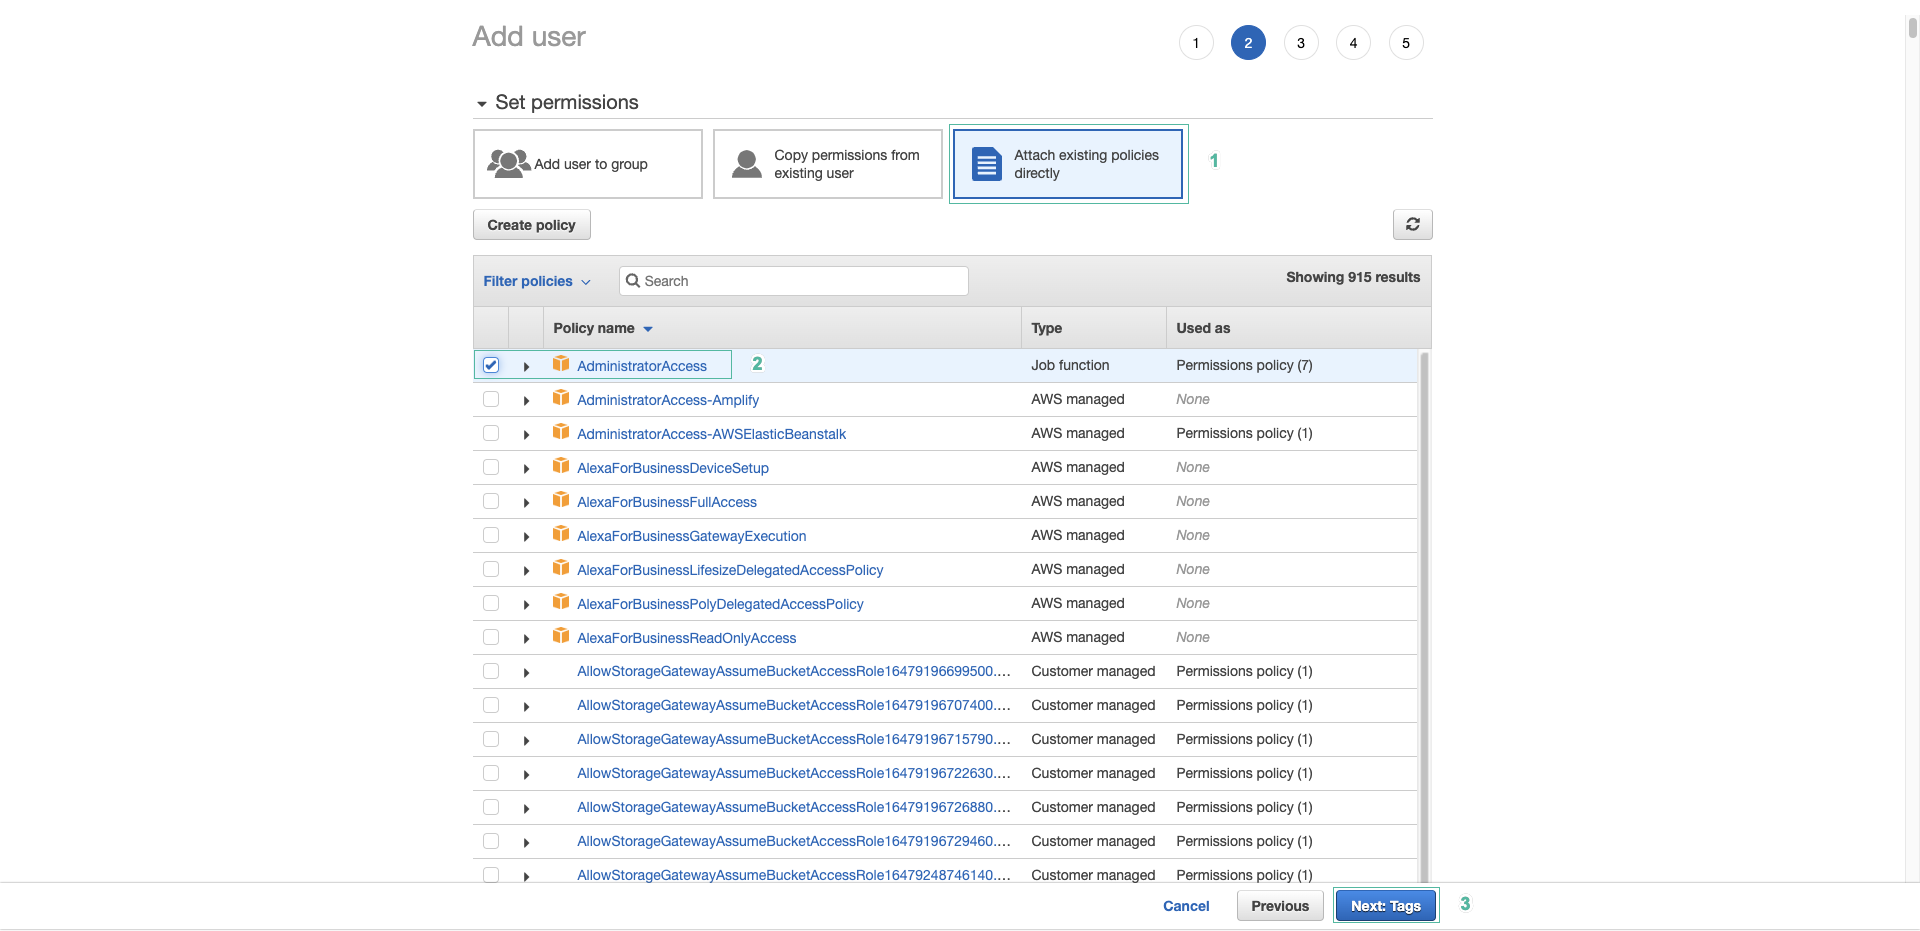
- Select Attach existing policies directly and select AdministratorAccess.
- Chọn Next: Tags
- Click Next: Tags, tag the user if needed or click Next: Review to review the configure.

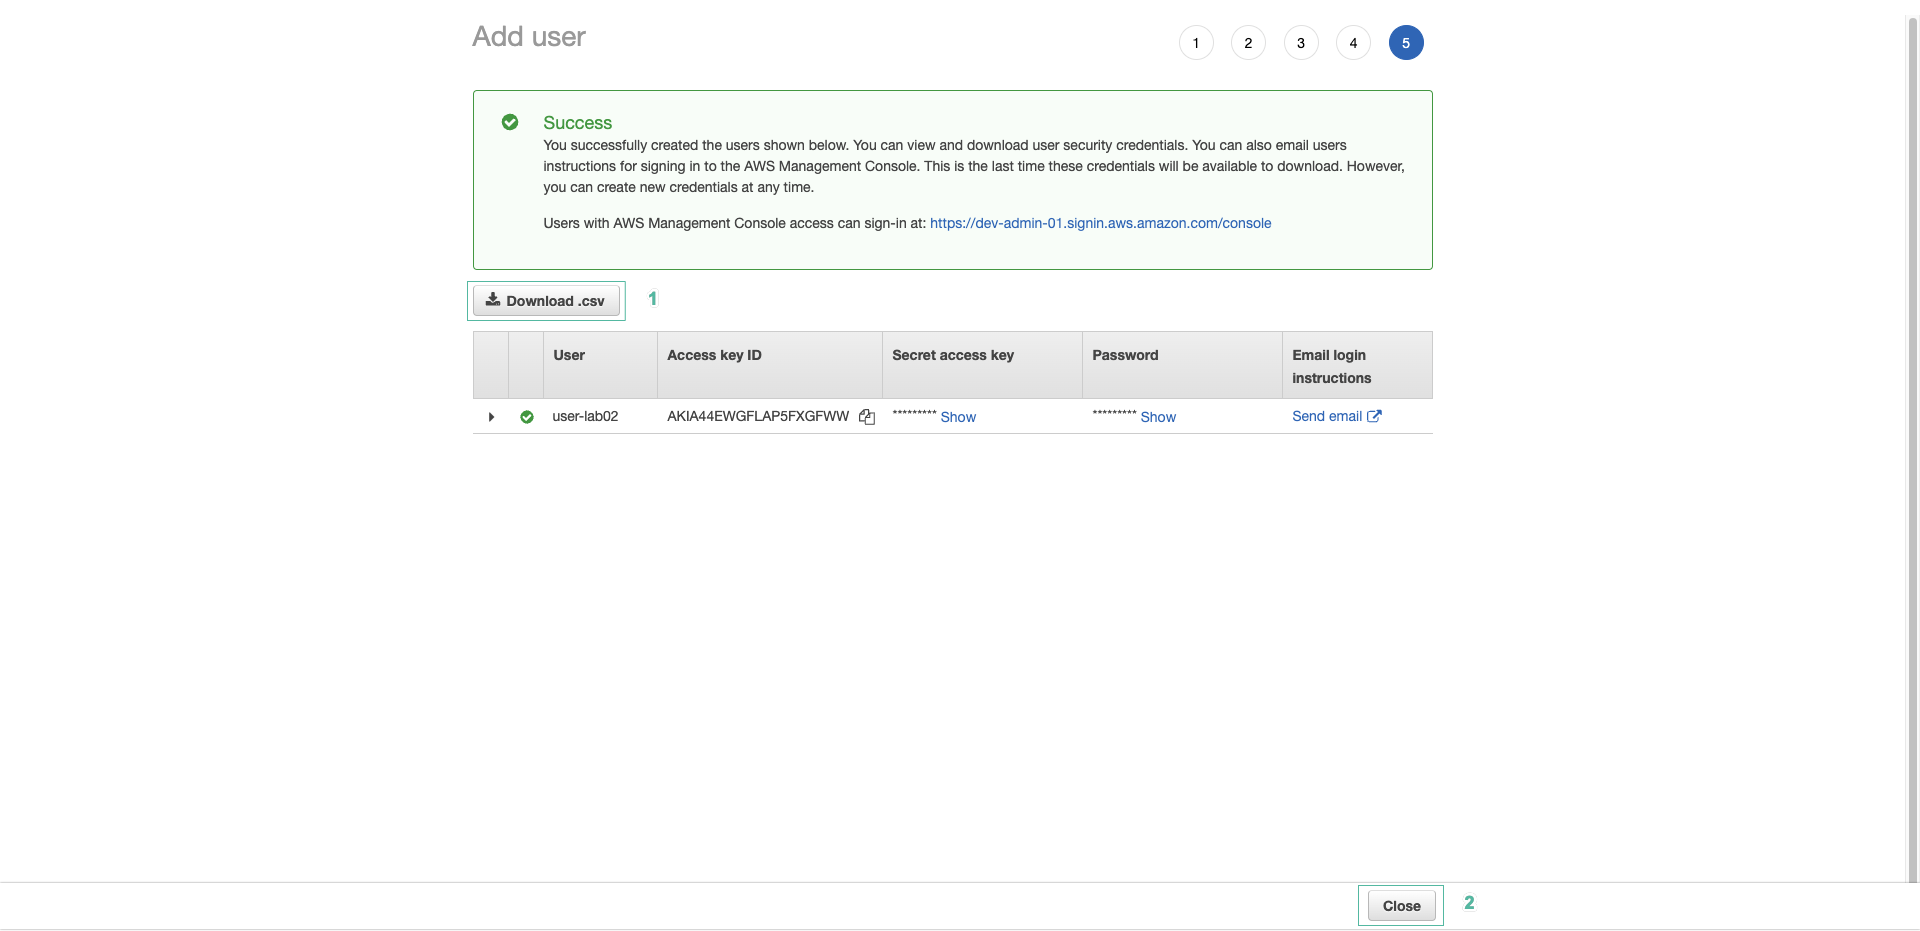
- Click Create User and
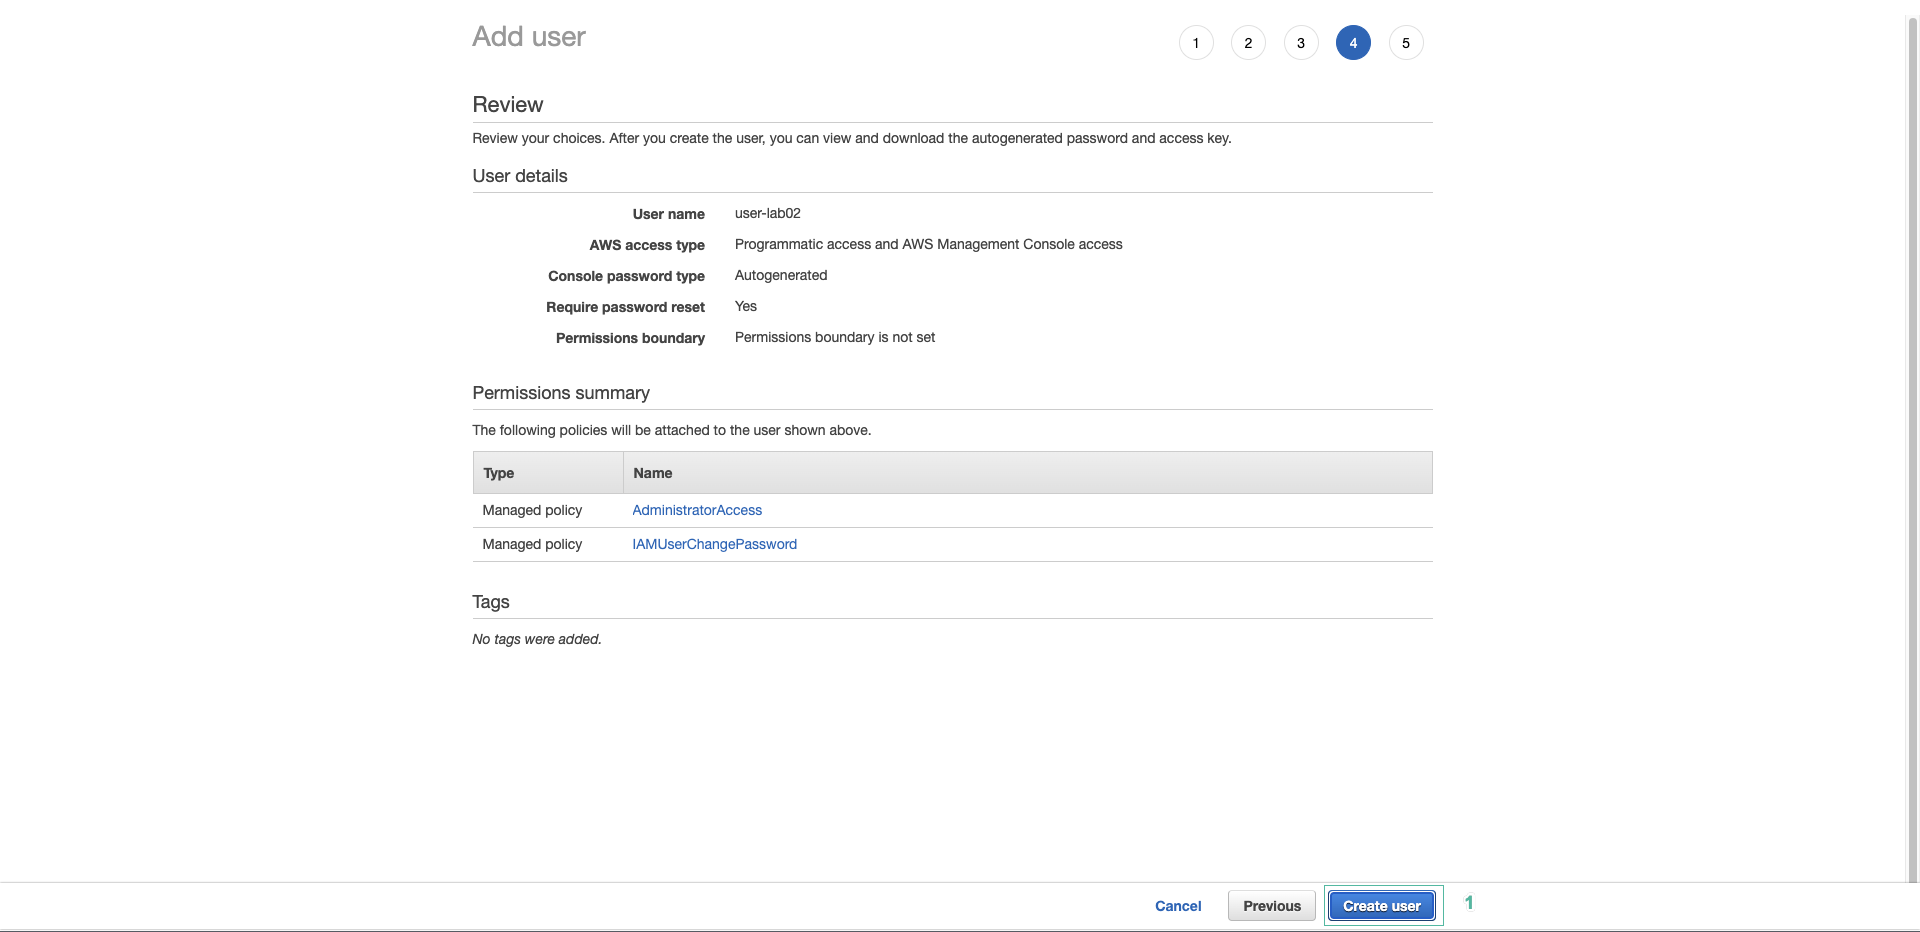
- Click Download .csv file to download file that contains a secret key and an access key.This information will be used in the following part.
- Click Close and back to CodeStar page.
- Click refresh symbol to refresh user list, select user-lab02 just created
- Enter email for user, select Owner in Project role section, tick Remote Access and click Add team member .

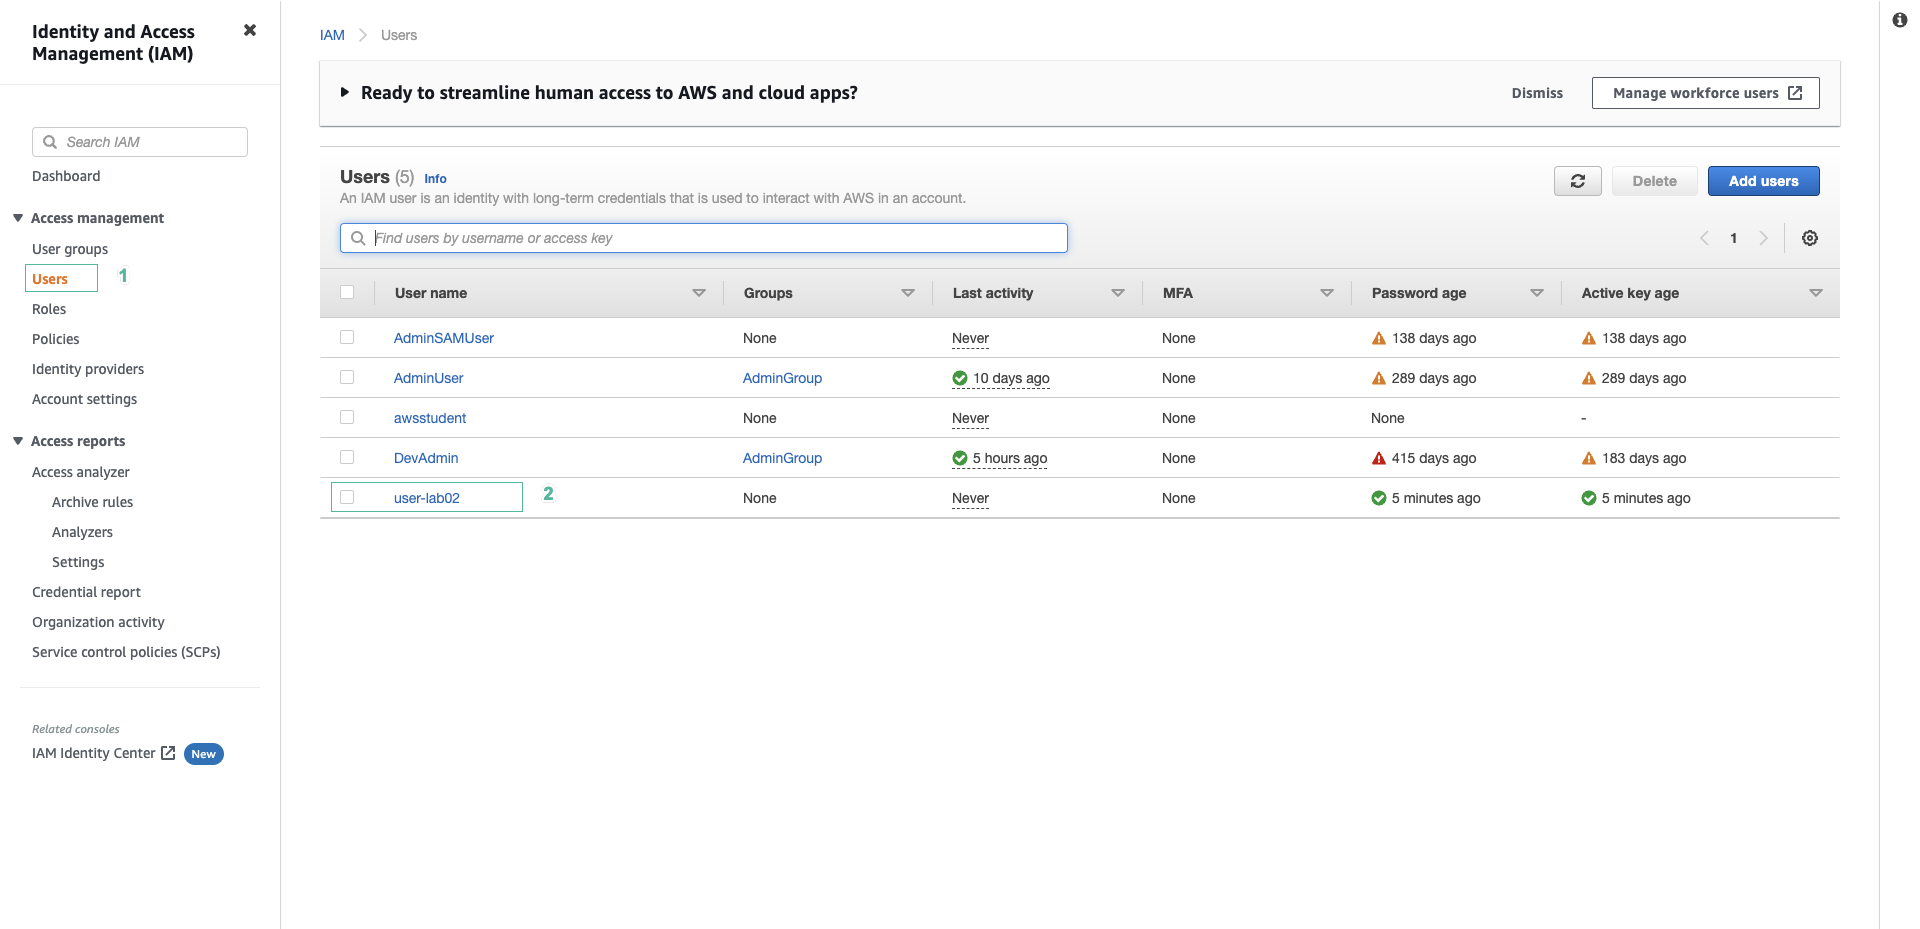
- Now, we will create credentials to use for Codecommit for the newly created user. Access to IAM console. Select Users on the left menu.
- Click newly created user
- Select Security Credentials tab.
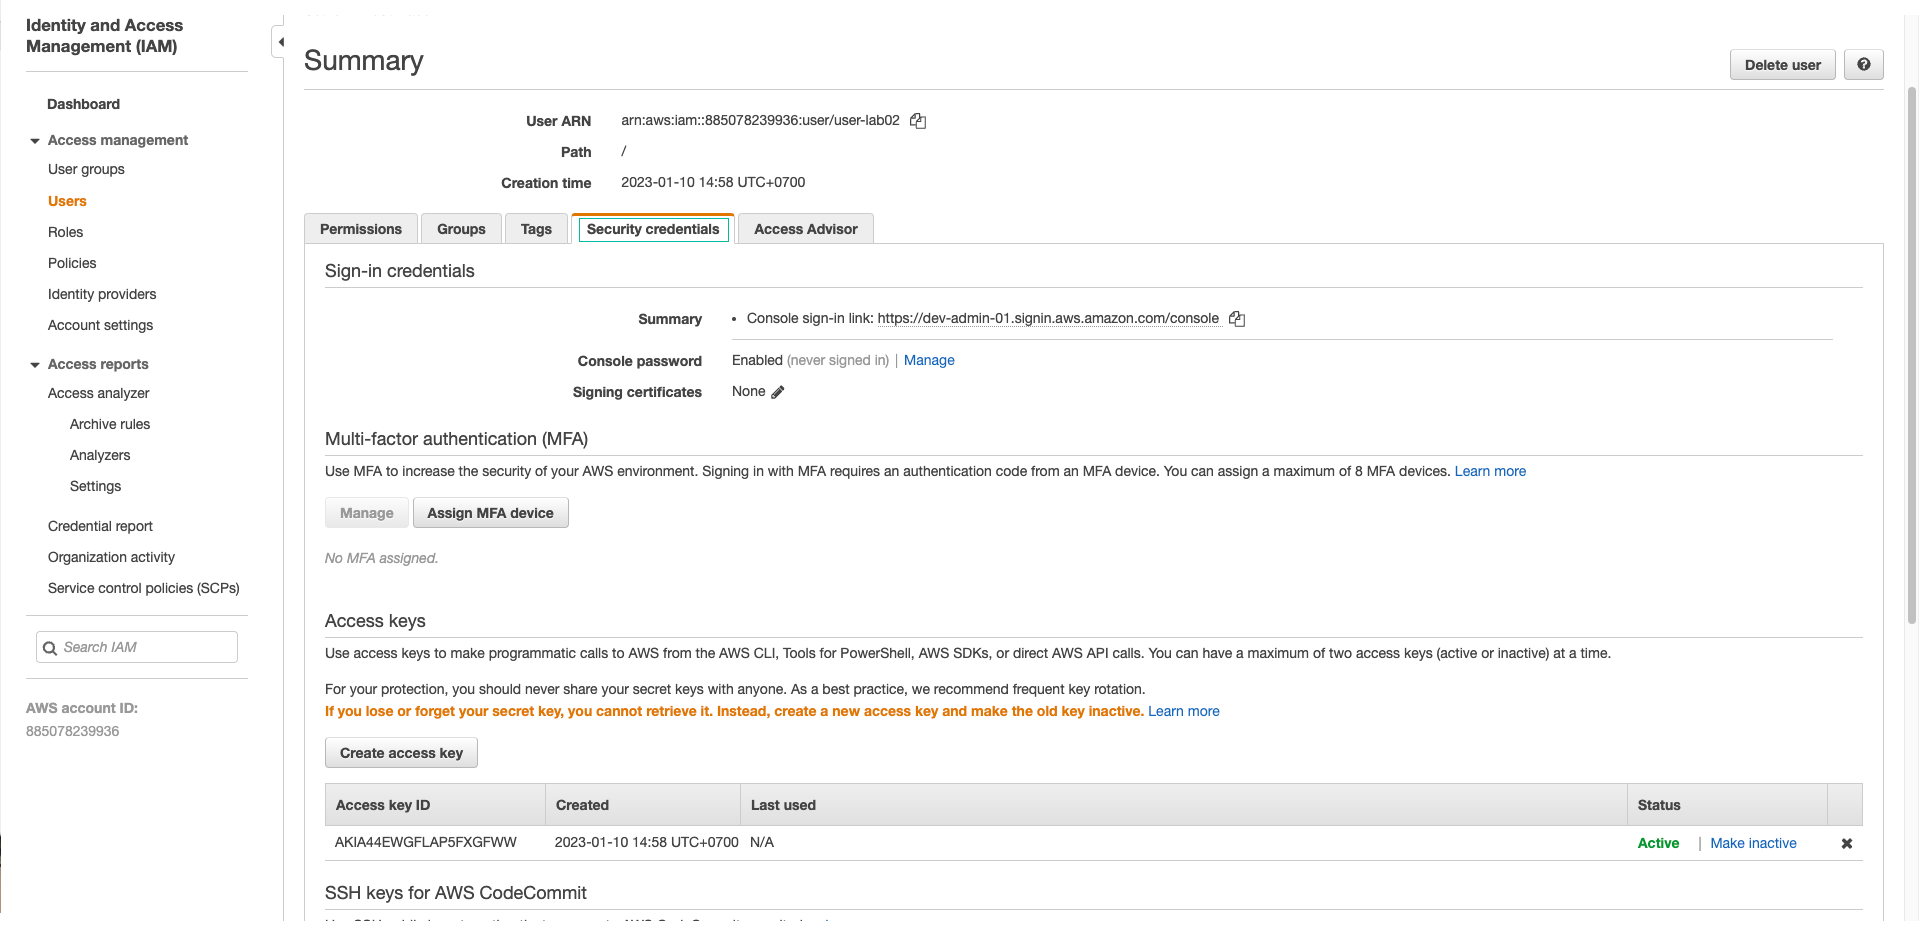
- Scroll down to HTTPS Git credentials for AWS CodeCommit section and click Generate Credentials
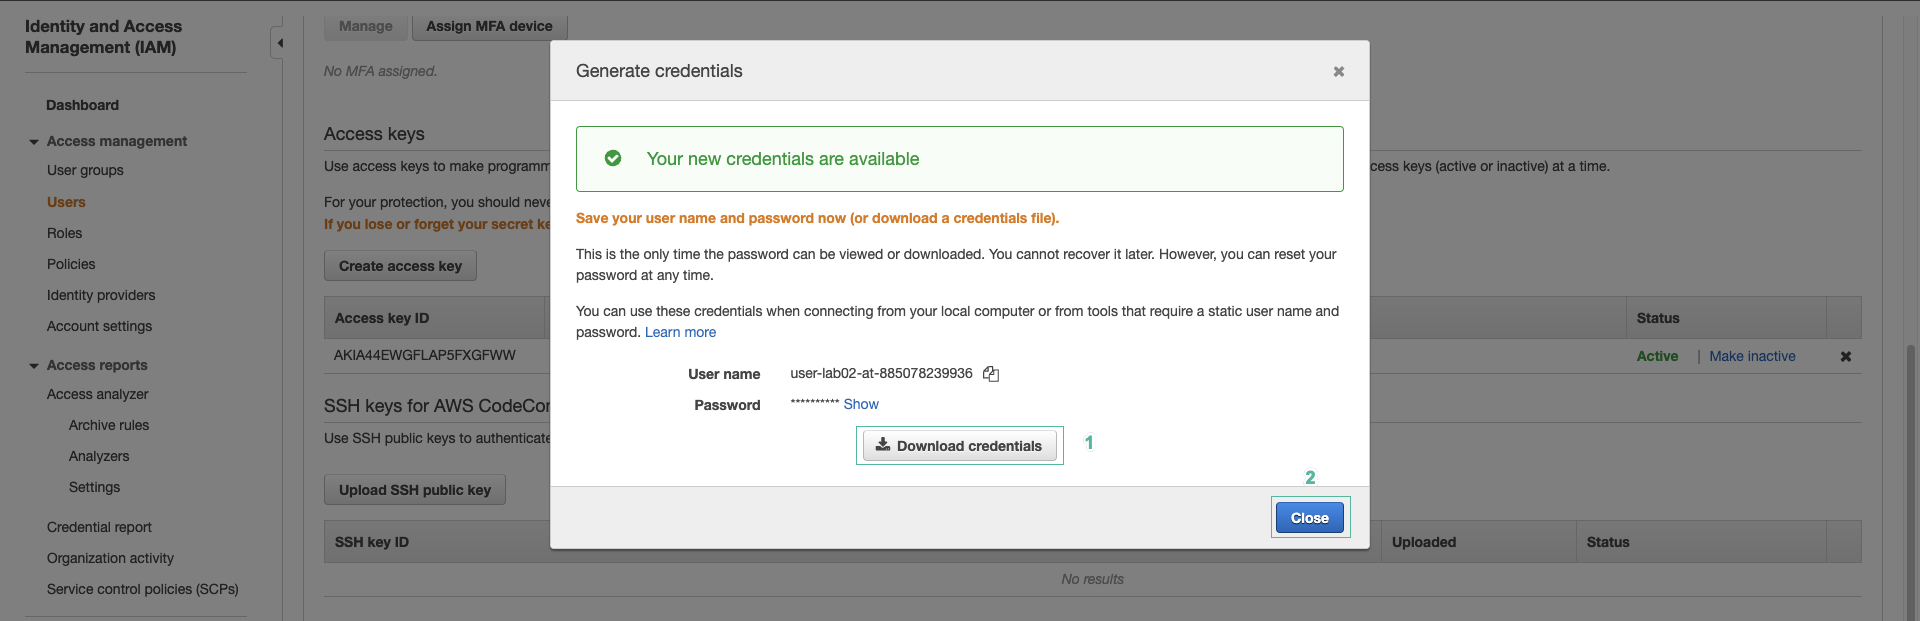
- Click Download credentials, then click Close.
CodeStar has now configured a CI/CD pipeline to deliver our project artefact to a public Elastic Beanstalk PaaS web server. This will take a few minutes, check the link in the path and click this link and check the your new java HelloWorld application has been created.
- Access CodeStar and select Projects
- Select TravelBuddy, then select Pipeline tab. Bạn sẽ thấy 3 giai đoạn được tạo Source, Build và Deploy.

- You can click View application in the upper right corner to access to your running application.