Connect to Eclipse IDE with AWS Codecommit
This the section, you will connect to Eclipse IDE with AWS CodeCommit.
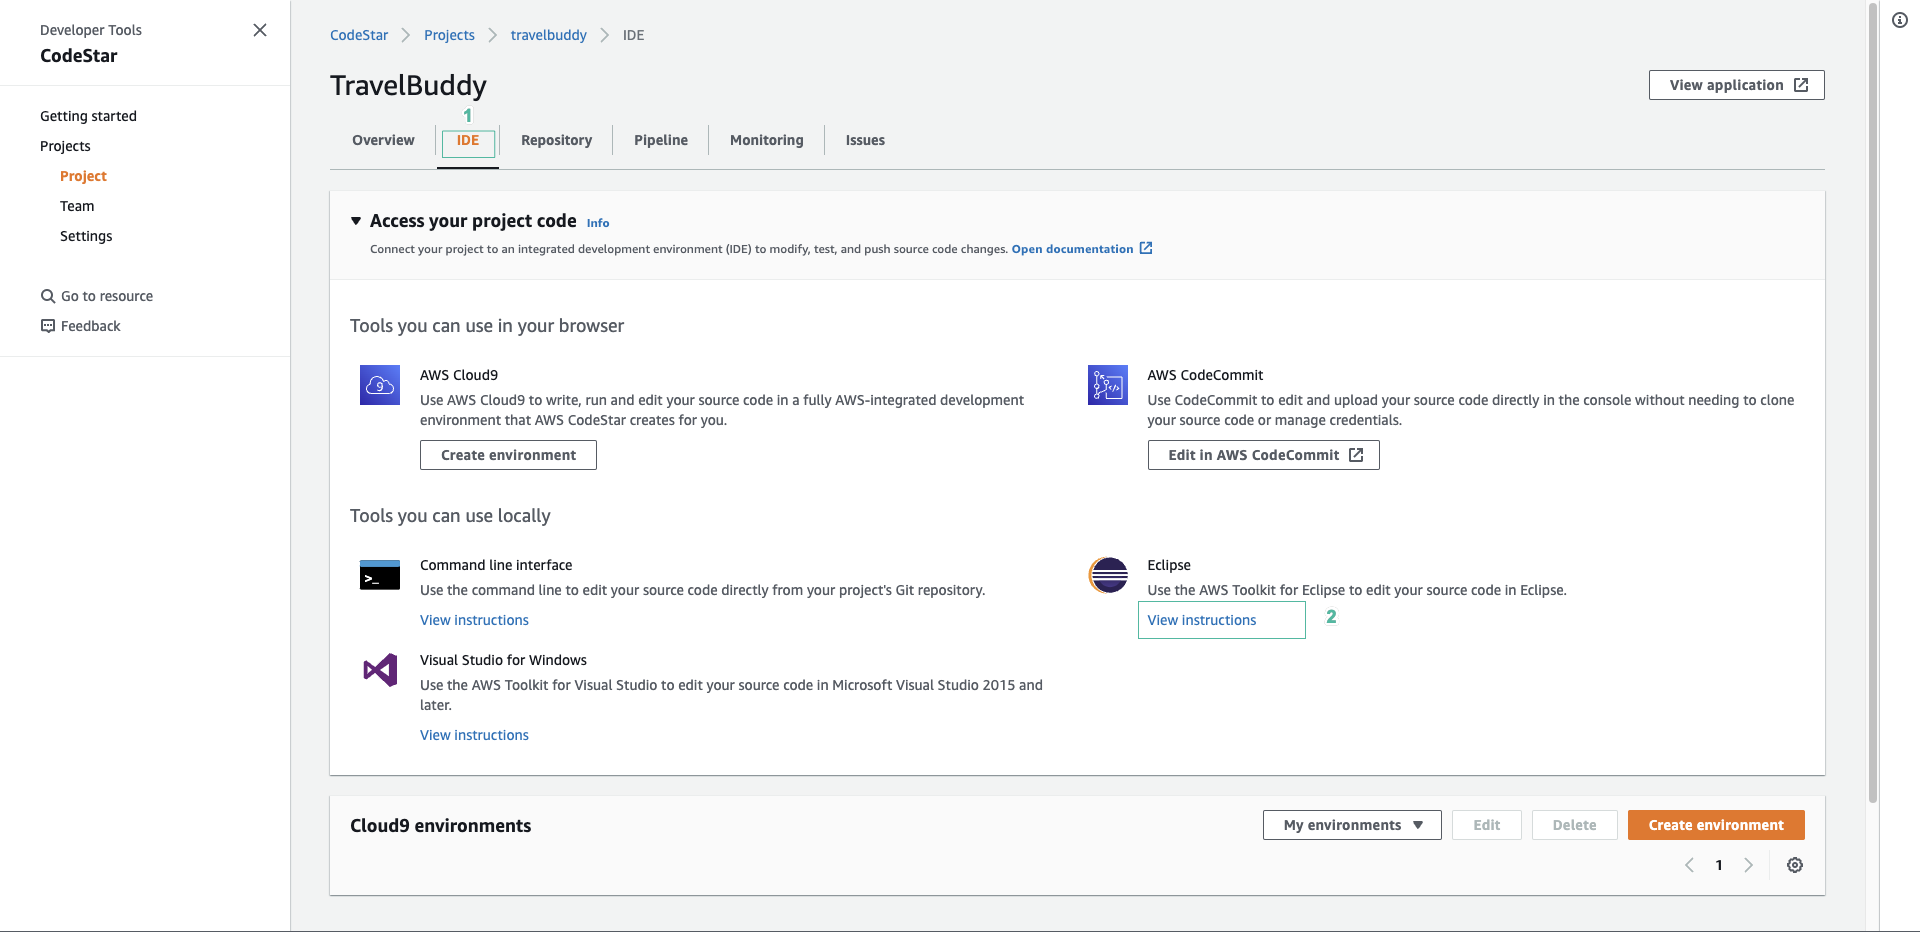
- In AWS CodeStar dashboard, select IDE tab.
- Select Eclipse and select View Instructions.
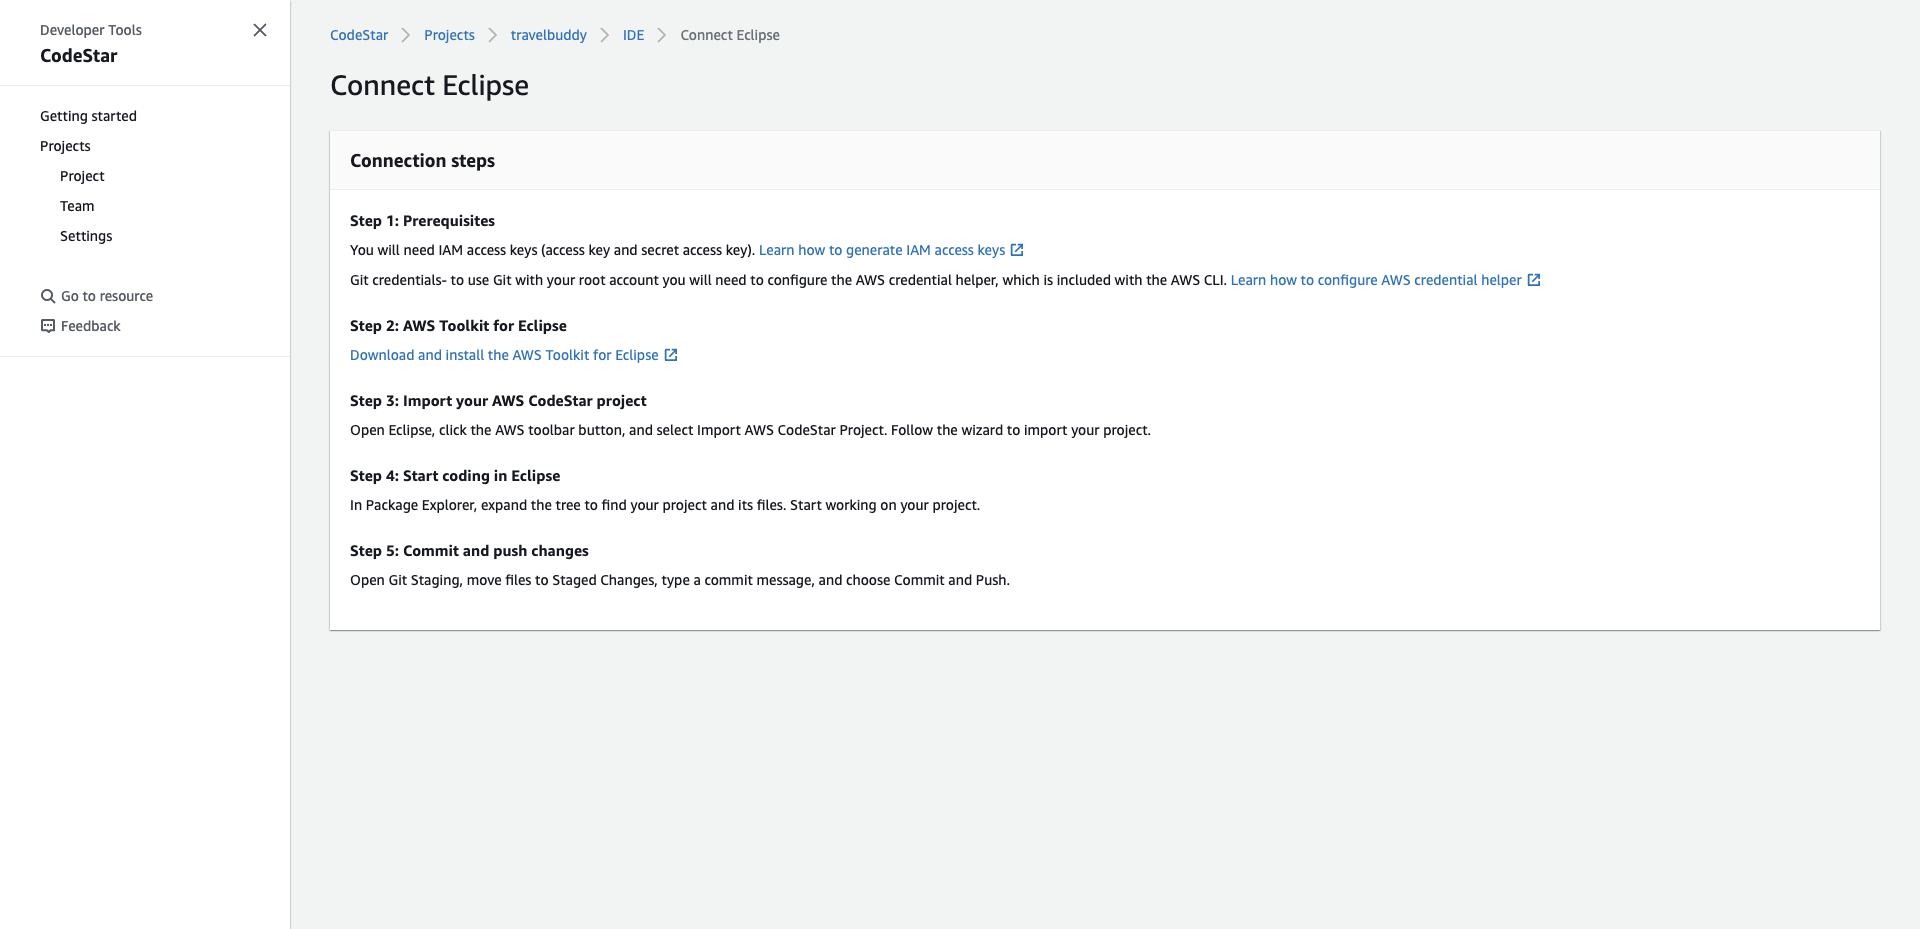
- You will use the IAM user you created earlier to configure AWS Codecommit. Make sure you have the user IAM secret key and access key that you downloaded earlier.
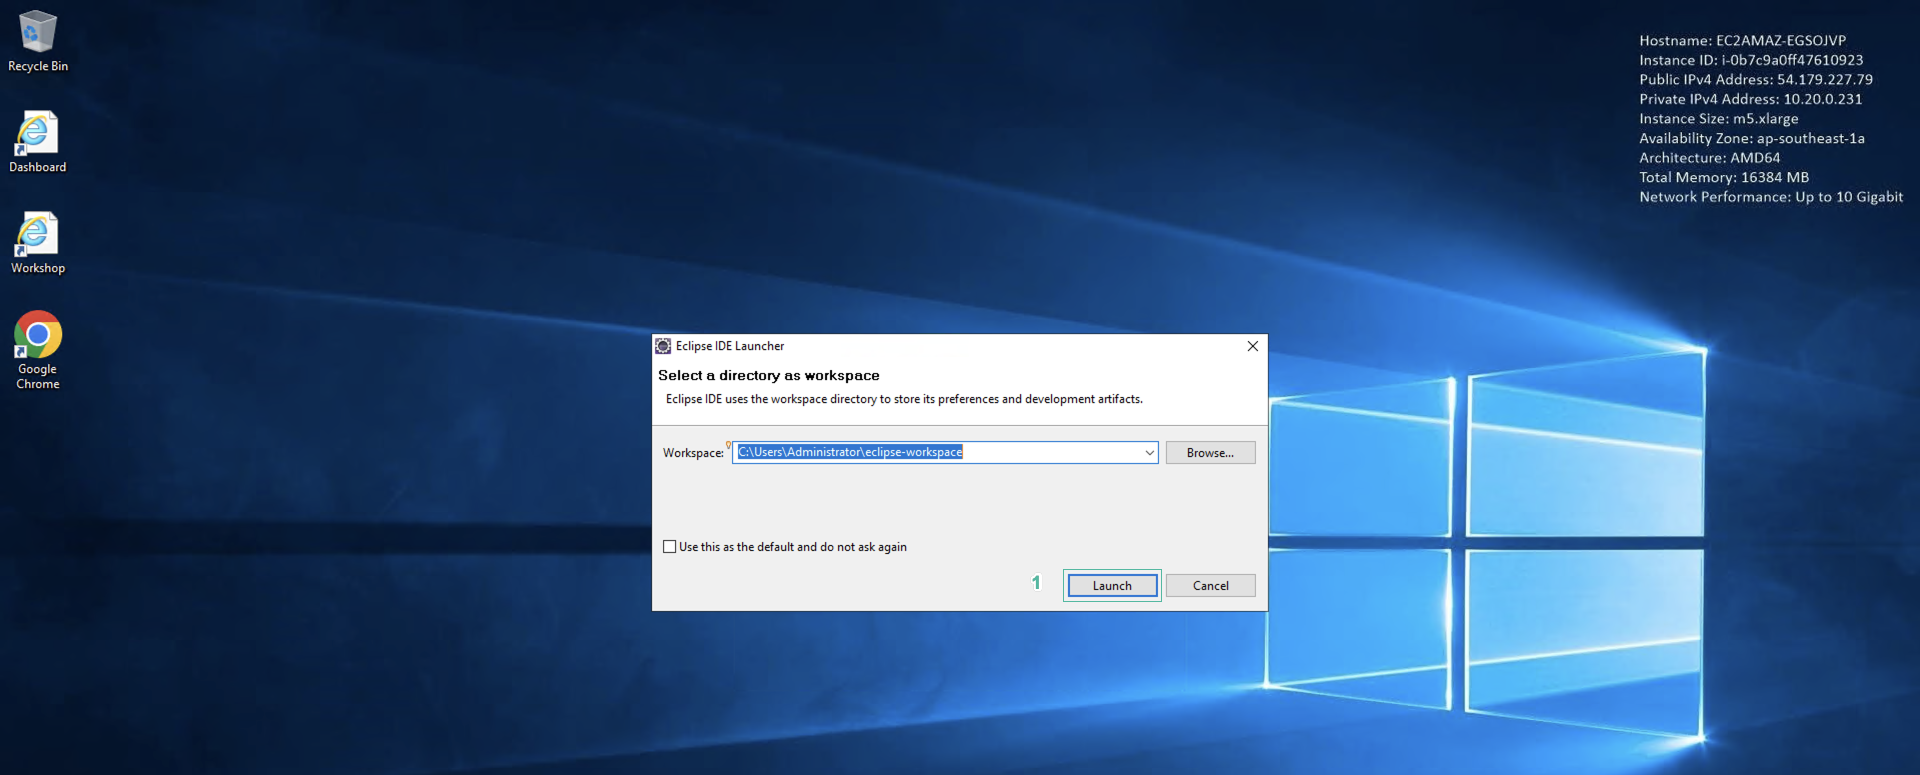
- Access to the Windows virtual machine, open Eclipse. On first startup, Eclipse will ask you to configure the workspace.
- Tick Use this as the default and do not ask again and click Launch.
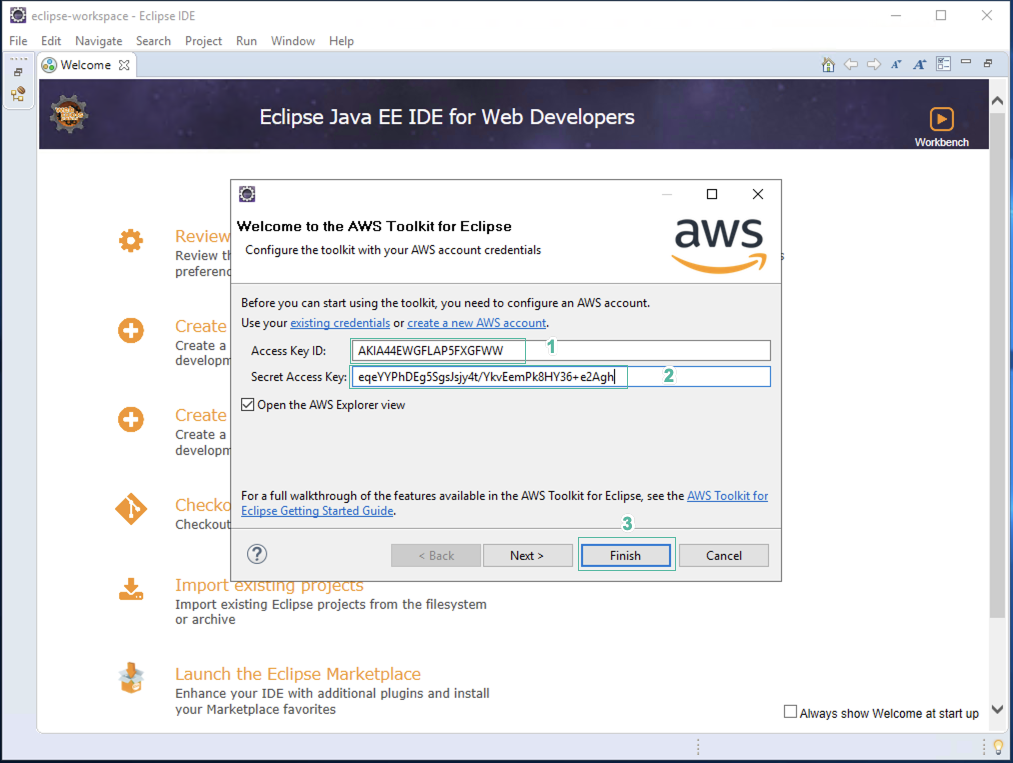
- If the AWS Toolkit is pre-installed on Eclipse, a dialog box appears - Welcome to the AWS Toolkit for Eclipse.
- Enter Access Key and Secret Key at this dialog.
- Click Finish
- If not already installed, you can install AWS Toolkit by selecting Help, selecting Install new software
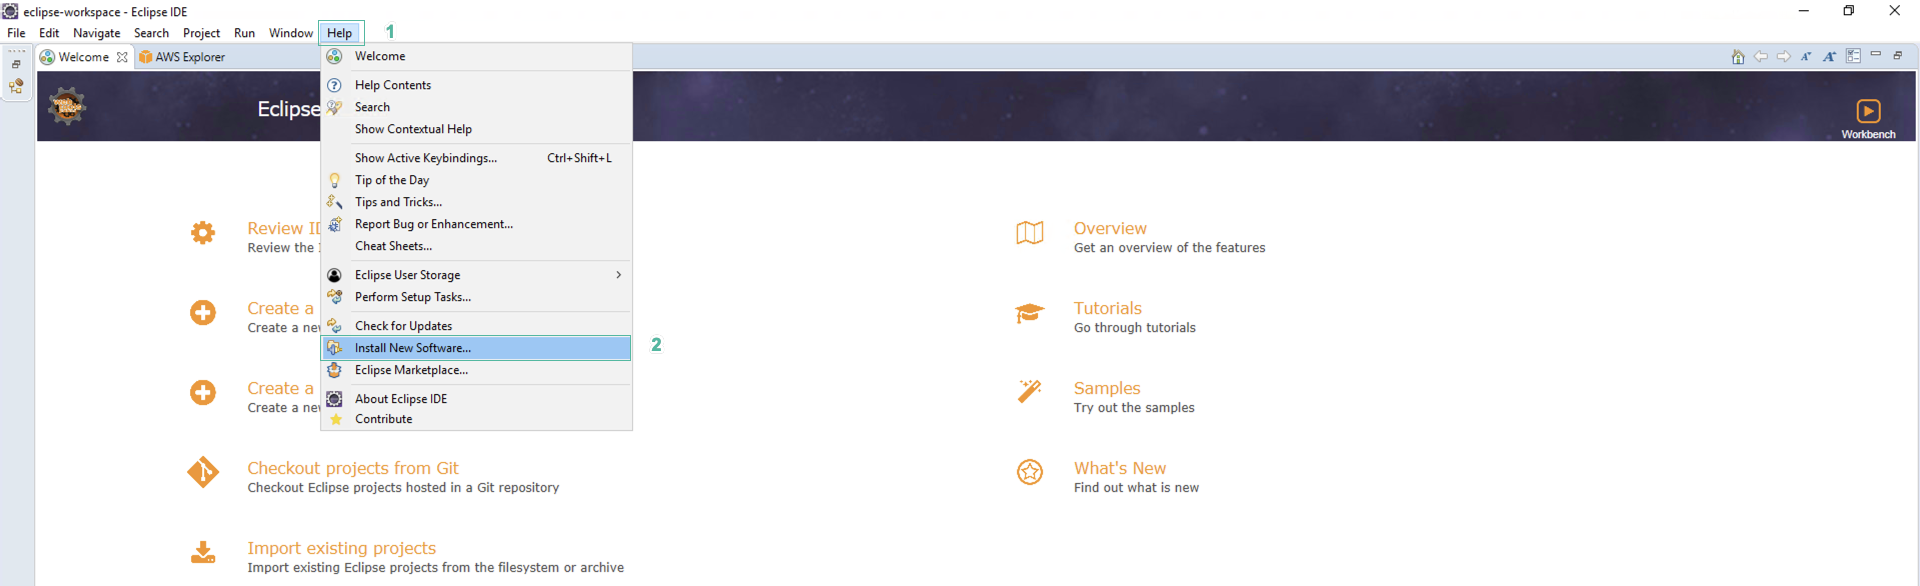
- In the drop-down menu, find https://aws.amazon.com/eclipse and select the below tools:
- AWS Developer Tools
- AWS Deployment Tools Then, click Next.
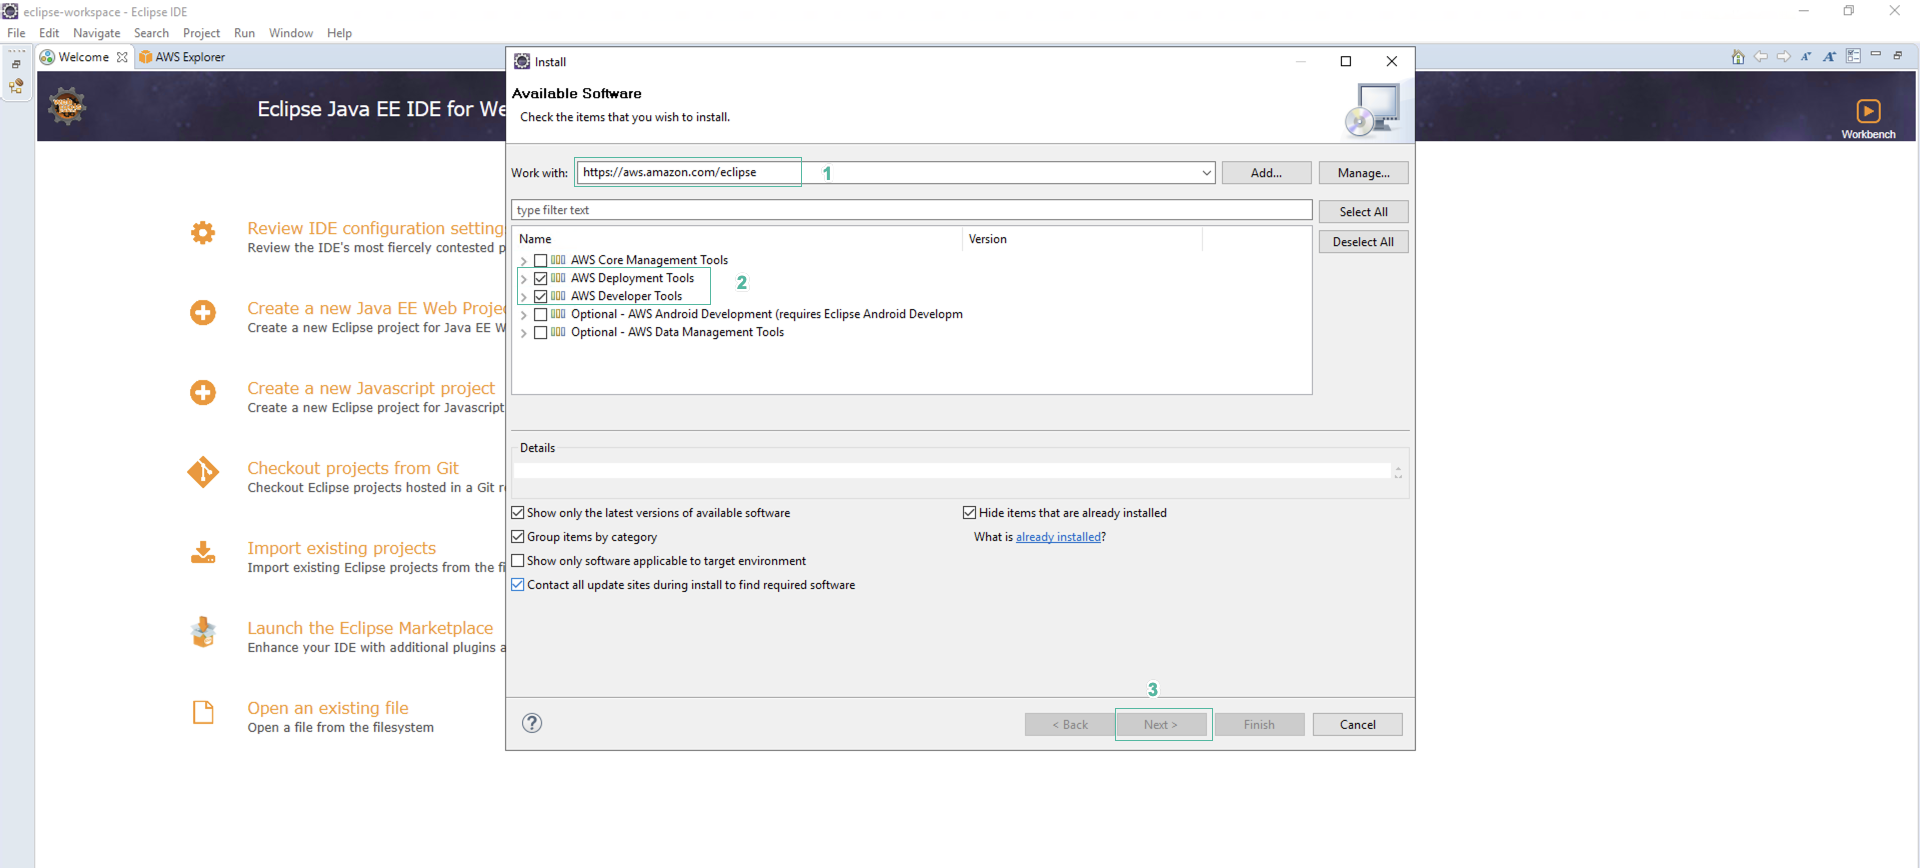
If the Next button cannot be pressed, you do not need to install the tools.
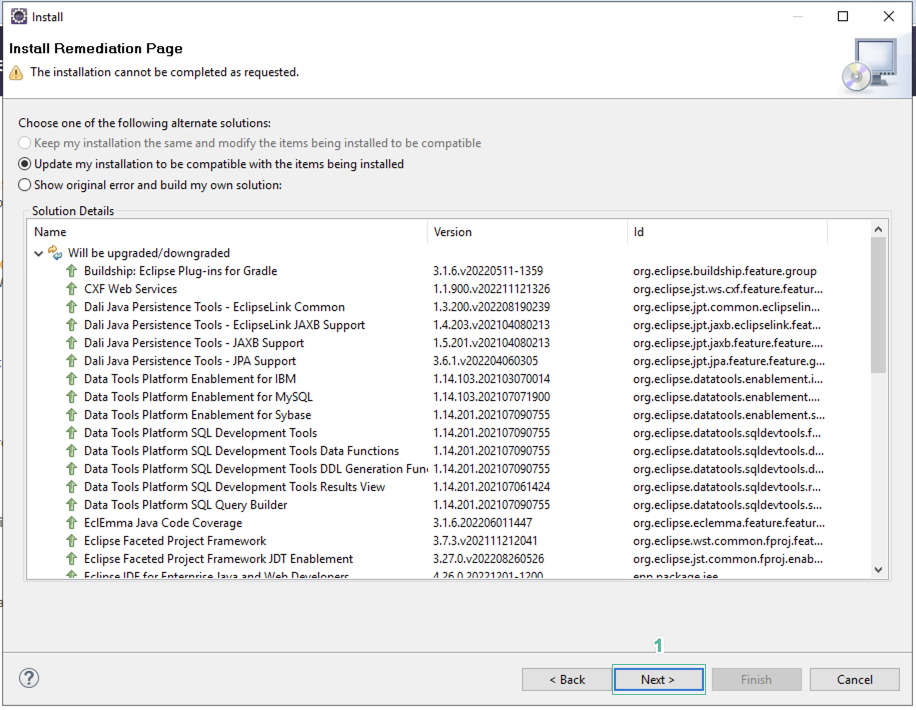
- Click Next.
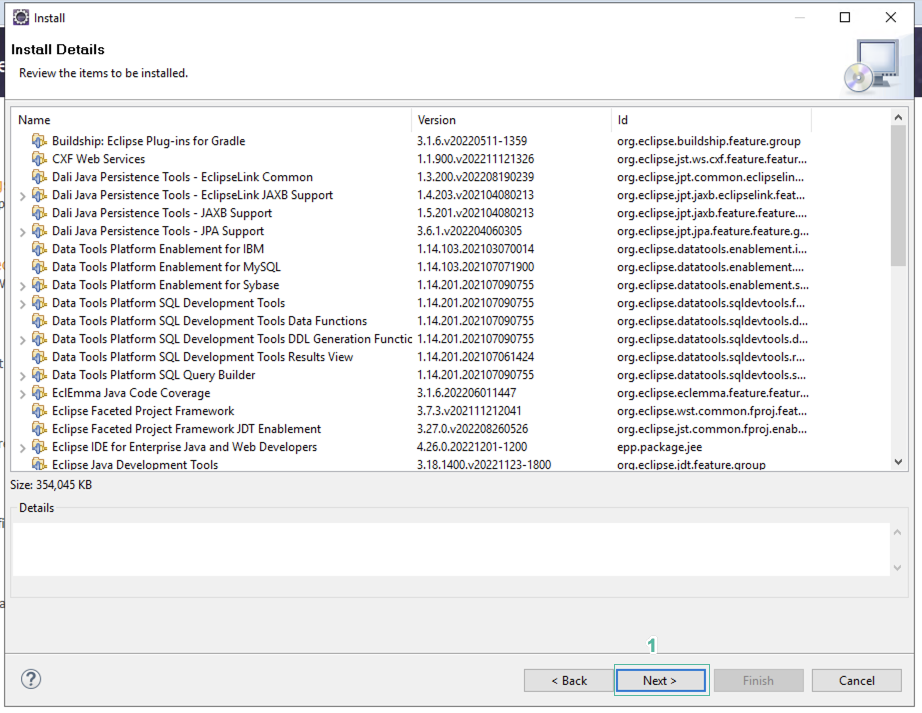
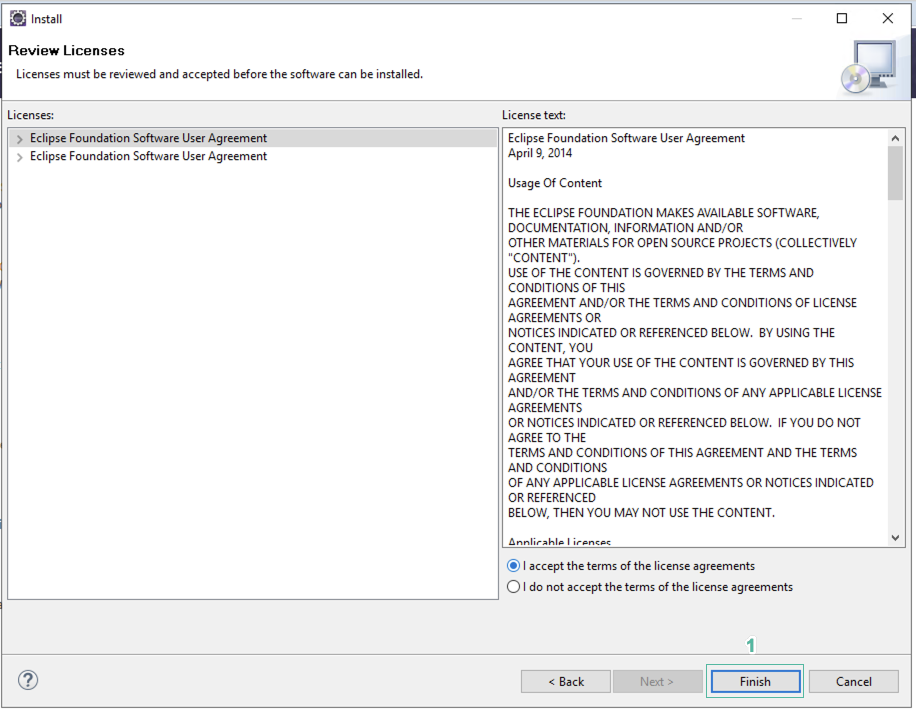
- In Review window, click Next.
- Select I accept the terms of the license agreements and click Finish
- After the installation is done, click Restart Now
- If you have already set the information in step 6, skip steps 13 to 16.
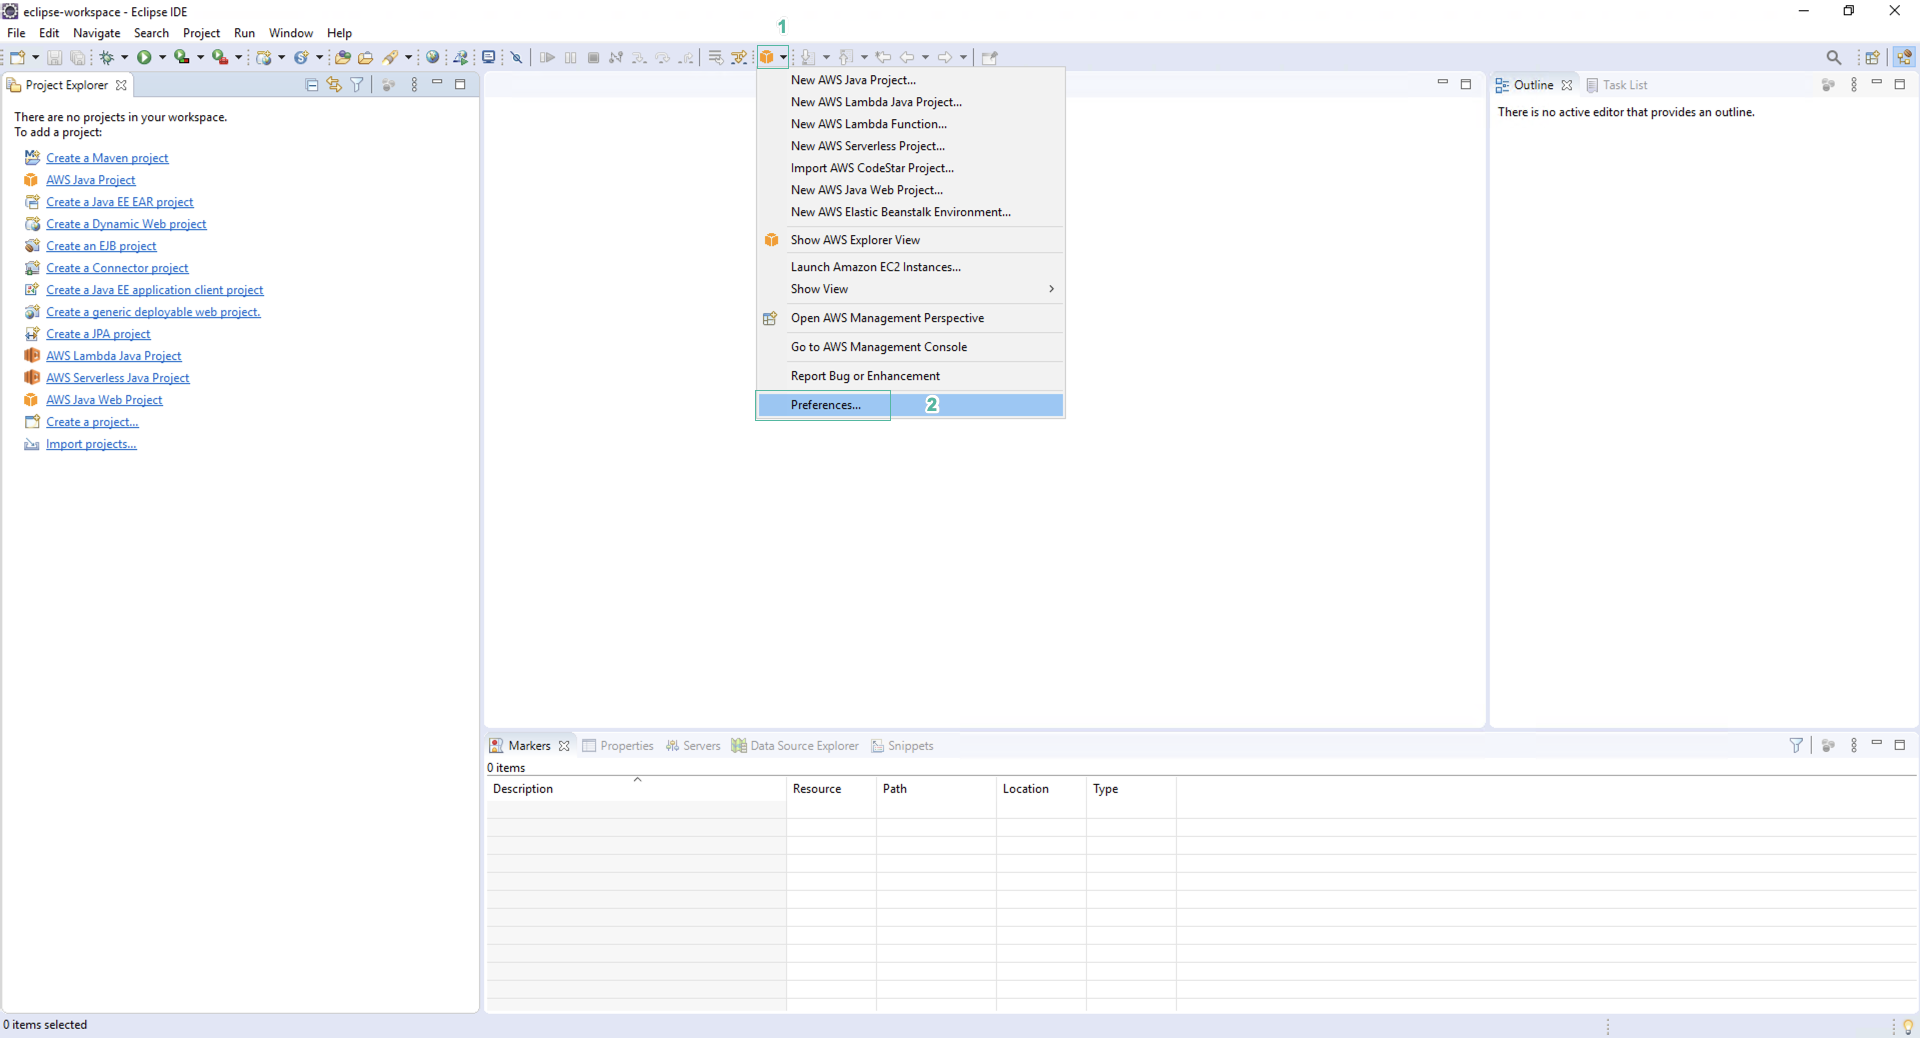
- Open Eclipse IDE, find AWS symbol, click the drop-down arrow and select Preferences…
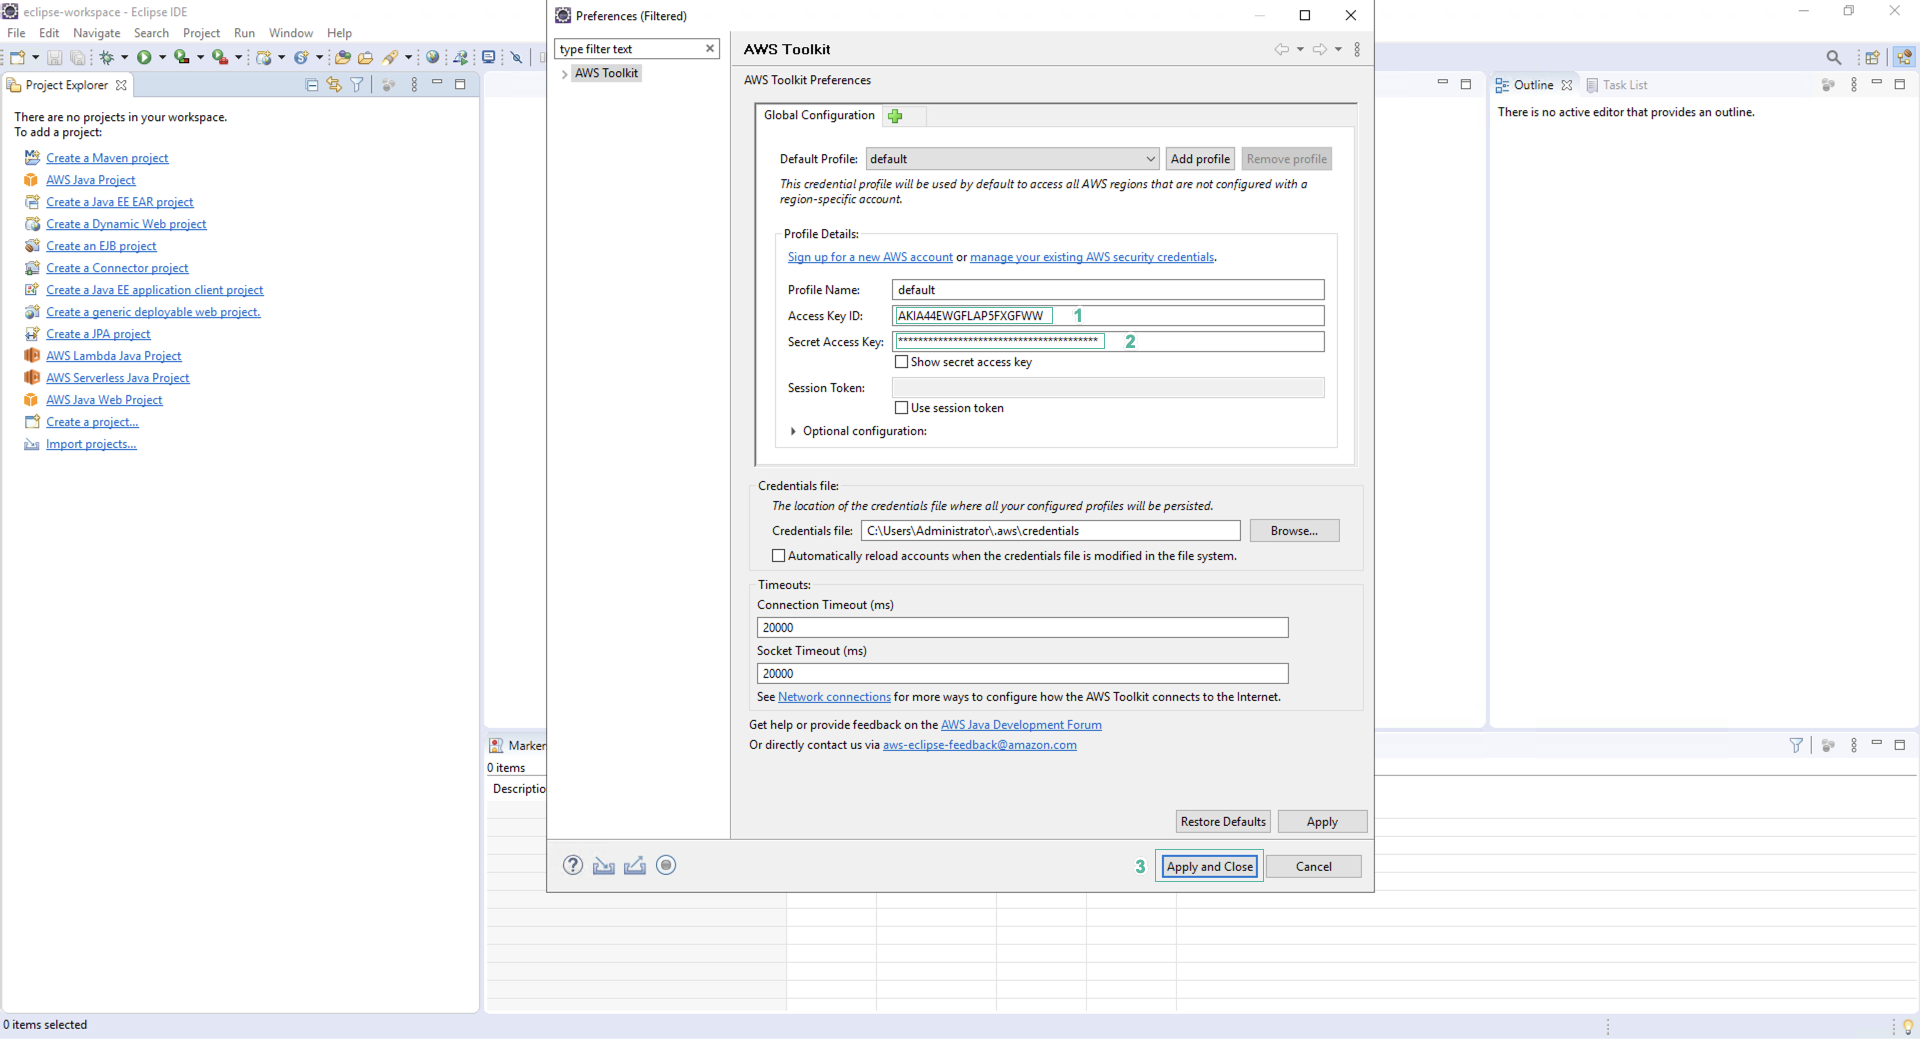
- Setting Default Profile to default.
- Enter Profile credentials information to Profile Details dialog box.
- Click Apply and Close.
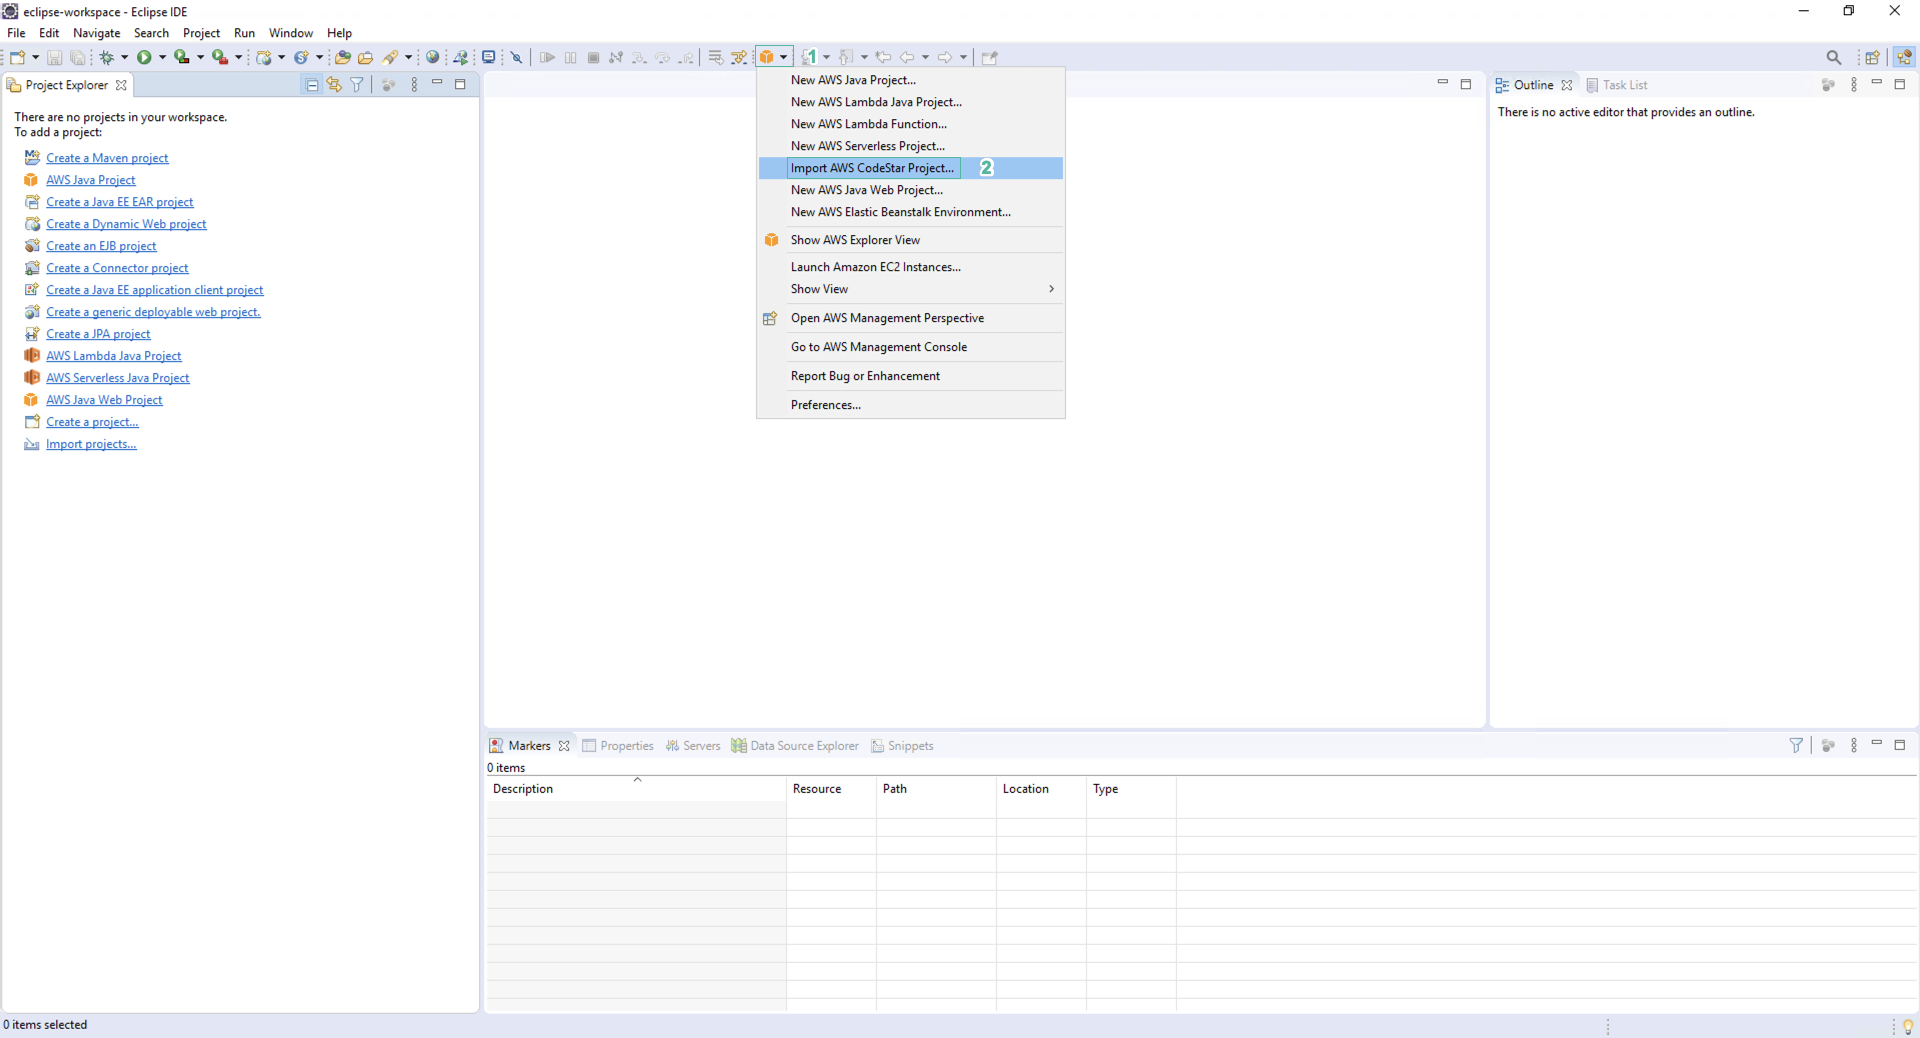
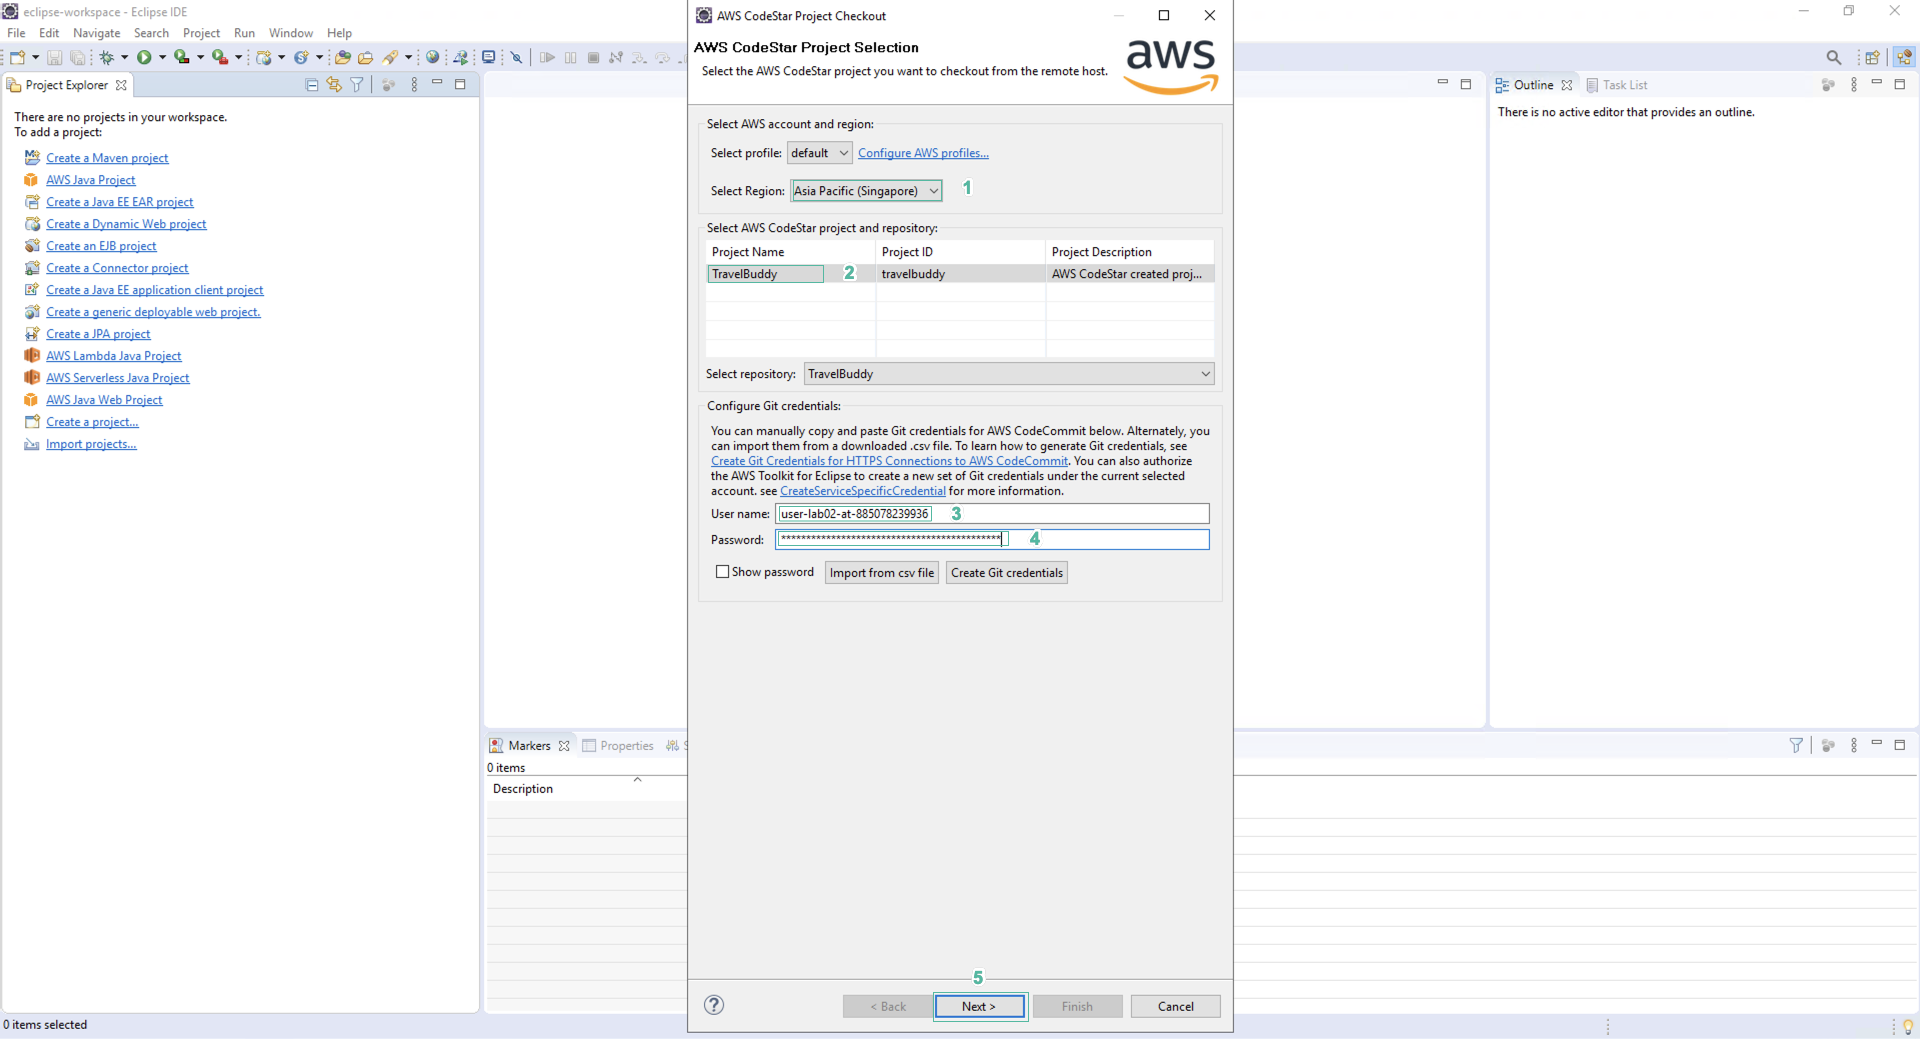
- Select AWS symbol and select Import AWS CodeStar Project….
- Select the region where the practice is being conducted in Account and region section. Select TravelBuddy and TravelBuddy repository.
- Enter downloaded git credentials in the previous part to Configure Git credentials section.
- Click Next.
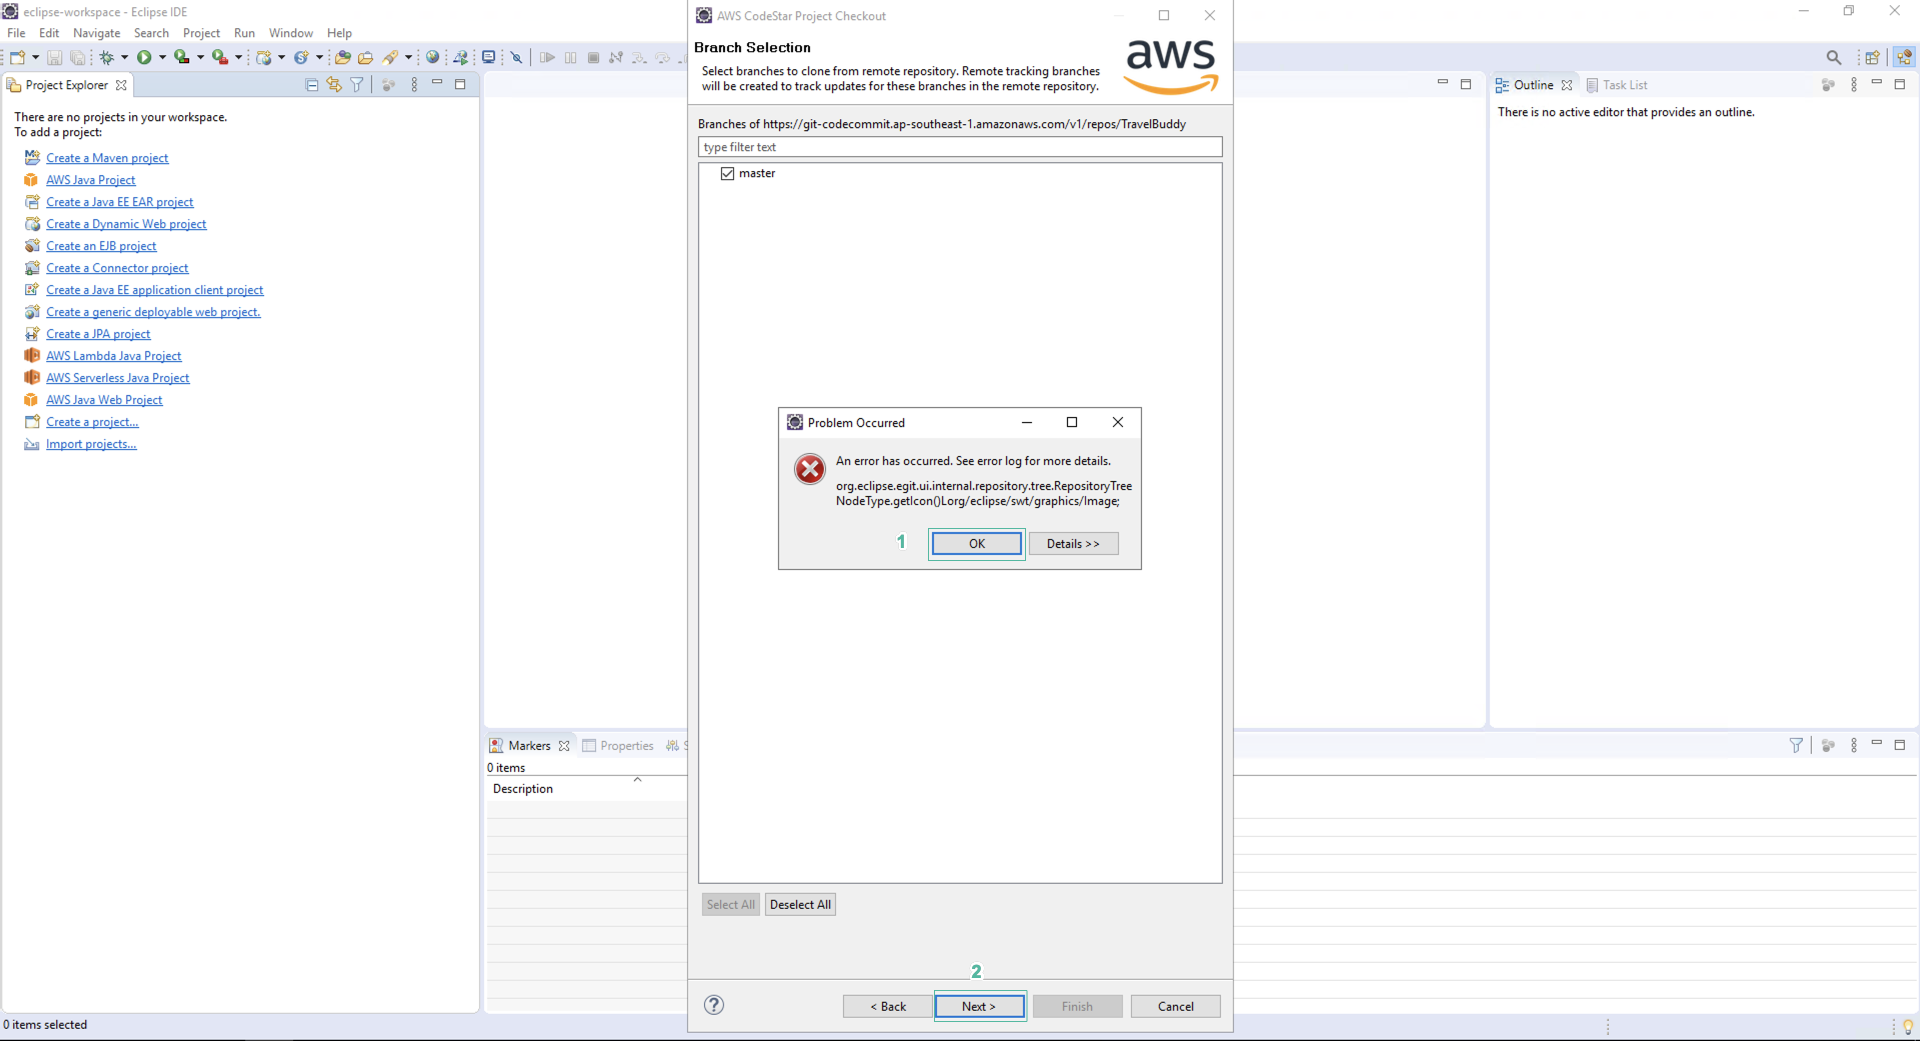
- An error dialog may appear, which you can dismiss by selecting OK.
- Click Next.
- Leave other information as default and press Finish.

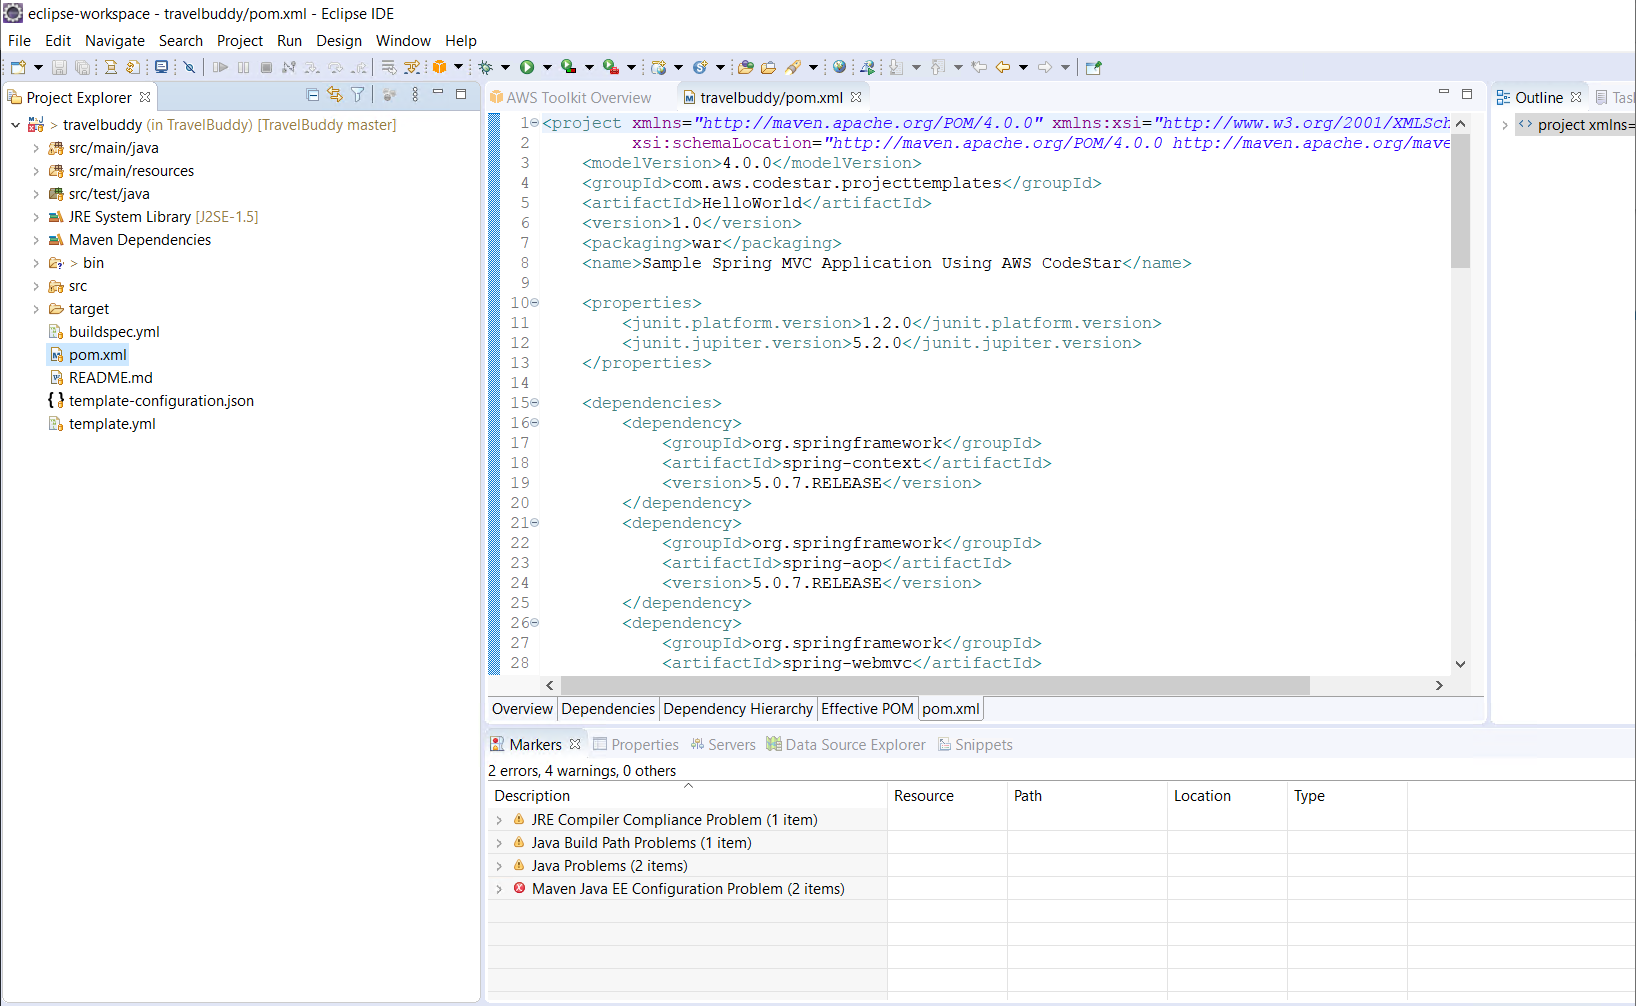
The IDE will pull the files from the CodeCommit repository and prepare them for you to start coding. There may be an error with this downloaded source code, however you can ignore it as you will not be using it other than check it out in the next step.
- Take a moment to look at the project structure before you can continue. This Hello World sample application presents a web page to the user and connects to a standard Spring controller.
So you have finished connecting and pulling source code from CodeCommit to Developer machine. In the next step, we will change code and release the new version of the appliction to Elastic Beanstalk.