Replace sample application
Since we are about to make changes to the source code, you should use Git to create a new branch. You can do this via the command line or using the Eclipse IDE. Name the new branch new-implementation. To create and switch to a new branch in Eclipse perform the following steps:
- Right click on the project, select Team
- Select Switch To , select New Branch…
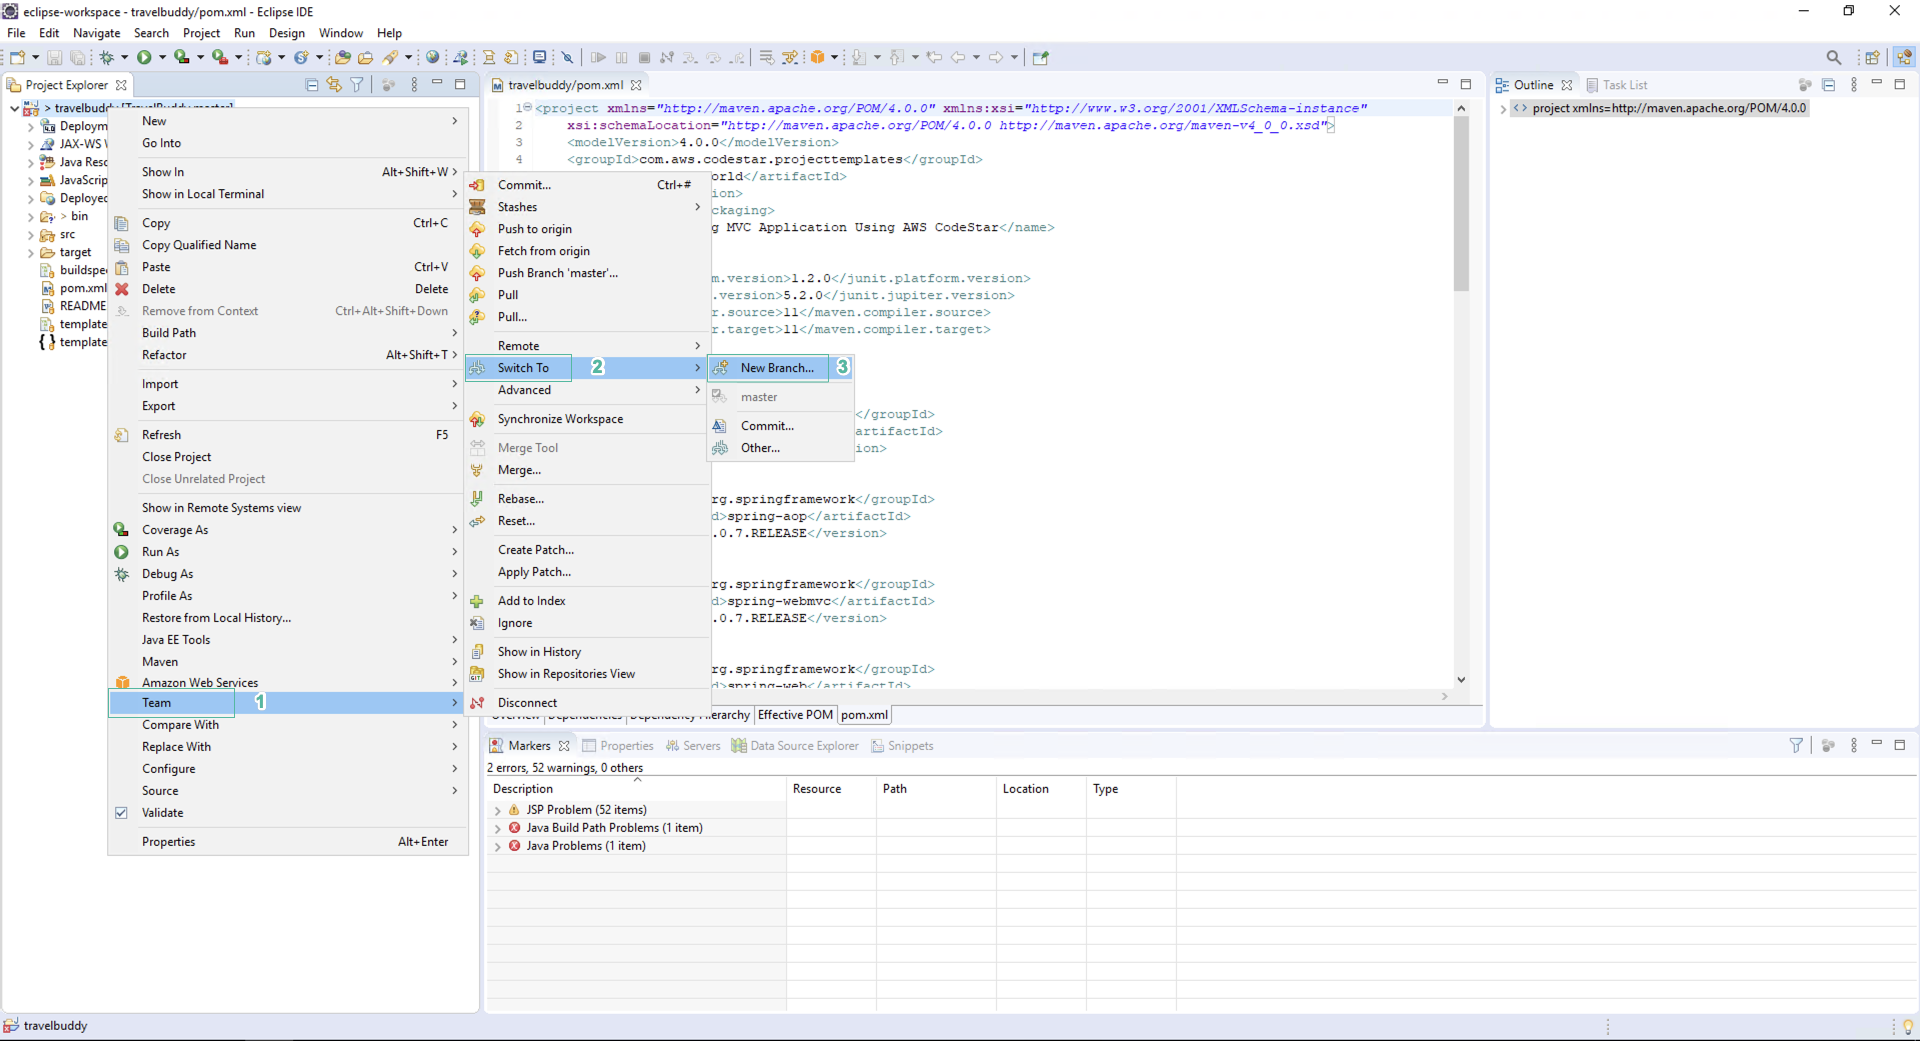
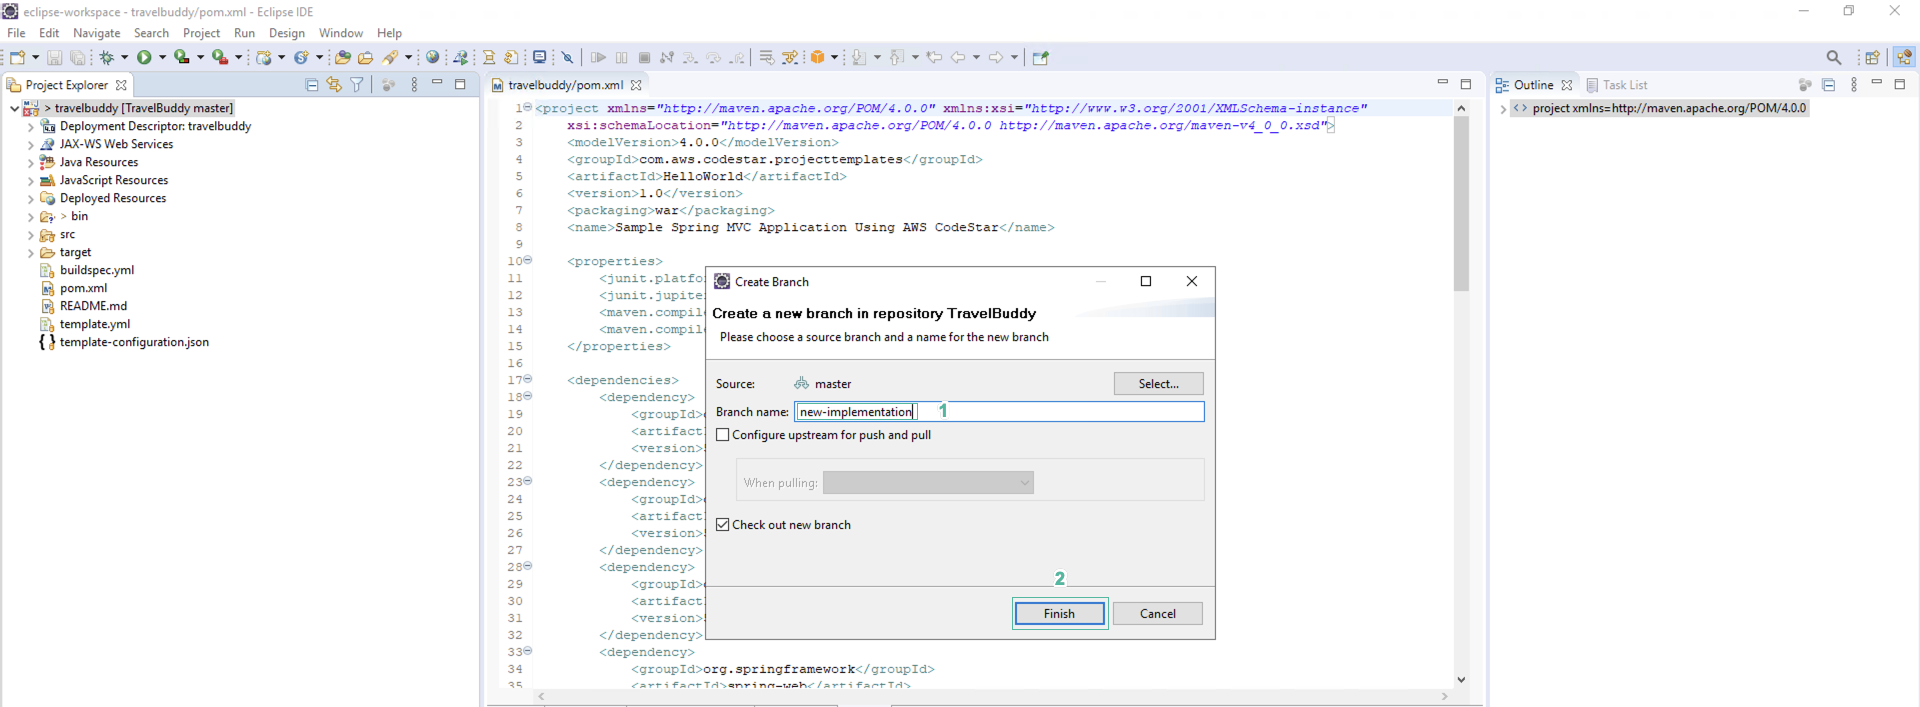
- Enter new branch name is new-implementation and click Finish.
In this case, we will use the command line.
- Open terminal and access the directory: C:\Users\Administrator\git\TravelBuddy
- Run the command line:
git checkout -b new-implementationto create and switch to the new branch.

- Download TravelBuddy.zip file and extract it.
Download this file by browser in the virtual machine you are running.
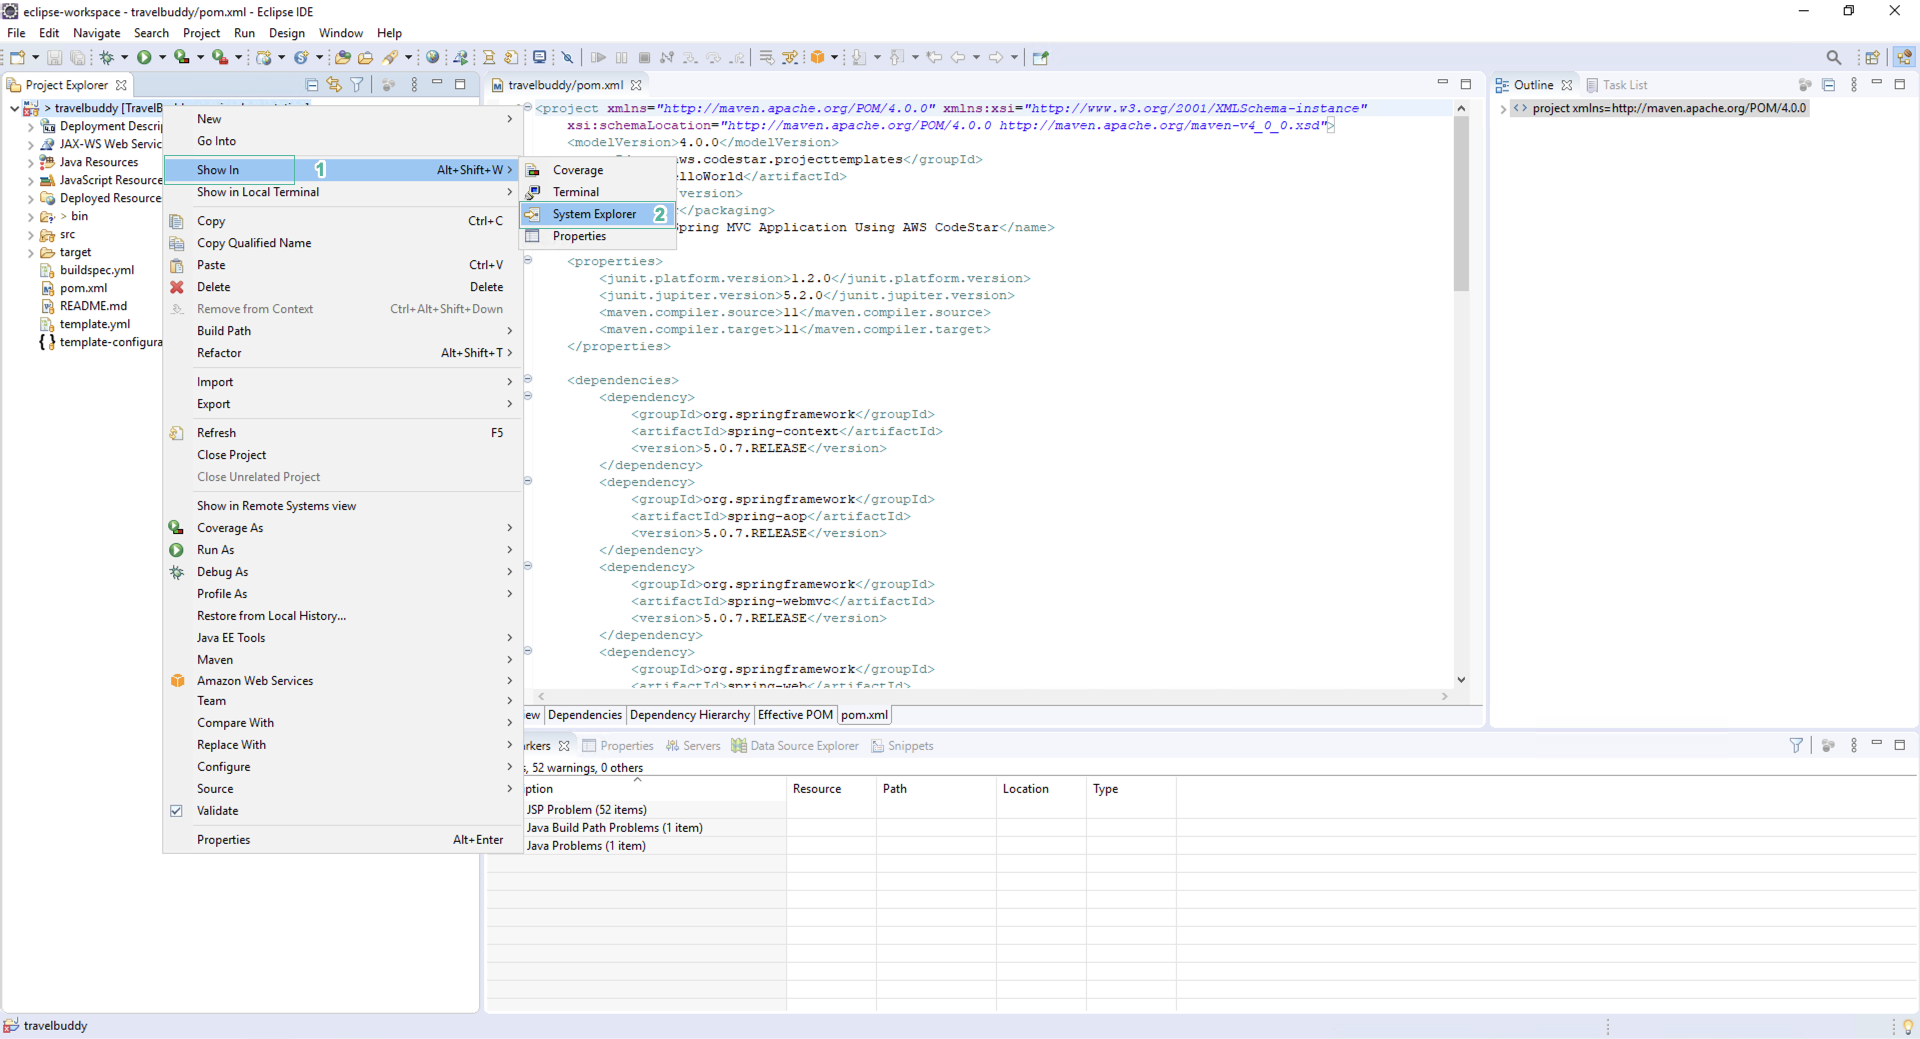
- In the Eclipse IDE, right click on the root element of the TravelBuddy project and select Show In -> System Explorer.
-
Delete src and target folders.
-
Copy the contents of the extracted TravelBuddy folder (source folder) to the folder you just opened from the Eclip IDE (destination folder). You can delete the .ebextensions folder in the destination folder before performing the copy, or select Replace to ensure that the files and folders are overwritten correctly.
You will see in the .ebextensions folder there are 3 files, one is the parameters you need to update with the RDS endpoint, the other two are pre-generated with the codecommit setting - set-instance-credit-unlimited.config sshd. config. -
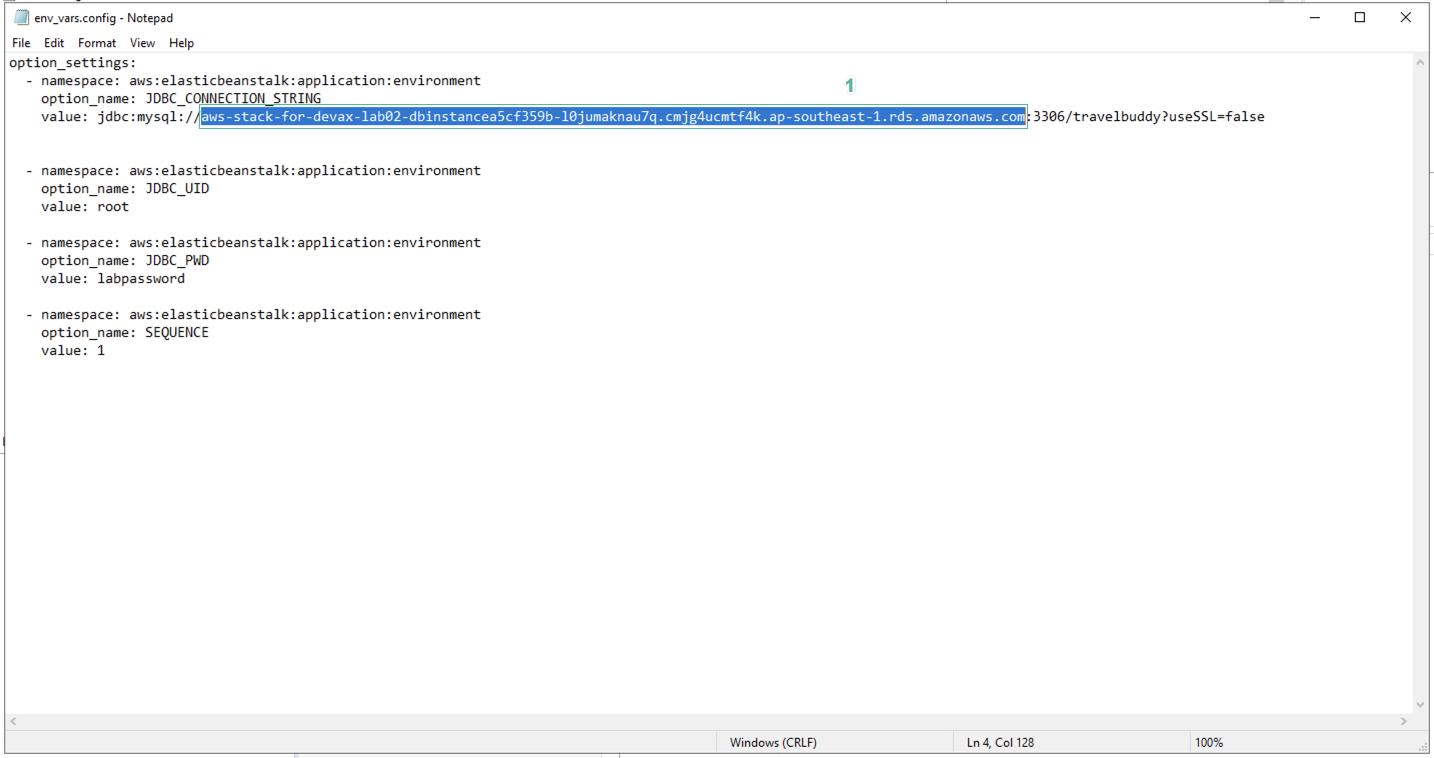
Open env_vars.config file in .ebextensions folder and replace value to RDS endpoint:
option_settings:
  - namespace: aws:elasticbeanstalk:application:environment
    option_name: JDBC_CONNECTION_STRING
    value: <REPLACE YOUR DETAIILS HERE>
You can get your RDS value by logging into the AWS Console, accessing the running RDS instance and getting the endpoint information from there, and adding it to the env_vars.
You can also get this parameter from the cloudformation stack in the Output section of the Cloudformation stack created at the beginning of the workshop.
- Update Python version.
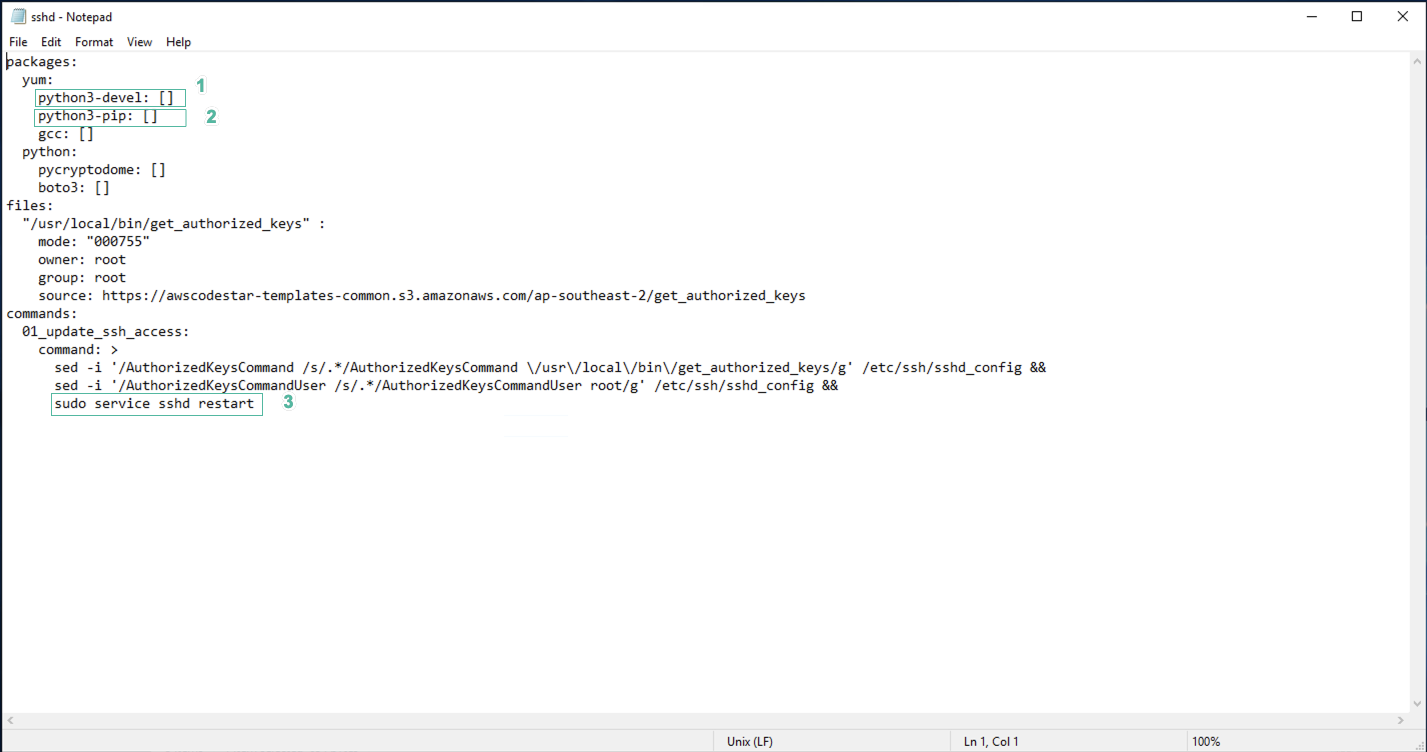
- Open .ebextensions/sshd.config file:
- Edit python27-devel to python3-devel.
- Edit python27-pip to python3-pip.
- Edit /etc/init.d/sshd restart to sudo service sshd restart.
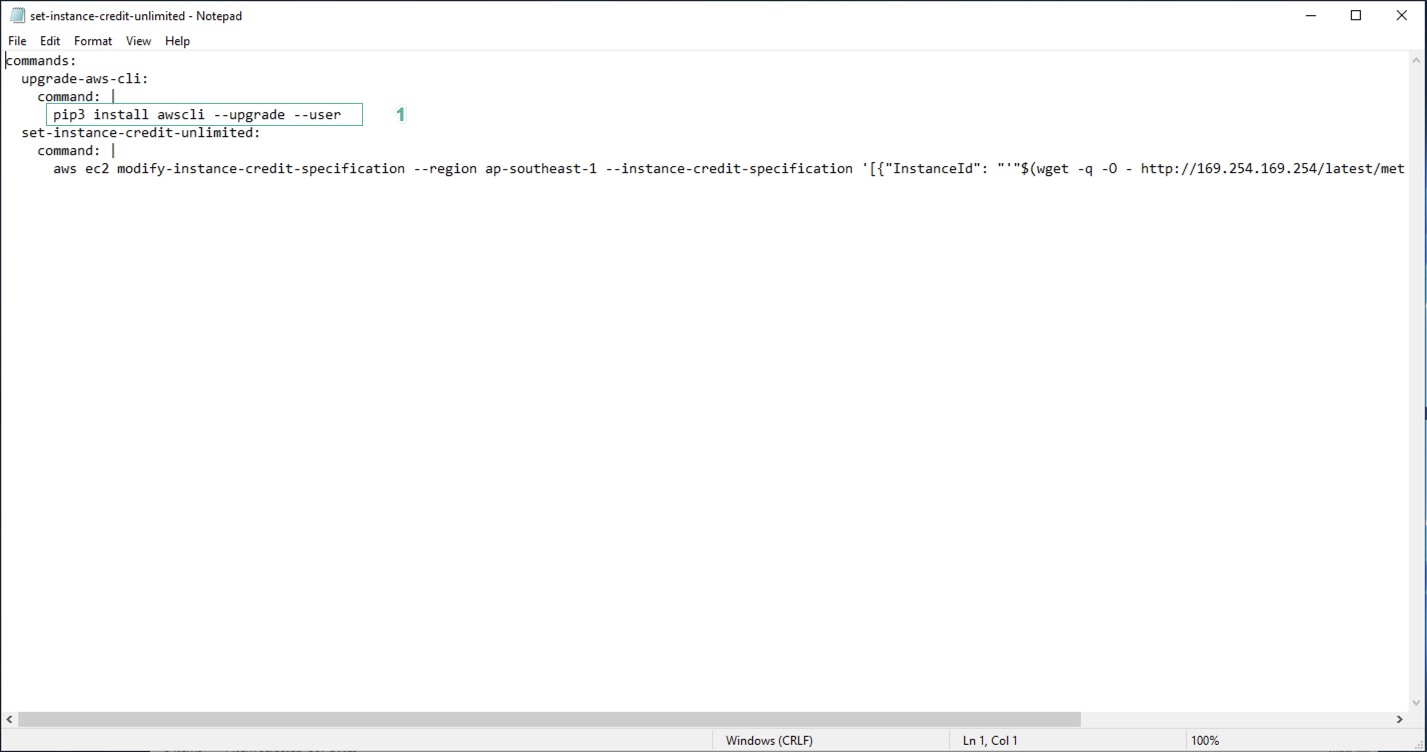
- Open .ebextensions/set-instance-credit-unlimited file:
- Edit pip install awscli –upgrade –user to pip3 install awscli –upgrade –user
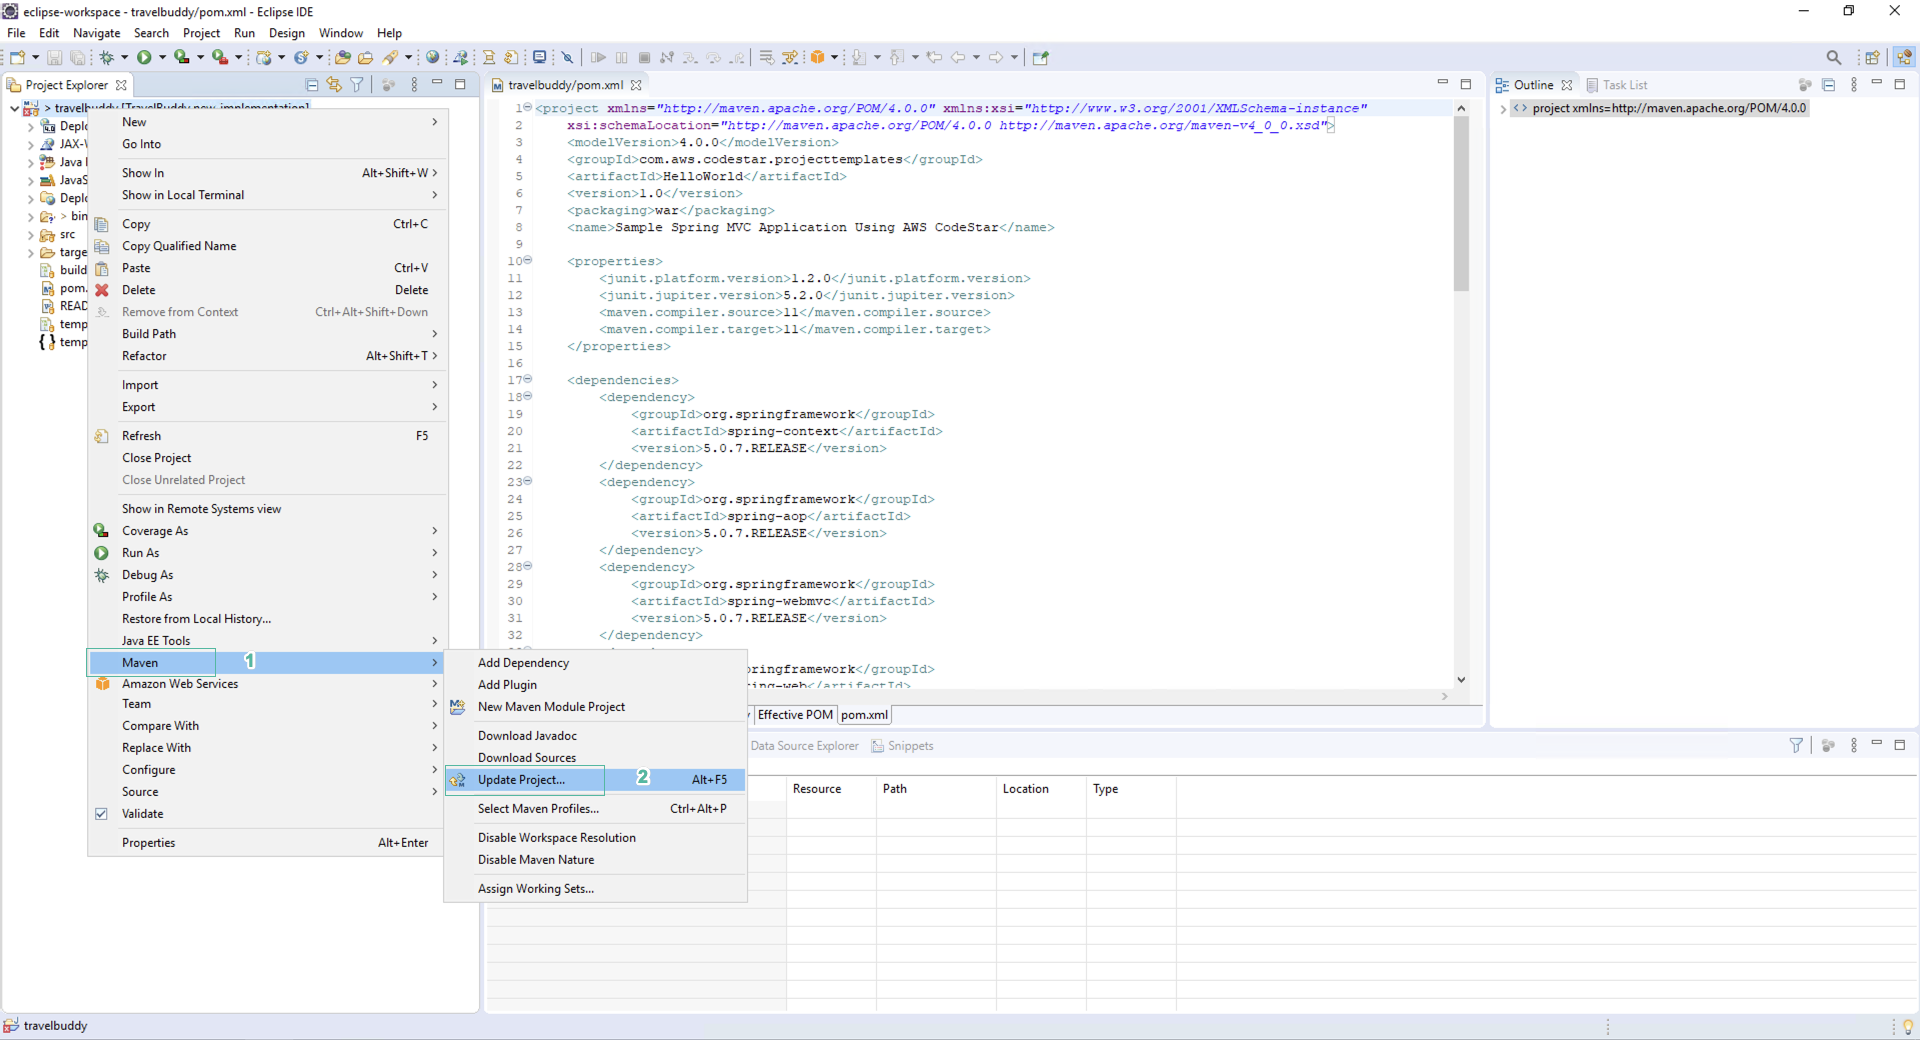
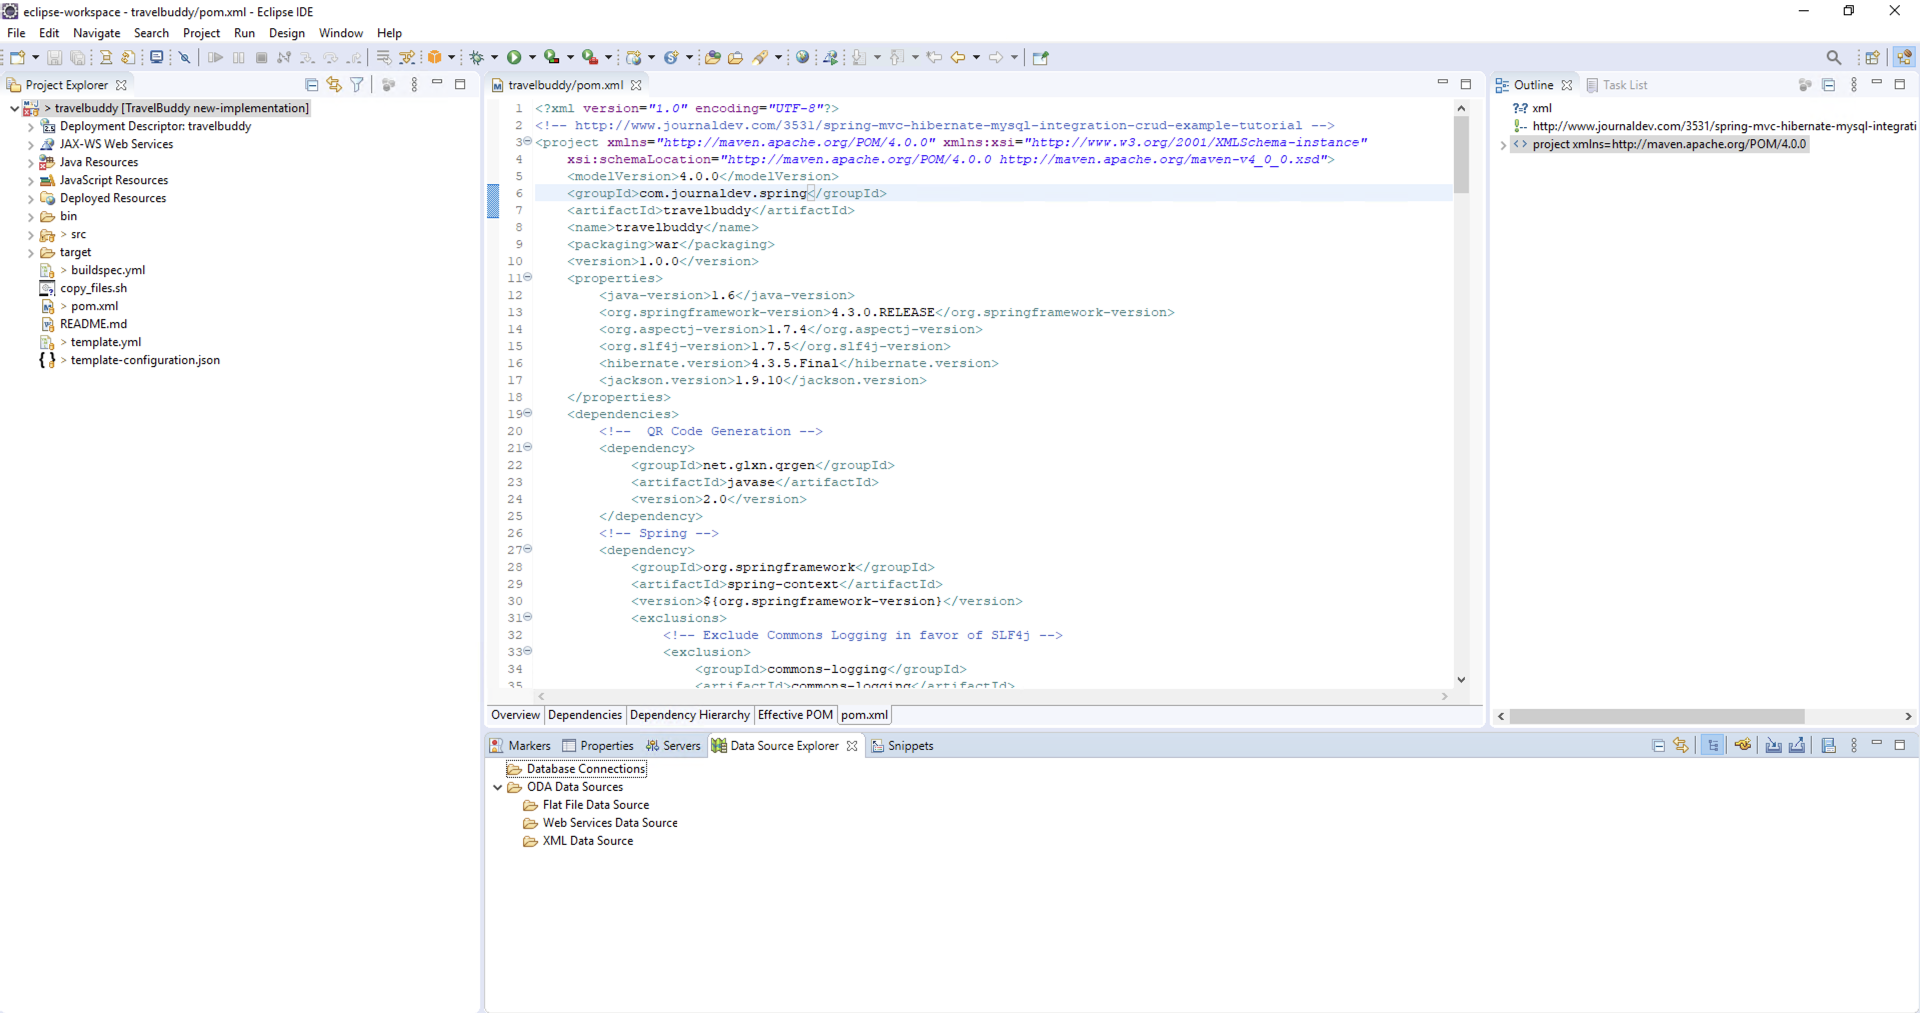
- Right click on the root project and select Maven | Update Project | OK
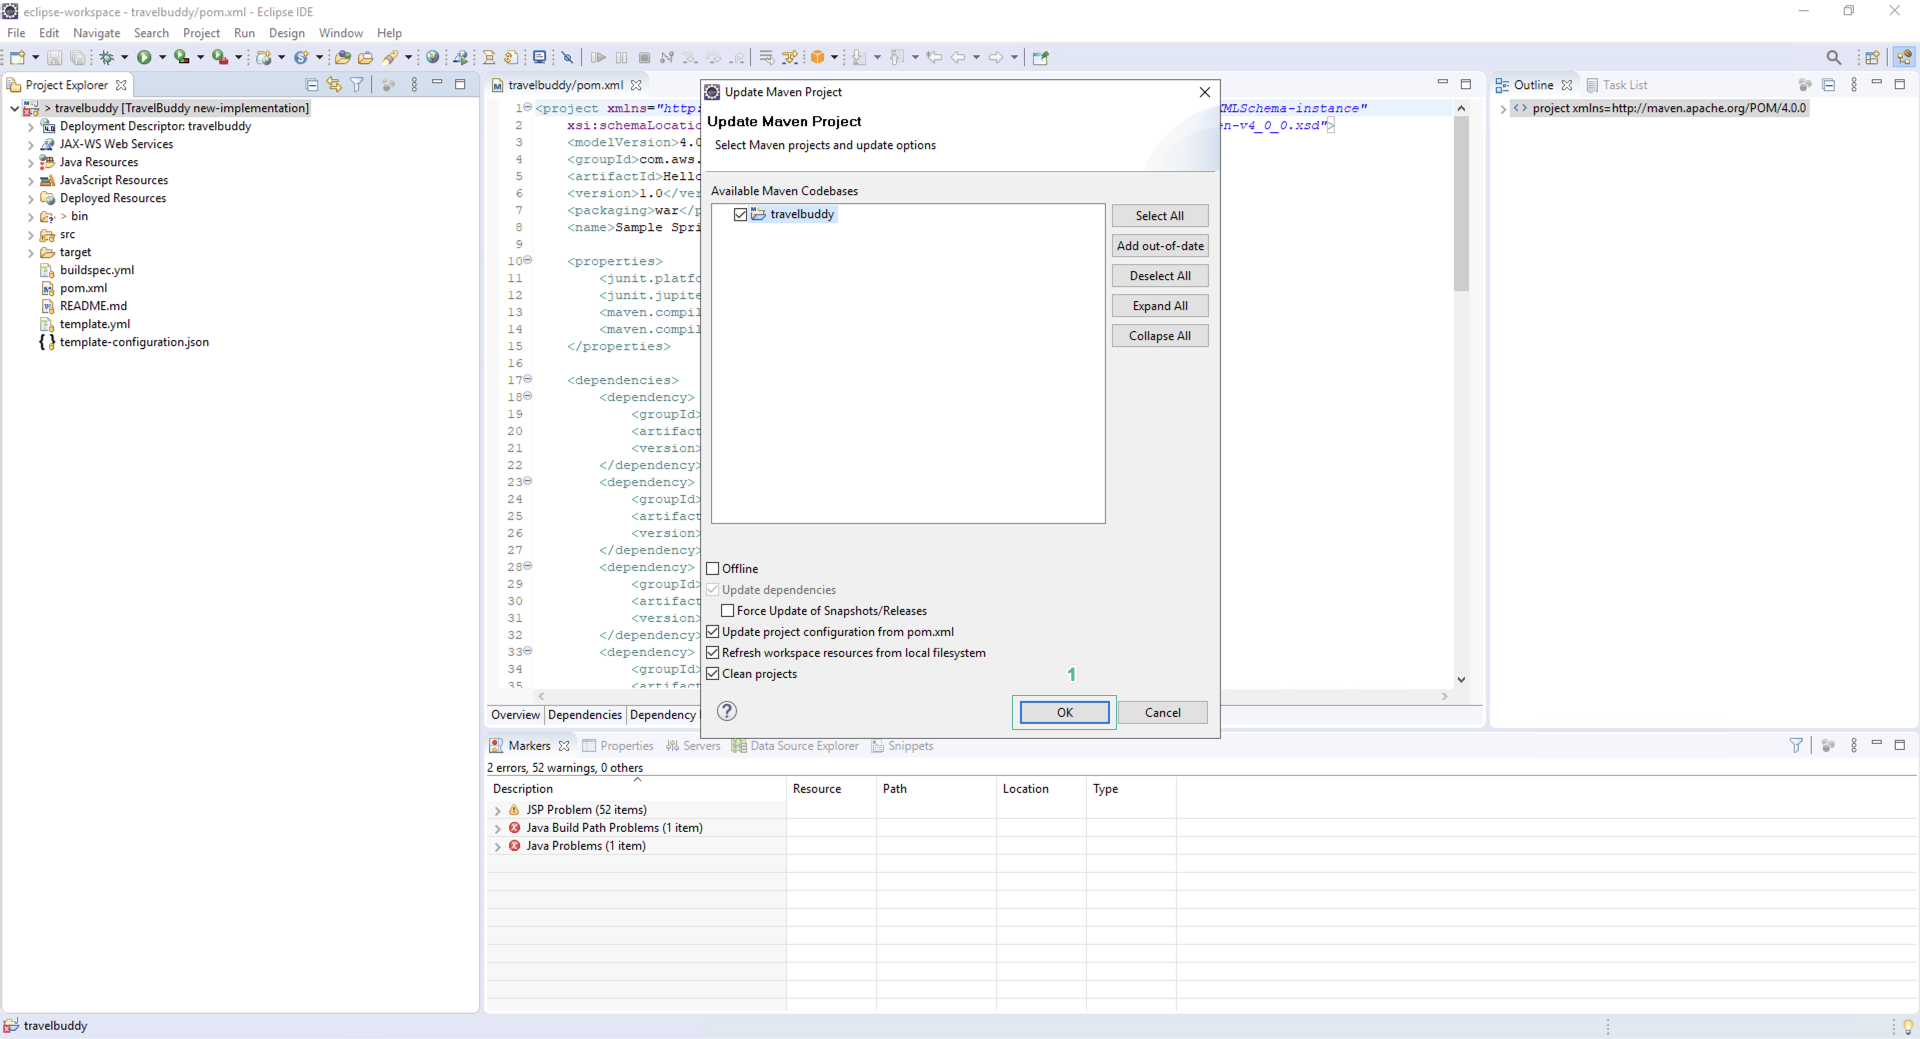
- When the update is complete, you will see project folder structure similar to the below image:
-
You have just changing the source code, now you need to add the files you just changed to the new-implementation branch and commit it.
-
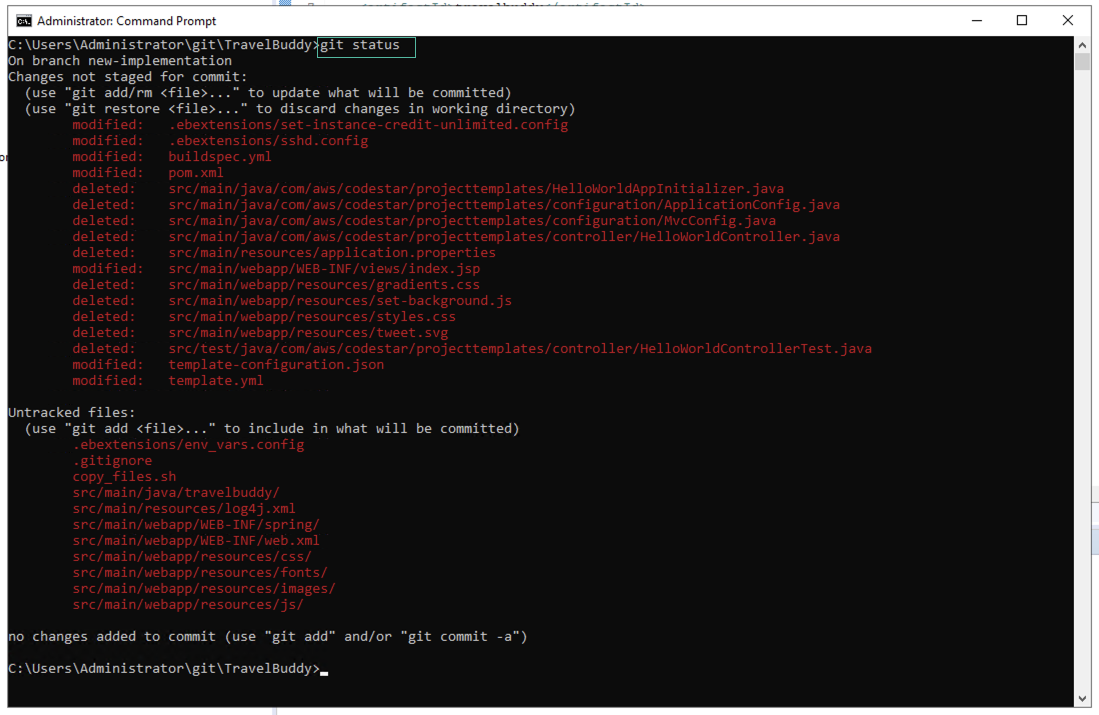
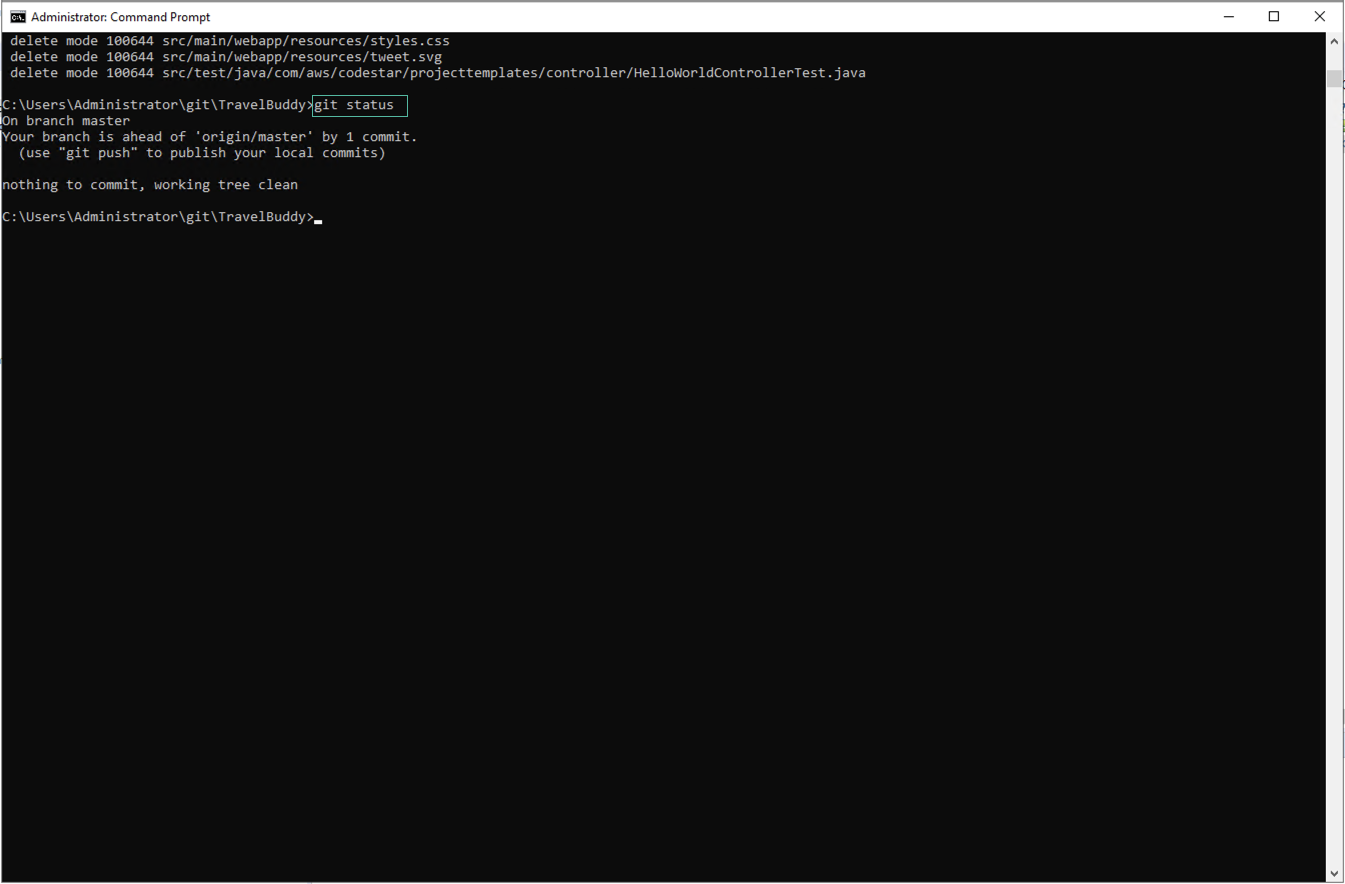
Use the terminal, access to TravelBuddy folder.
- Enter
git statusto list changes of source code.
- Enter
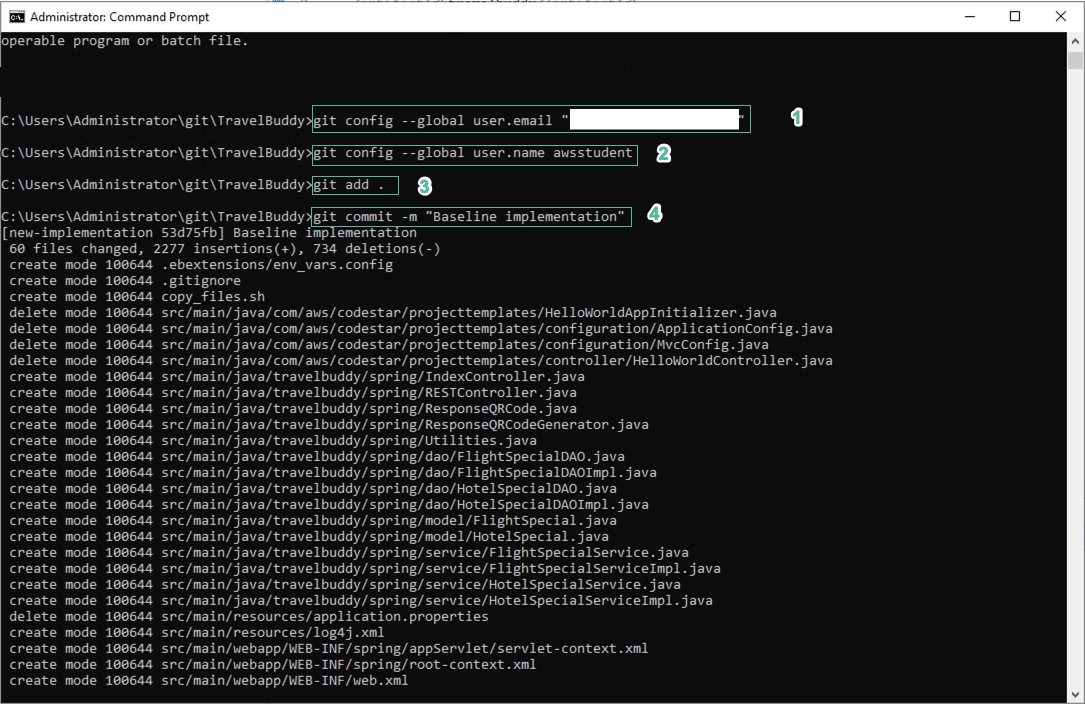
git config --global user.email "you@example.com" - Nhap
git config --global user.name awsstudent - Enter
git add .to add changed files. - Enter
git commit -m "Baseline implementation"to commit the changes.
- Enter
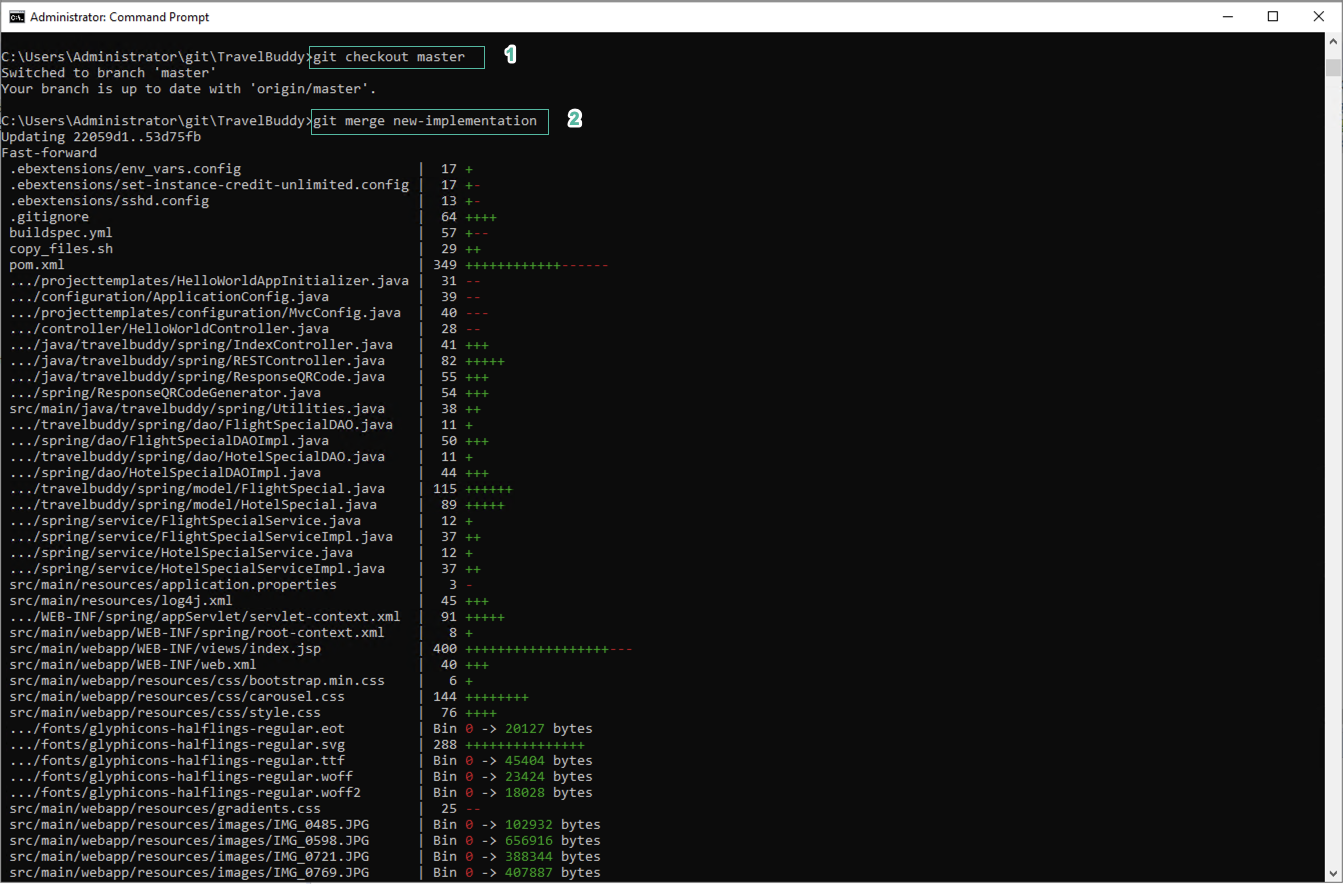
git checkout masterto switch to master branch. - Merge the changes of the new-implementation branch to the master branch with the command -
git merge new-implementation
- Check again with
git statuscommand.
- To push these changes to CodeCommit, in Eclipse, right click on the project root và select Team | Push to Origin…
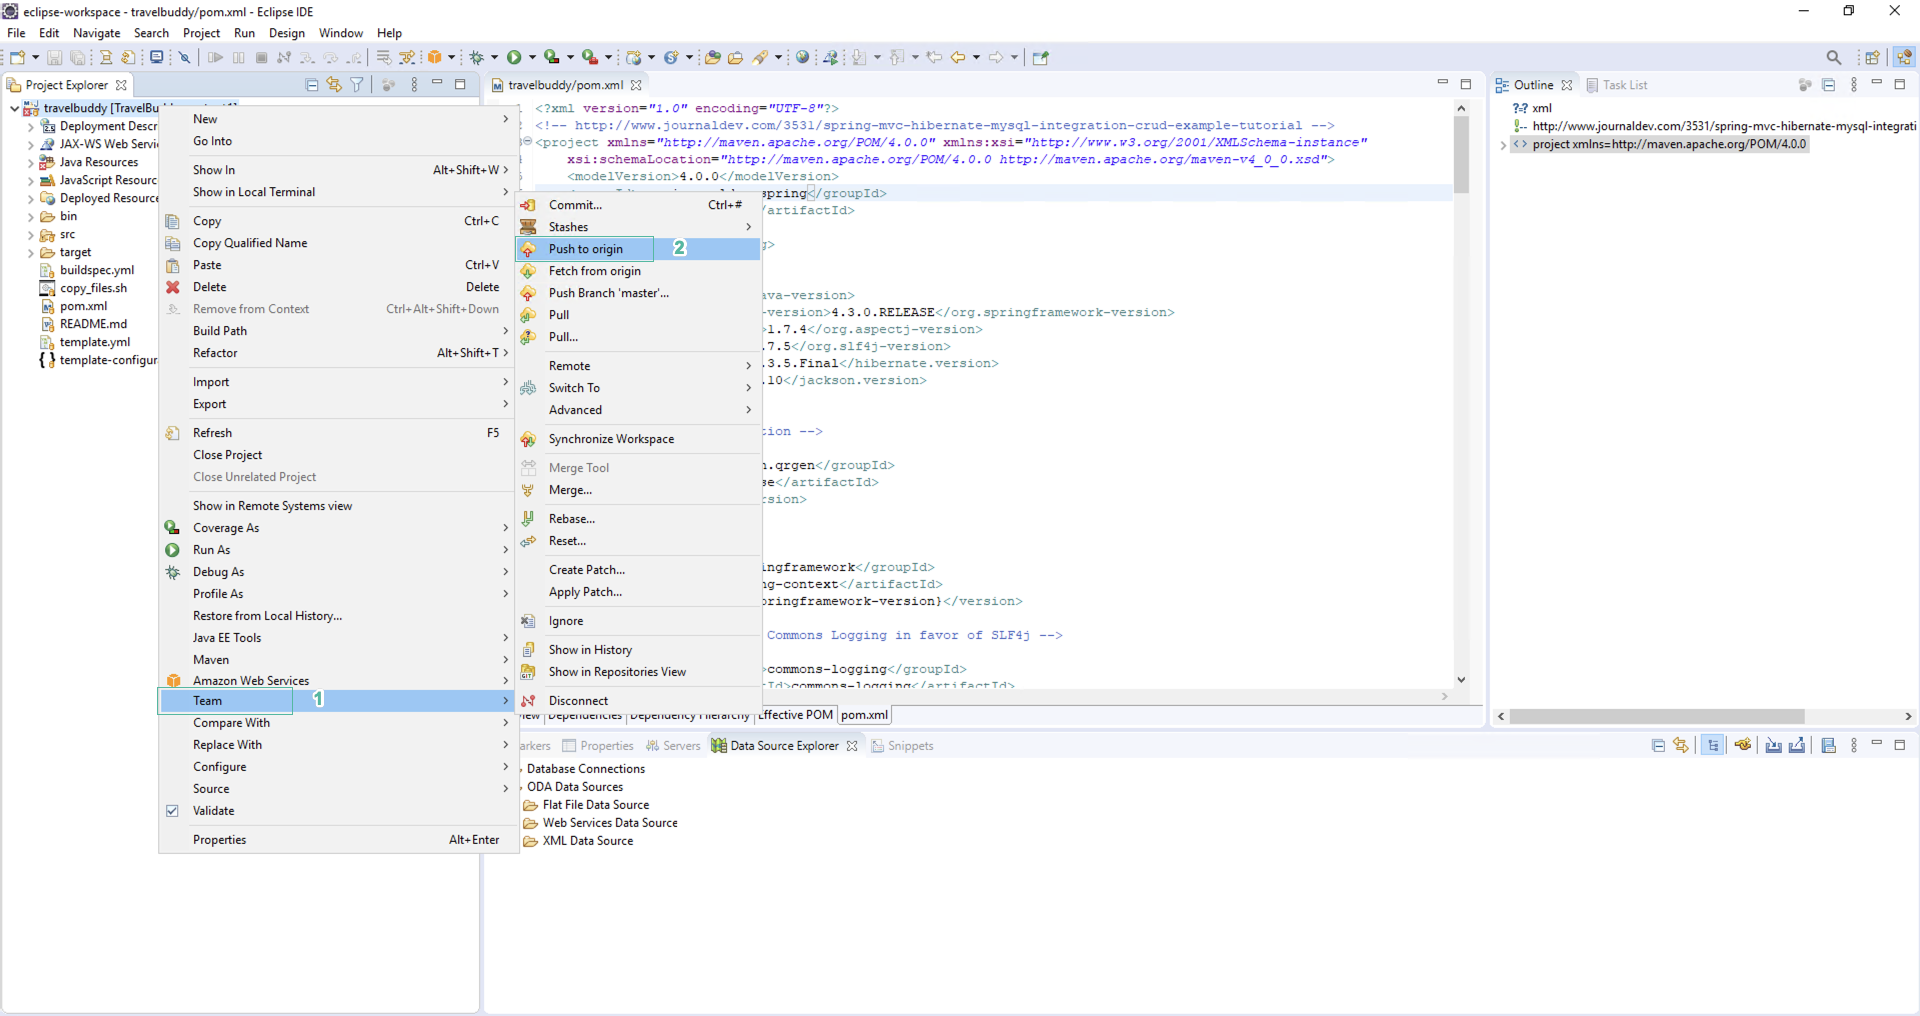
- Click Close.
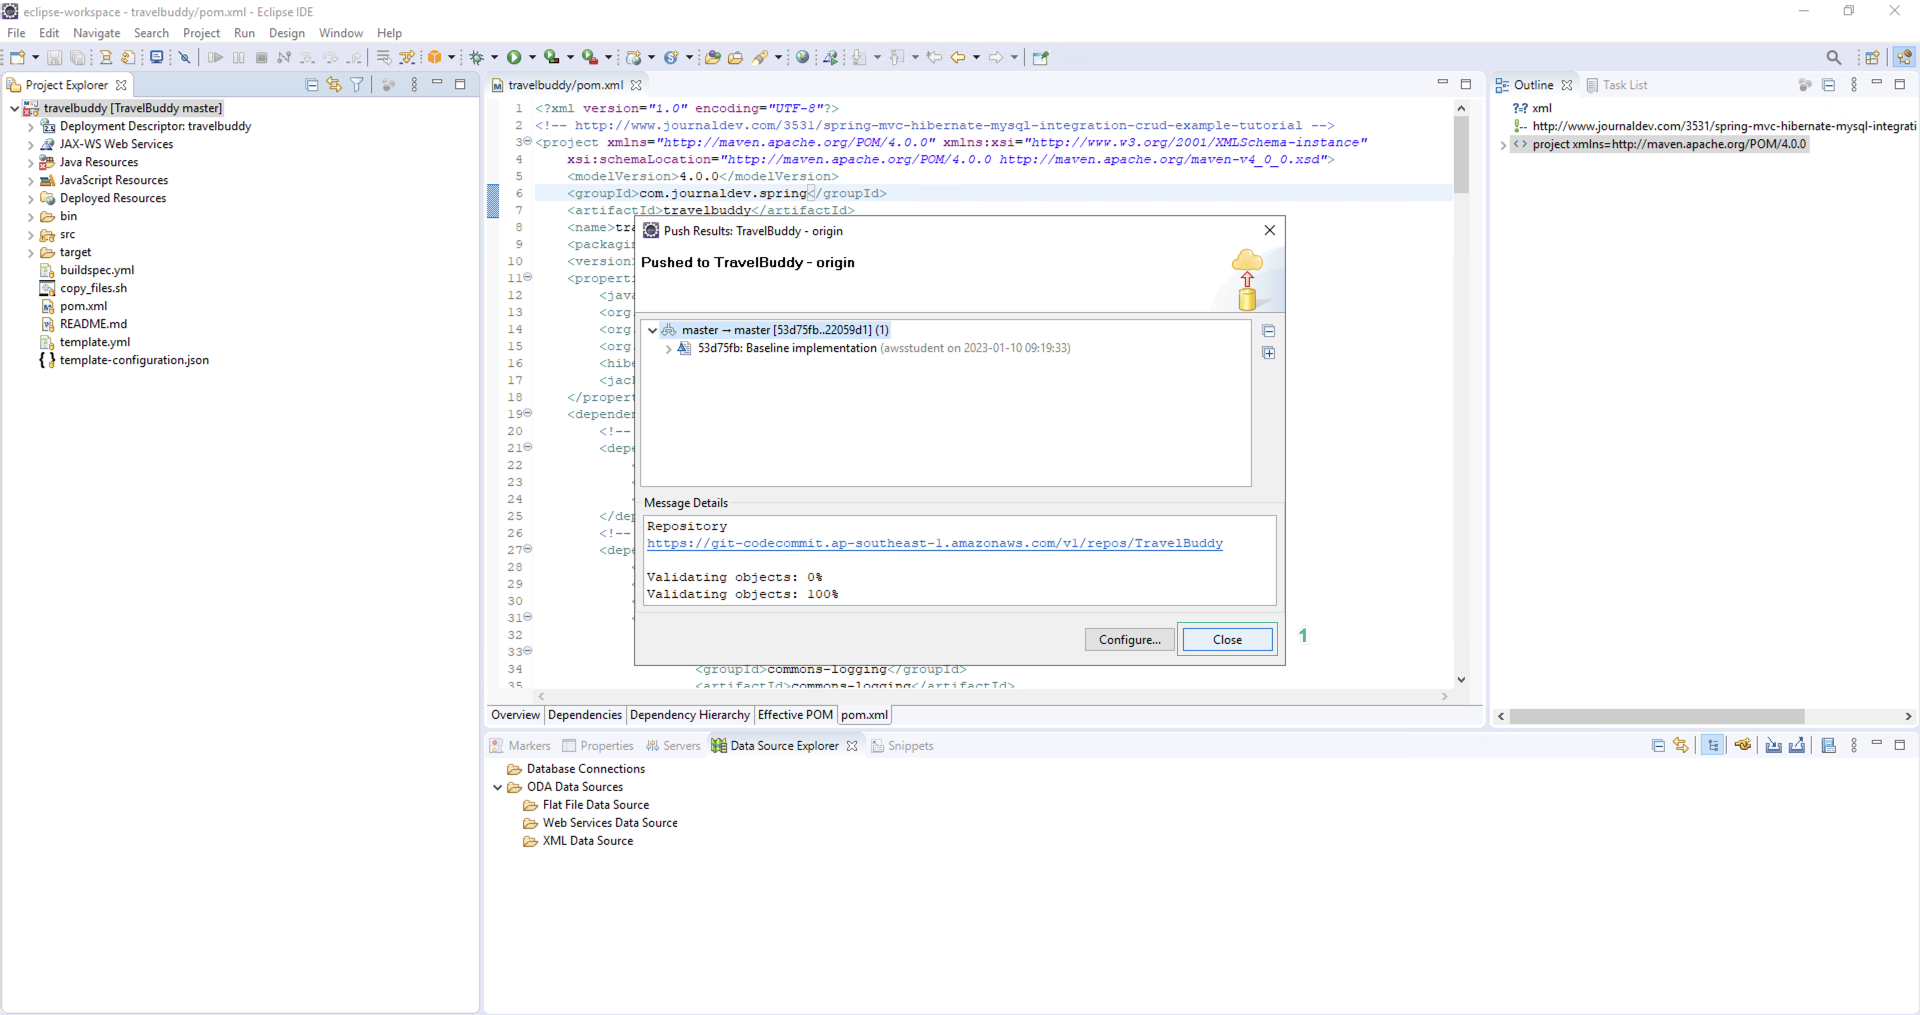
It will take a few minutes to push code and running.
-
To make the application accessible to the database, update the security rule.
-
Open EC2 console.
-
Click Security Groups on the left menu.
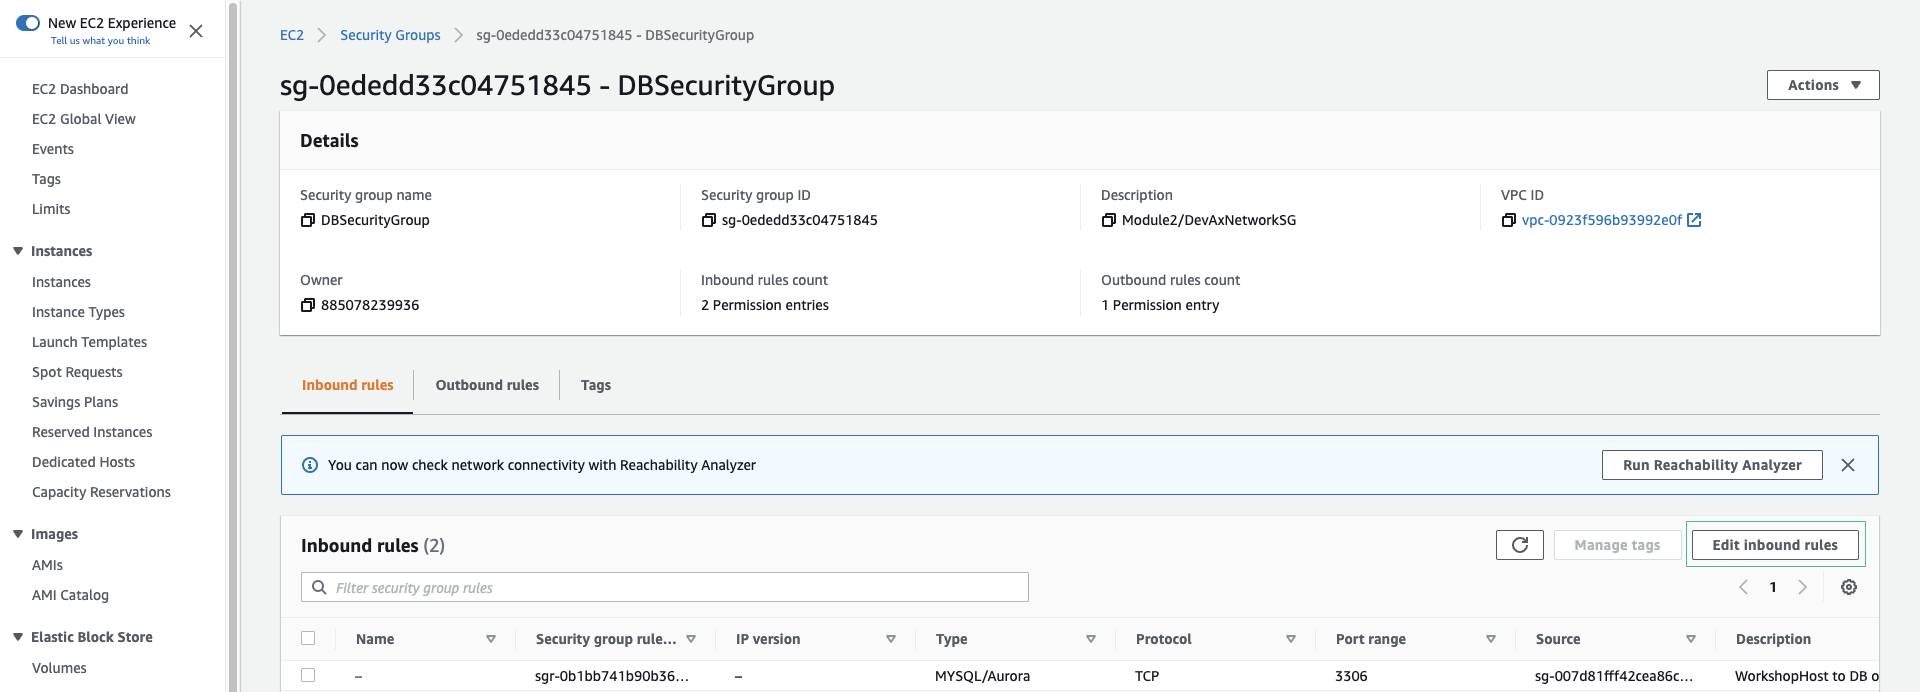
- Select DBSecurityGroup
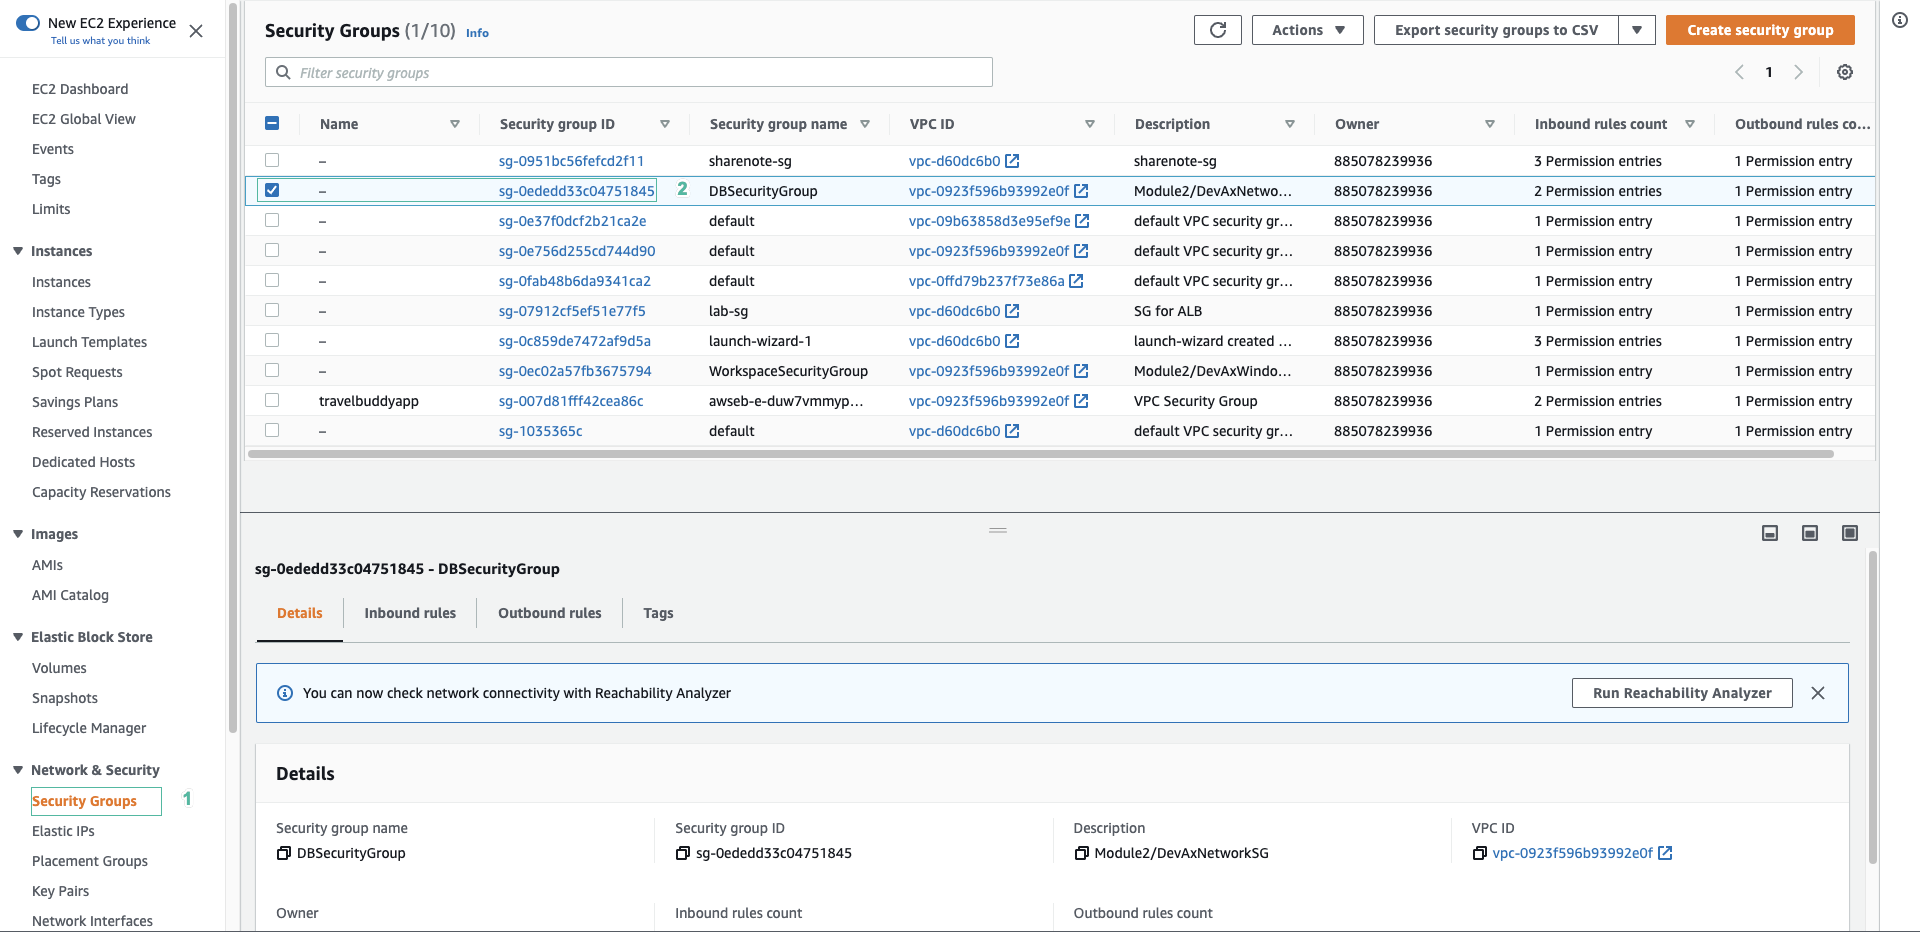
- Click Edit inbound rules
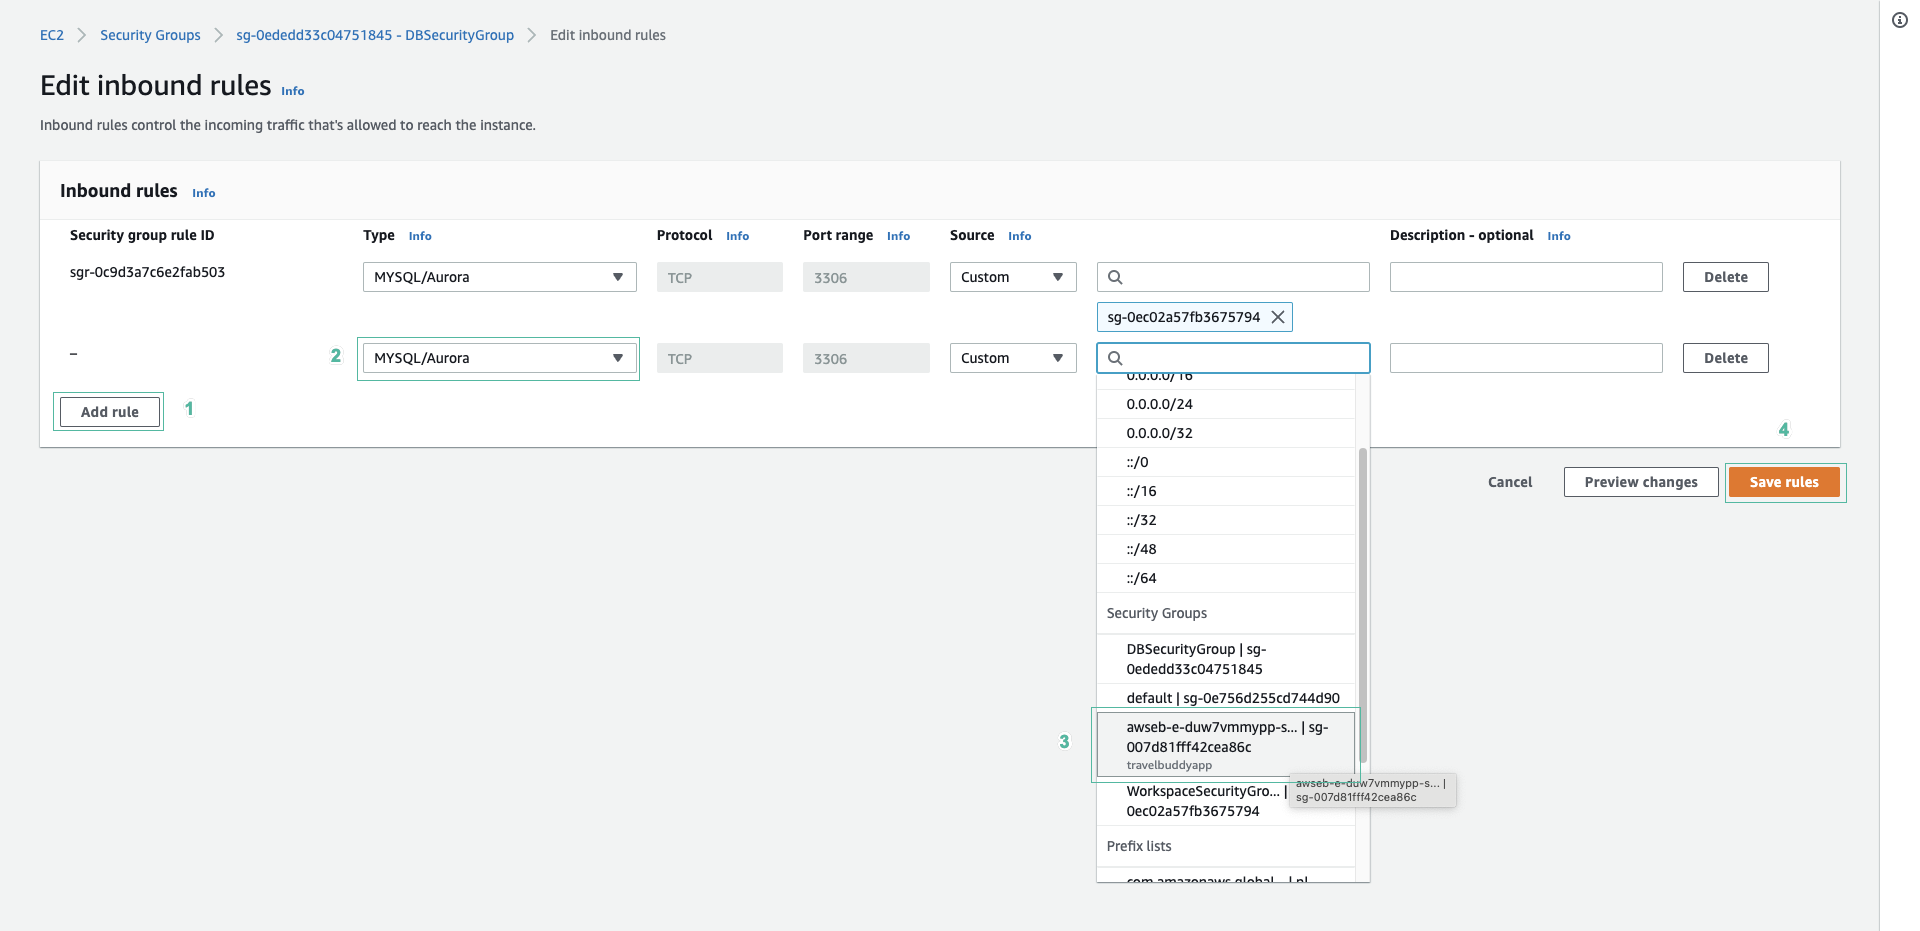
- Click Add rule.
- Select MySQL/Aurora service.
- Select SecurityGroup ID from travelbuddyapp.
- Select Save rules.
Caching
In this part, we will speed up building by storing artifacts (e.g. java packages) in an S3 bucket that can be used on the next build.
- Open buildspec.yml file, you will see the below lines:
cache:
  paths:
    - '/root/.m2/**/*'
-
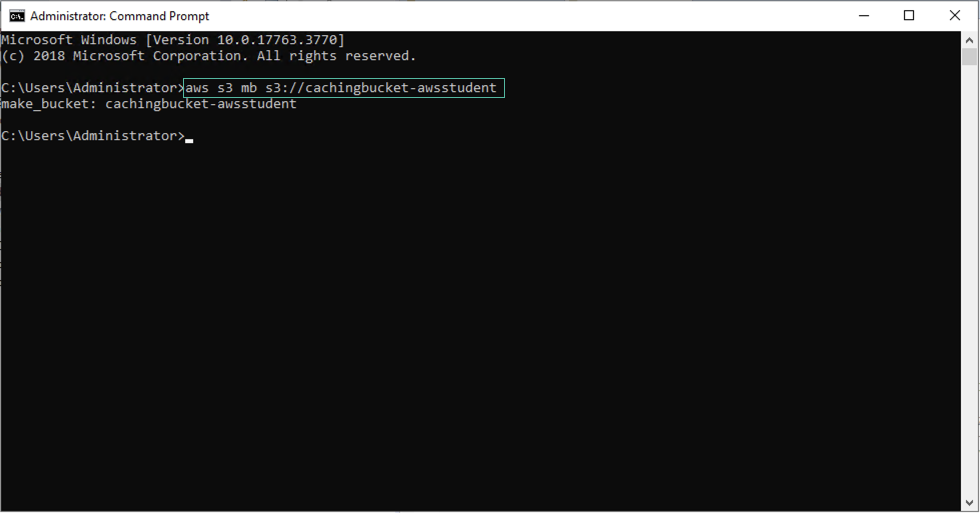
Open the terminal.
-
Execute the below commnad to create a new caching bucket. Replace with the name you want.
aws s3 mb s3://cachingbucket-<YOURNAME-NO-SPACES>
-
The AWS CodeBuild needs to access to the cache bucket, so we need IAM permissions name. Open AWS Console and access IAM.
-
Select Policies tab and find CodeStar_travelbuddy_PermissionsBoundary policy.
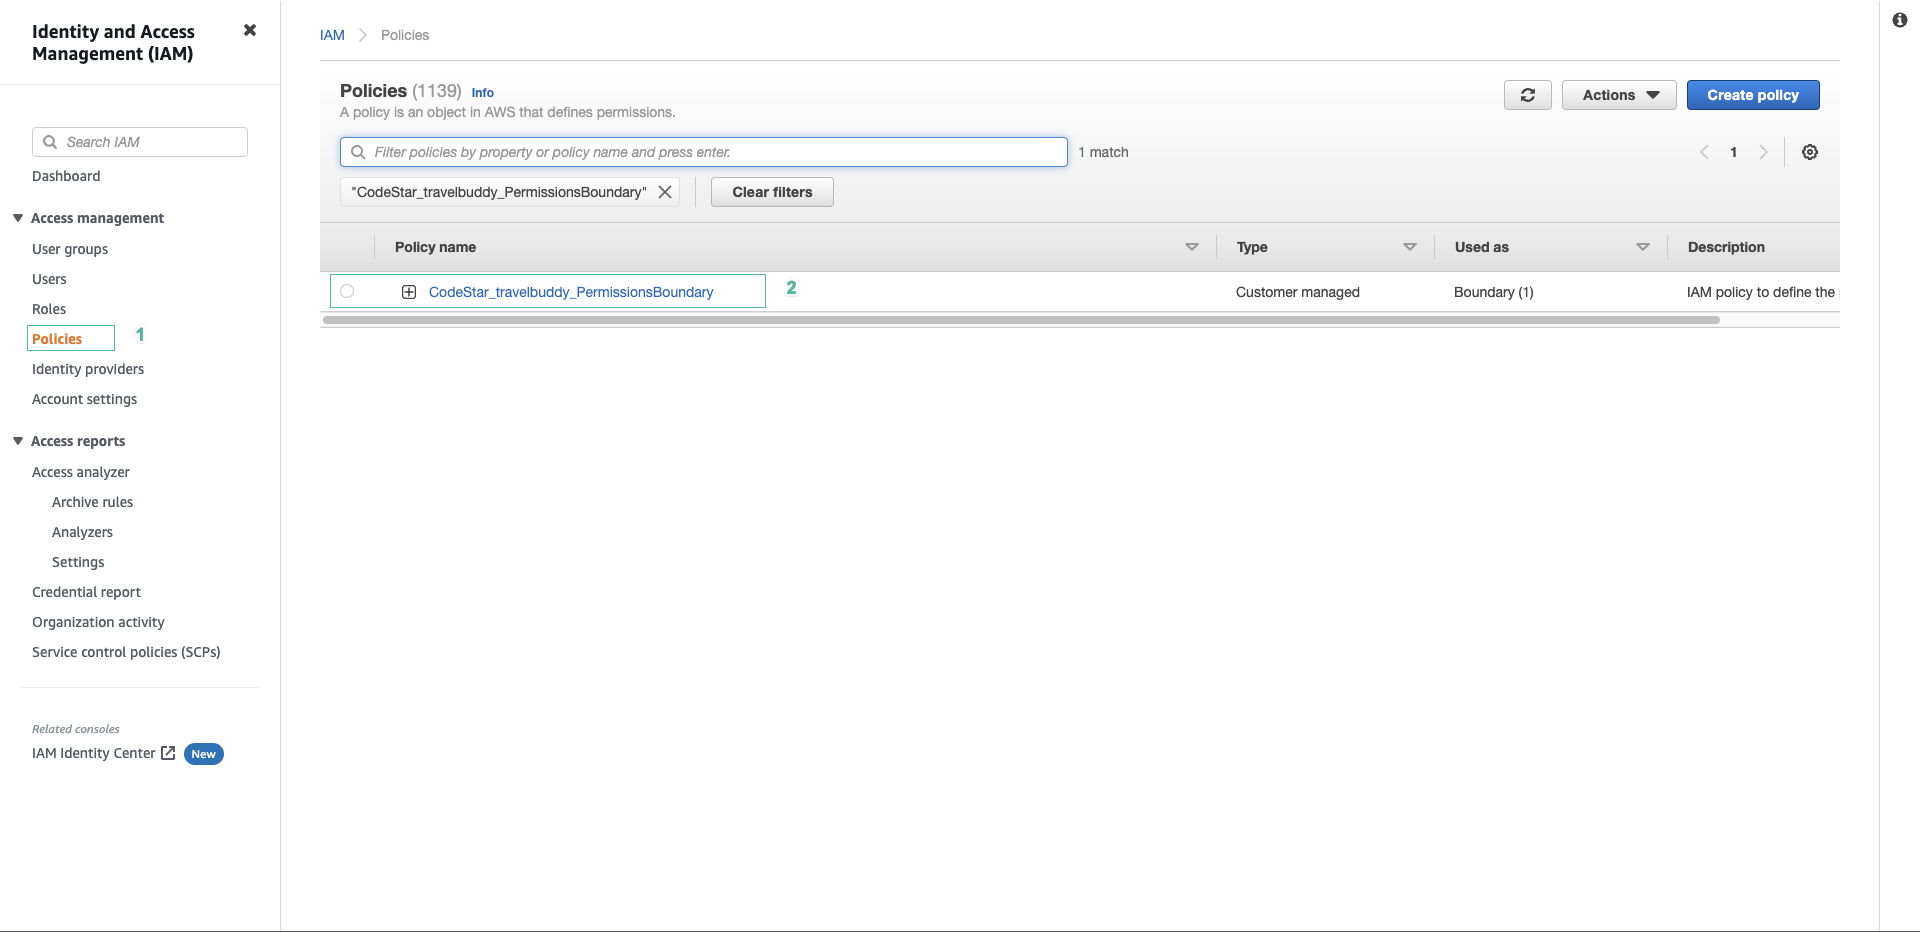
- Select Edit policy.
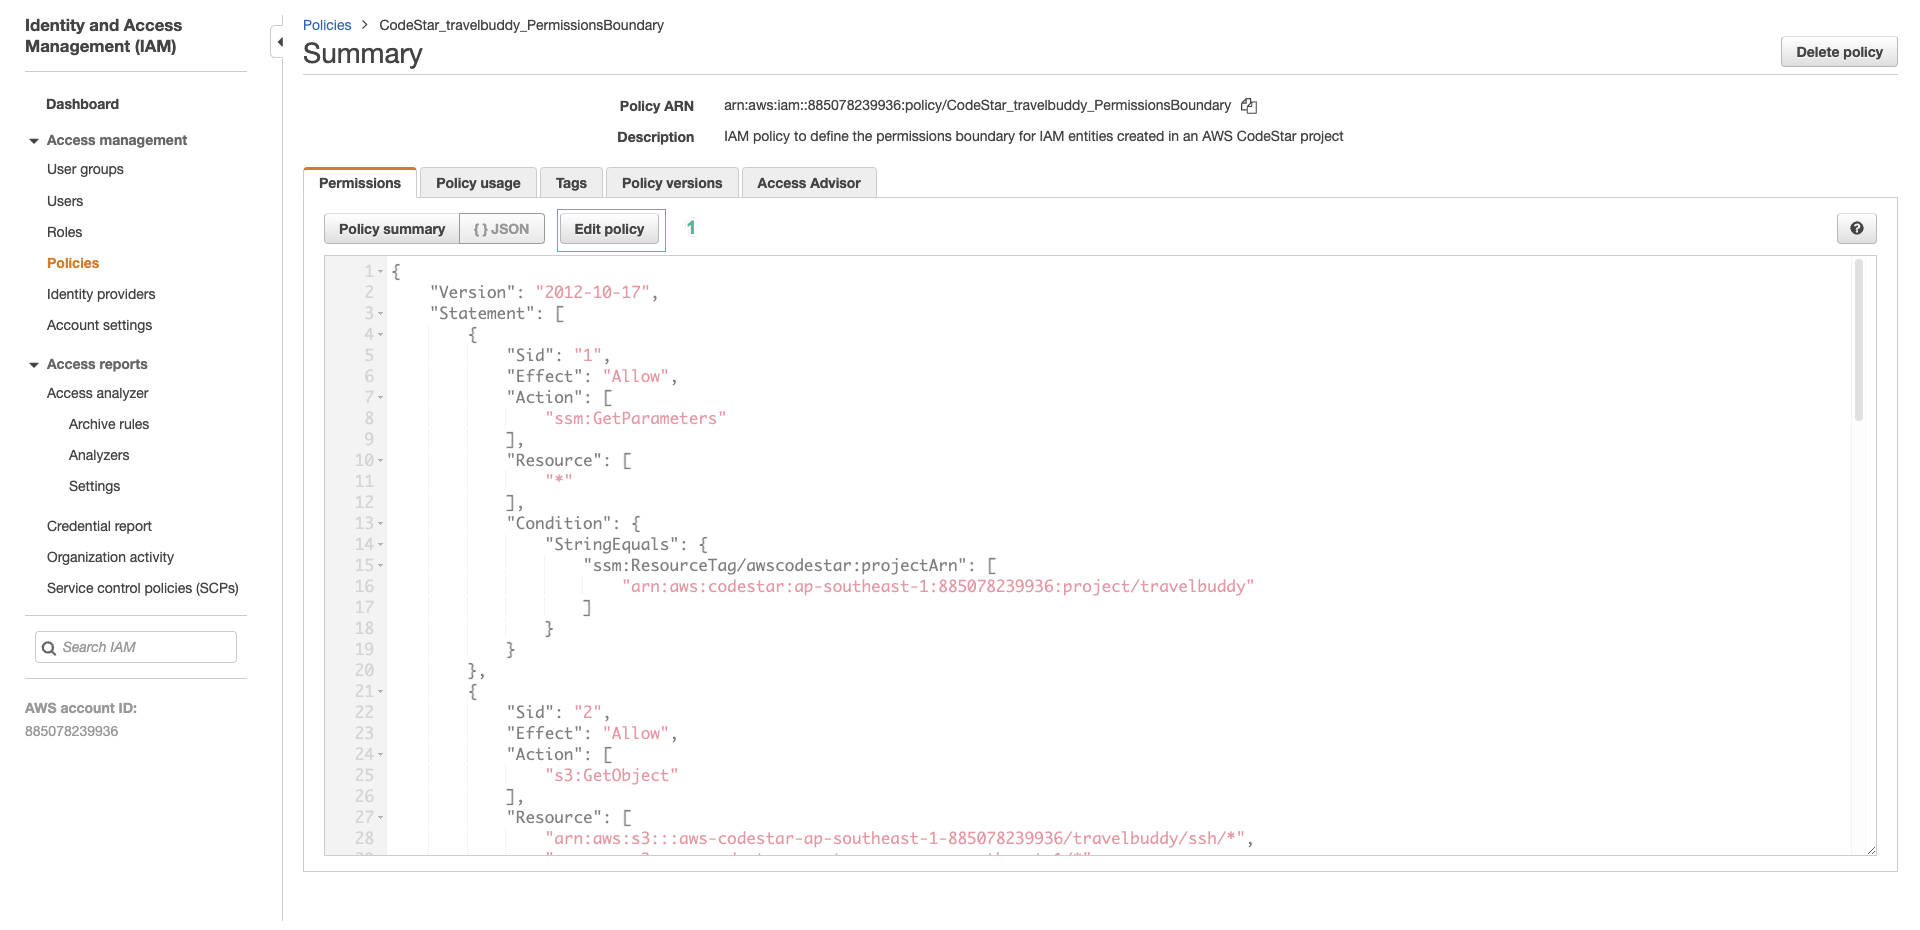
- In the editor, select JSON and add the following policy:
        {
            "Sid": "CBCachePolicy",
            "Effect": "Allow",
            "Action": "s3:*",
            "Resource": [
                "arn:aws:s3:::cachingbucket-<YOURNAME-NO-SPACES>",
                "arn:aws:s3:::cachingbucket-<YOURNAME-NO-SPACES>/*"
            ]
        },
- Select Review policy
-
Select Save changes.
-
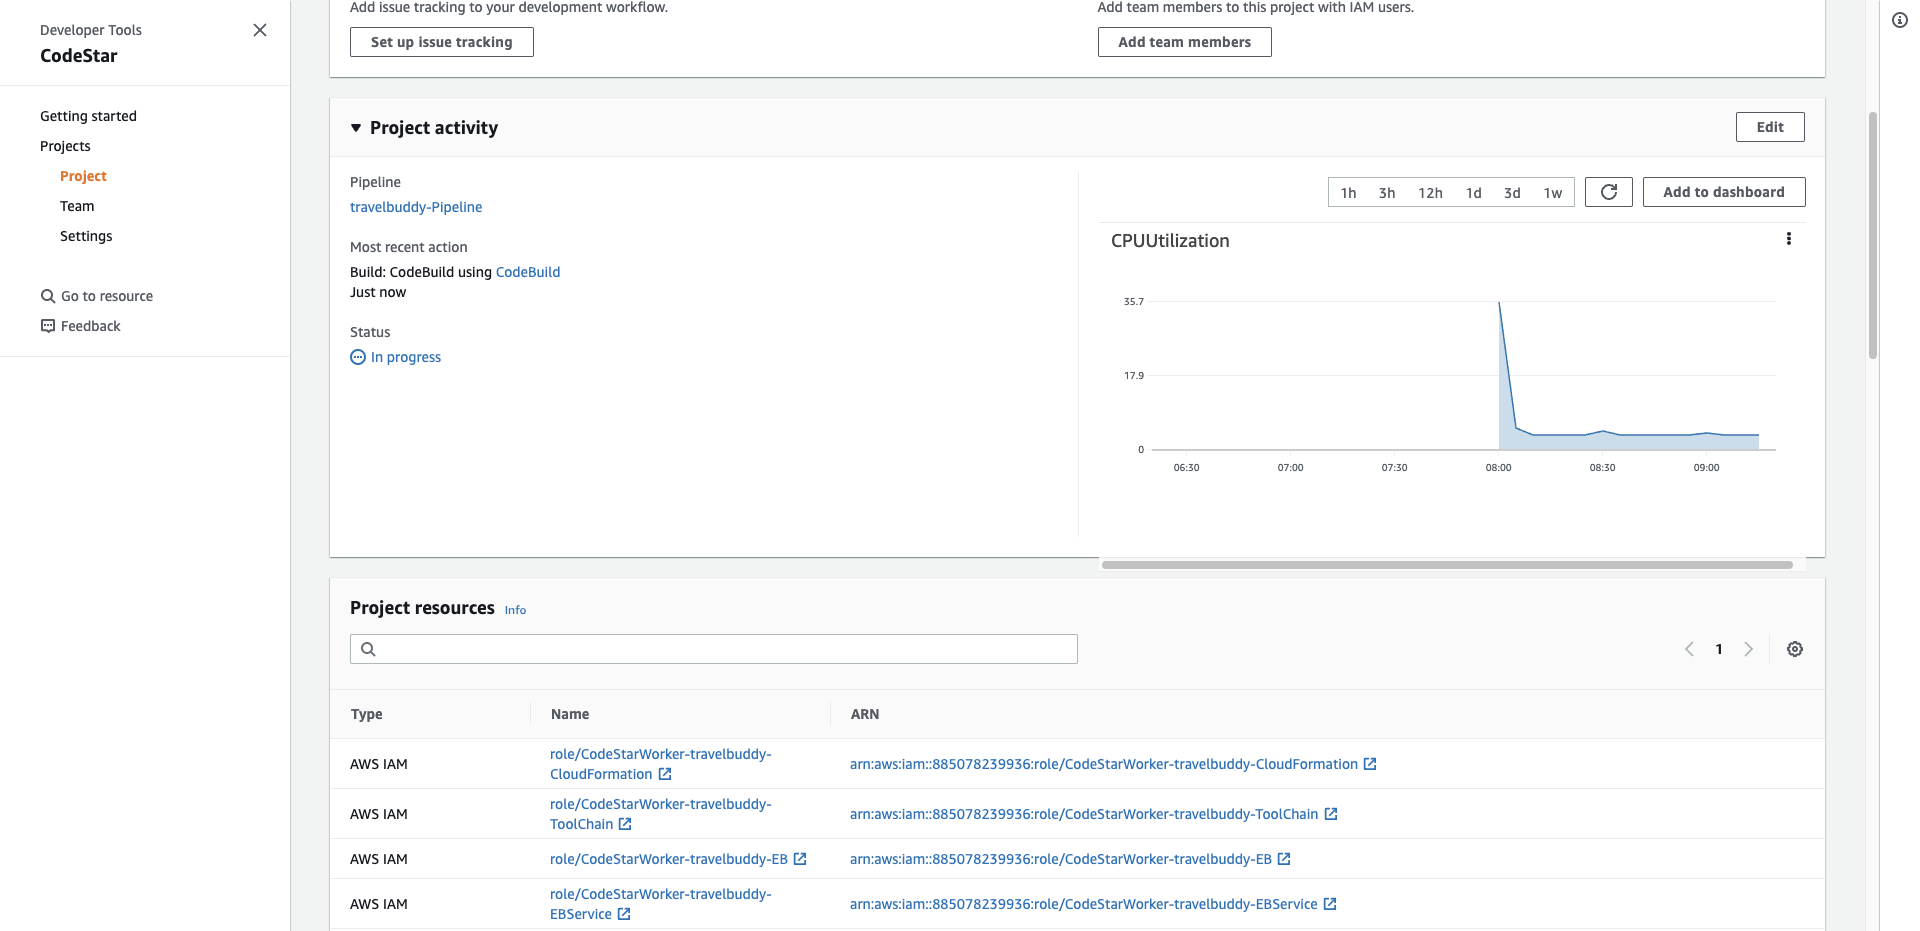
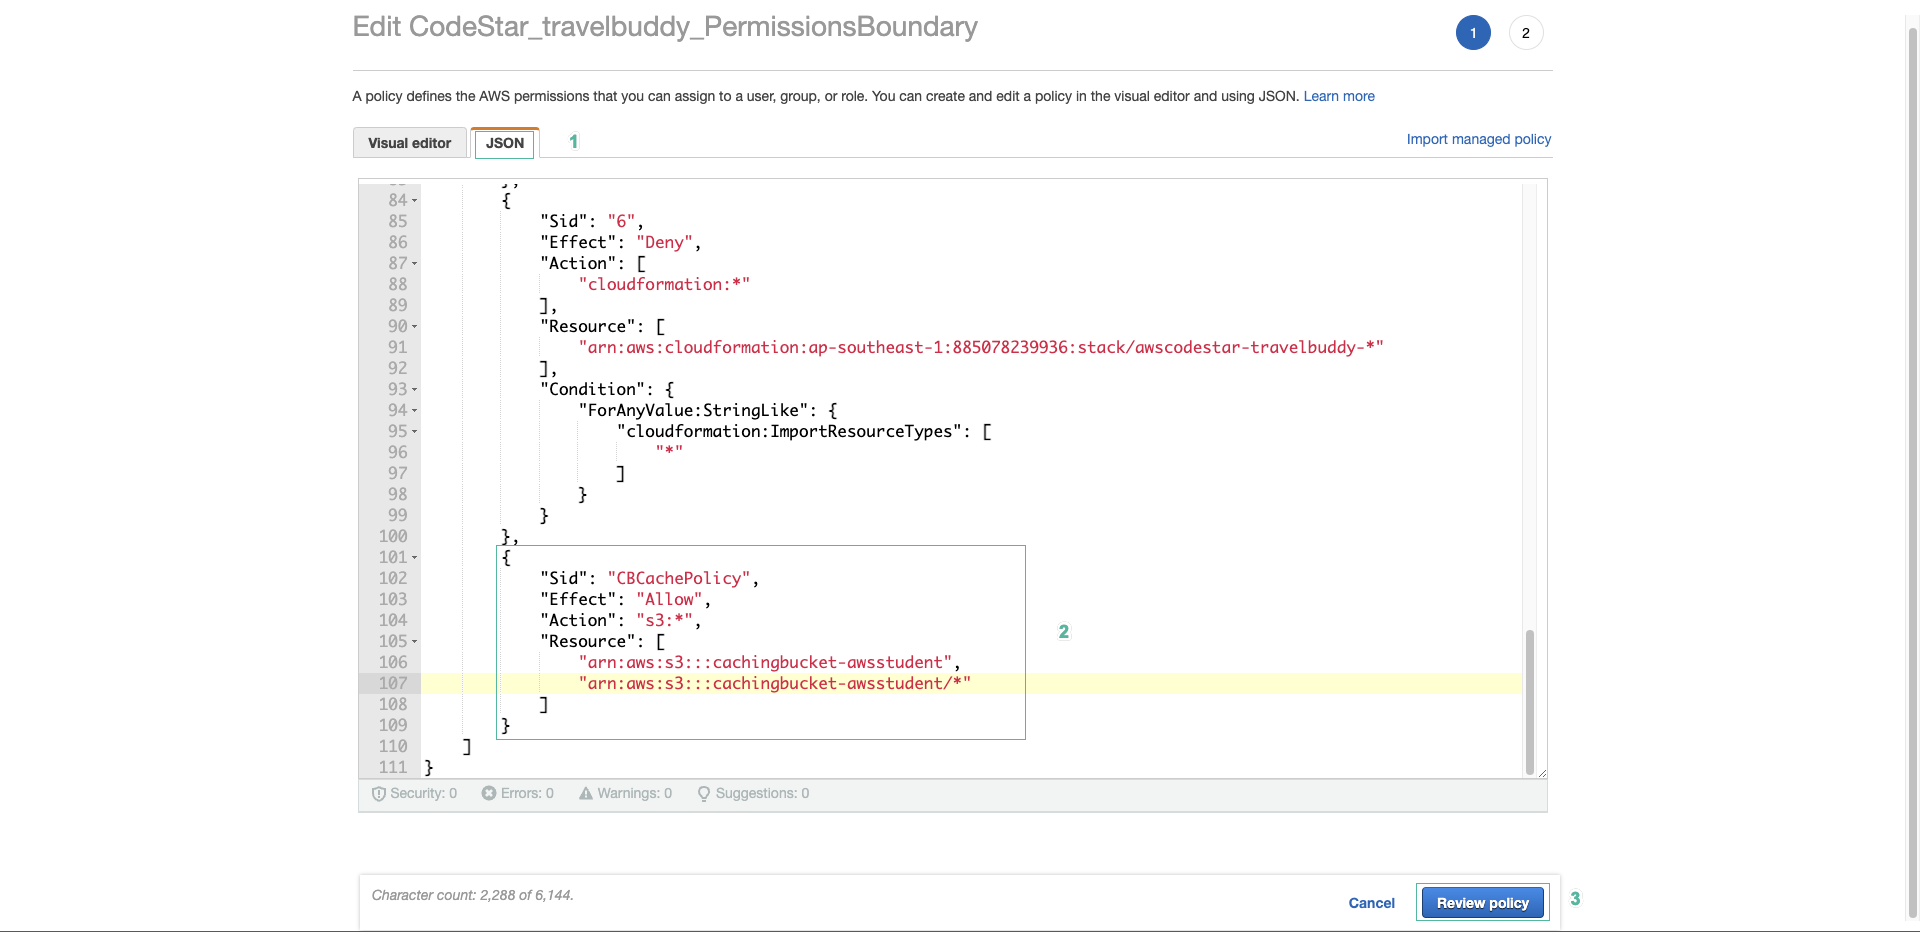
Open AWS Codestar and select your project’s Pipeline tab.
- Select AWS CodeBuild in Build section of Pipeline

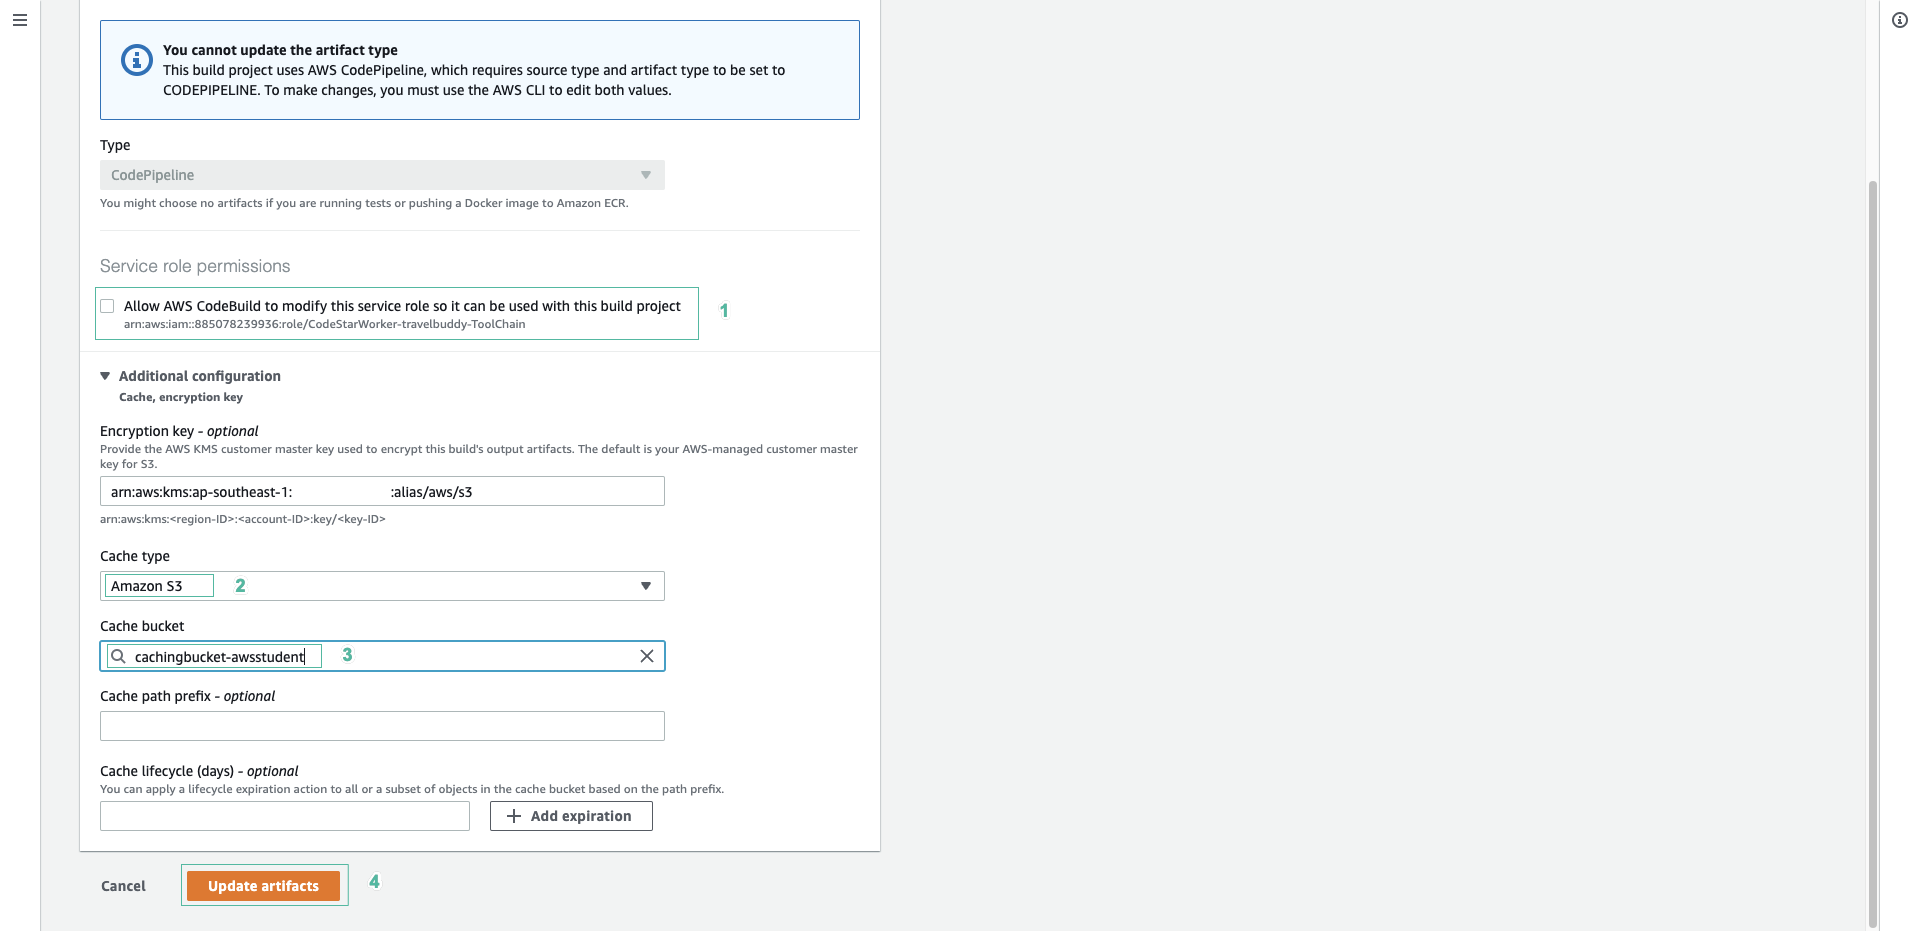
- Select Edit, and select Artifacts
- After Additional Configuration section, unchecked Allow AWS CodeBuild to modify this service role so it can be used with this build project
- Select Amazon S3 for Cache type.
- Select the bucket you created to store cache.
- Click Update artifacts
- After deployment, select Application Endpoint on the CodeStar dashboard page. You will see the TravelBuddy website deployed on an Elastic Beanstalk environment.