Thử thách
Thử thách - Thay đổi mã nguồn ứng dụng
Trong thử thách này, bạn sẽ thực hiện một thay đổi đối với ứng dụng BeanstalkManager để tạo tự động một ứng dụng Elastic Beanstalk, Môi trường và Version. Đây là những tác vụ được CodePipeline hoàn thành khi bạn chọn Elastic Beanstalk để triển khai. Điều này sẽ cung cấp cho bạn một số hiểu biết về lợi ích của việc sử dụng Công cụ dành cho nhà phát triển AWS để cung cấp và triển khai các ứng dụng của bạn cũng như các tính năng mạnh mẽ mà chúng cung cấp. Để bắt đầu, bạn có thể tham khảo tài liệu Java SDK tại đường dẫn http://docs.aws.amazon.com/AWSJavaSDK/latest/javadoc/com/amazonaws/services/elasticbeanstalk/AWSElasticBeanstalkClient.html
Bạn sẽ cần tạo một ứng dụng
public void CreateApp()
{
	CreateApplicationRequest request = new CreateApplicationRequest()
			.withApplicationName("my-app")
			.withDescription("my application");
	CreateApplicationResult response = eb.createApplication(request);
	System.out.print("my-app created!");
	System.out.print(response);
}
Tiếp theo, bạn sẽ cần phải đóng gói artifact triển khai của mình (có thể là trang TravelBuddy mà chúng tôi đang sử dụng hoặc bạn có thể tạo ứng dụng web java của riêng mình) và tải tệp WAR đó lên S3. Bạn đã học cách tải tệp lên bộ chứa S3 theo chương trình trong bài thực hành đầu tiên của khóa học này. Trong phần hướng dẫn dưới đây, tập tin sample.war là một ứng dụng java đã được đóng gói và tải lên S3 bucket có tên mybucket1234567890. Để tạo một instance trong Elastic Beanstalk, ta viết hàm CreateAppVersion() như sau:
private CreateApplicationRequest withApplicationName(String string)
{
	return null;
}
public void CreateAppVersion()
{
	CreateApplicationVersionRequest request = new CreateApplicationVersionRequest()
			.withApplicationName("my-app")
			.withAutoCreateApplication(true)
			.withDescription("my-app-v1")
			.withProcess(true)
			.withSourceBundle(
					new S3Location().withS3Bucket("mybucket1234567890").withS3Key(
							"sample.war")).withVersionLabel("v1");
	CreateApplicationVersionResult response = eb.createApplicationVersion(request);
}
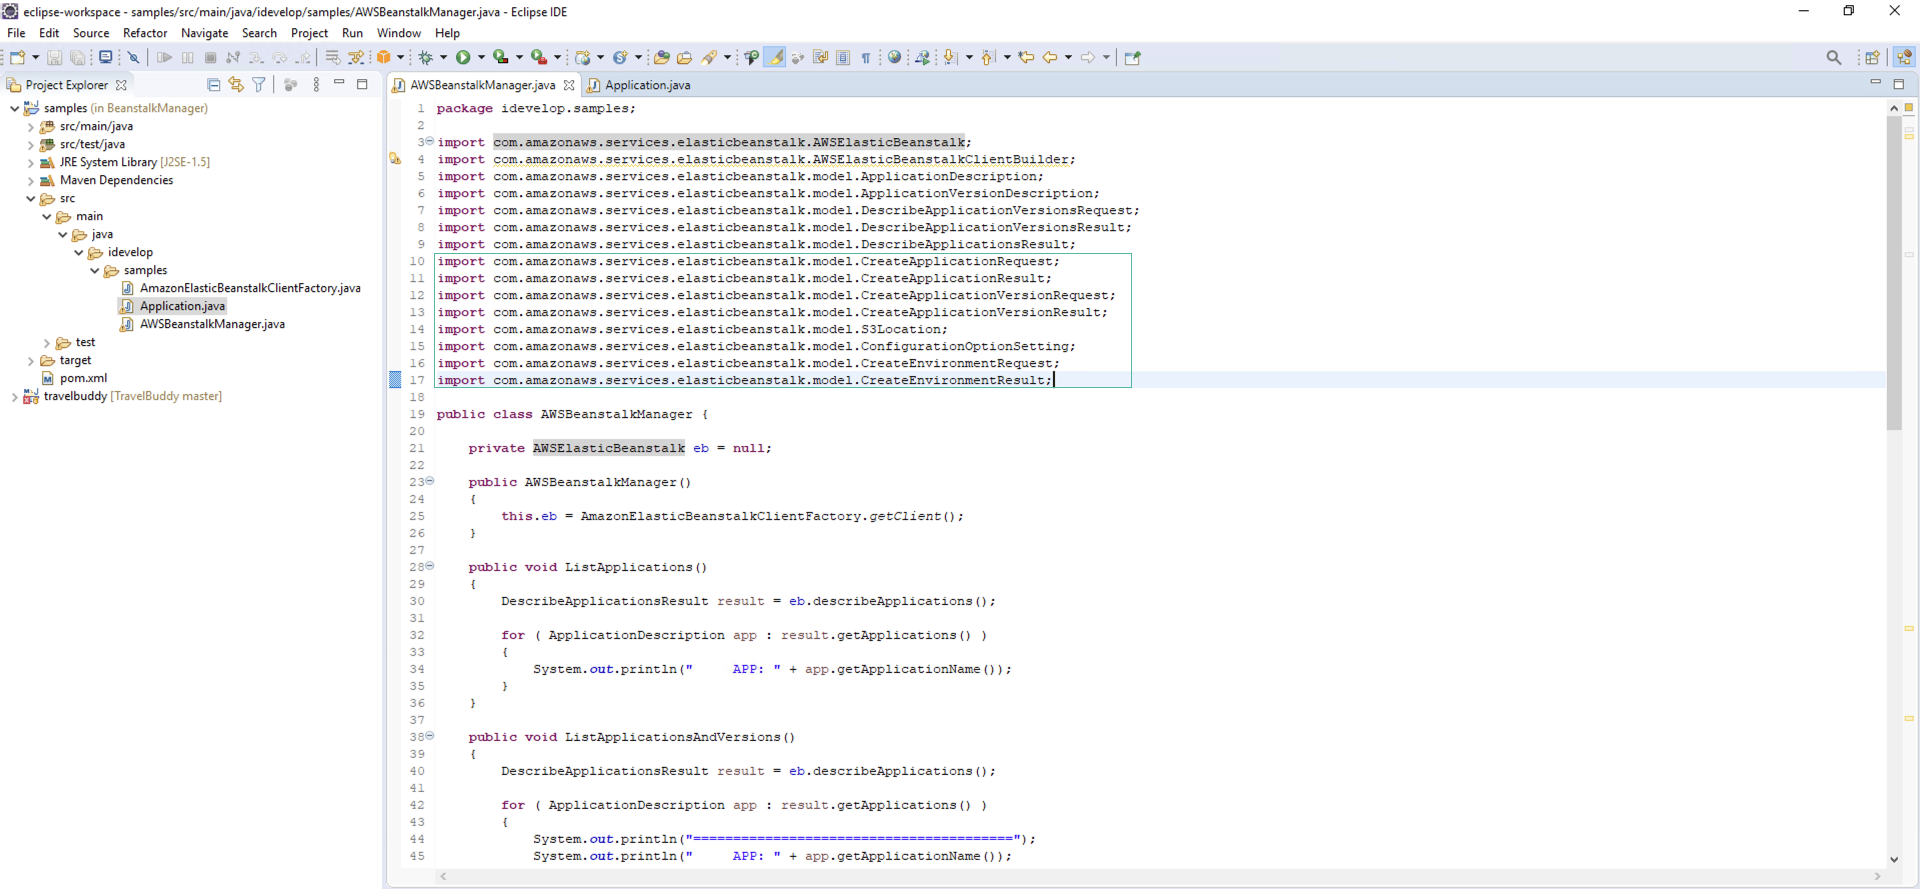
Import thêm các thư viện cần thiết
import com.amazonaws.services.elasticbeanstalk.model.CreateApplicationRequest;
import com.amazonaws.services.elasticbeanstalk.model.CreateApplicationResult;
import com.amazonaws.services.elasticbeanstalk.model.CreateApplicationVersionRequest;
import com.amazonaws.services.elasticbeanstalk.model.CreateApplicationVersionResult;
import com.amazonaws.services.elasticbeanstalk.model.S3Location;
Tiếp theo, ta cần tạo môi trường cho ứng dụng này.
public void CreateEnviroment()
{
	ConfigurationOptionSetting cos = new ConfigurationOptionSetting("aws:autoscaling:launchconfiguration","IamInstanceProfile","aws-elasticbeanstalk-ec2-role");
	CreateEnvironmentRequest request = new CreateEnvironmentRequest()
			.withApplicationName("my-app")
			.withEnvironmentName("env-my-app")
			.withSolutionStackName("64bit Amazon Linux 2 v3.1.7 running Corretto 8")
			.withOptionSettings(cos);
	CreateEnvironmentResult response = eb.createEnvironment(request);
	System.out.print(response);

}
Và import các thư viện sau:
import com.amazonaws.services.elasticbeanstalk.model.ConfigurationOptionSetting;
import com.amazonaws.services.elasticbeanstalk.model.CreateEnvironmentRequest;
import com.amazonaws.services.elasticbeanstalk.model.CreateEnvironmentResult;
Ta có toàn bộ các thư viện cần import:
import com.amazonaws.services.elasticbeanstalk.model.CreateApplicationRequest;
import com.amazonaws.services.elasticbeanstalk.model.CreateApplicationResult;
import com.amazonaws.services.elasticbeanstalk.model.CreateApplicationVersionRequest;
import com.amazonaws.services.elasticbeanstalk.model.CreateApplicationVersionResult;
import com.amazonaws.services.elasticbeanstalk.model.S3Location;
import com.amazonaws.services.elasticbeanstalk.model.ConfigurationOptionSetting;
import com.amazonaws.services.elasticbeanstalk.model.CreateEnvironmentRequest;
import com.amazonaws.services.elasticbeanstalk.model.CreateEnvironmentResult;
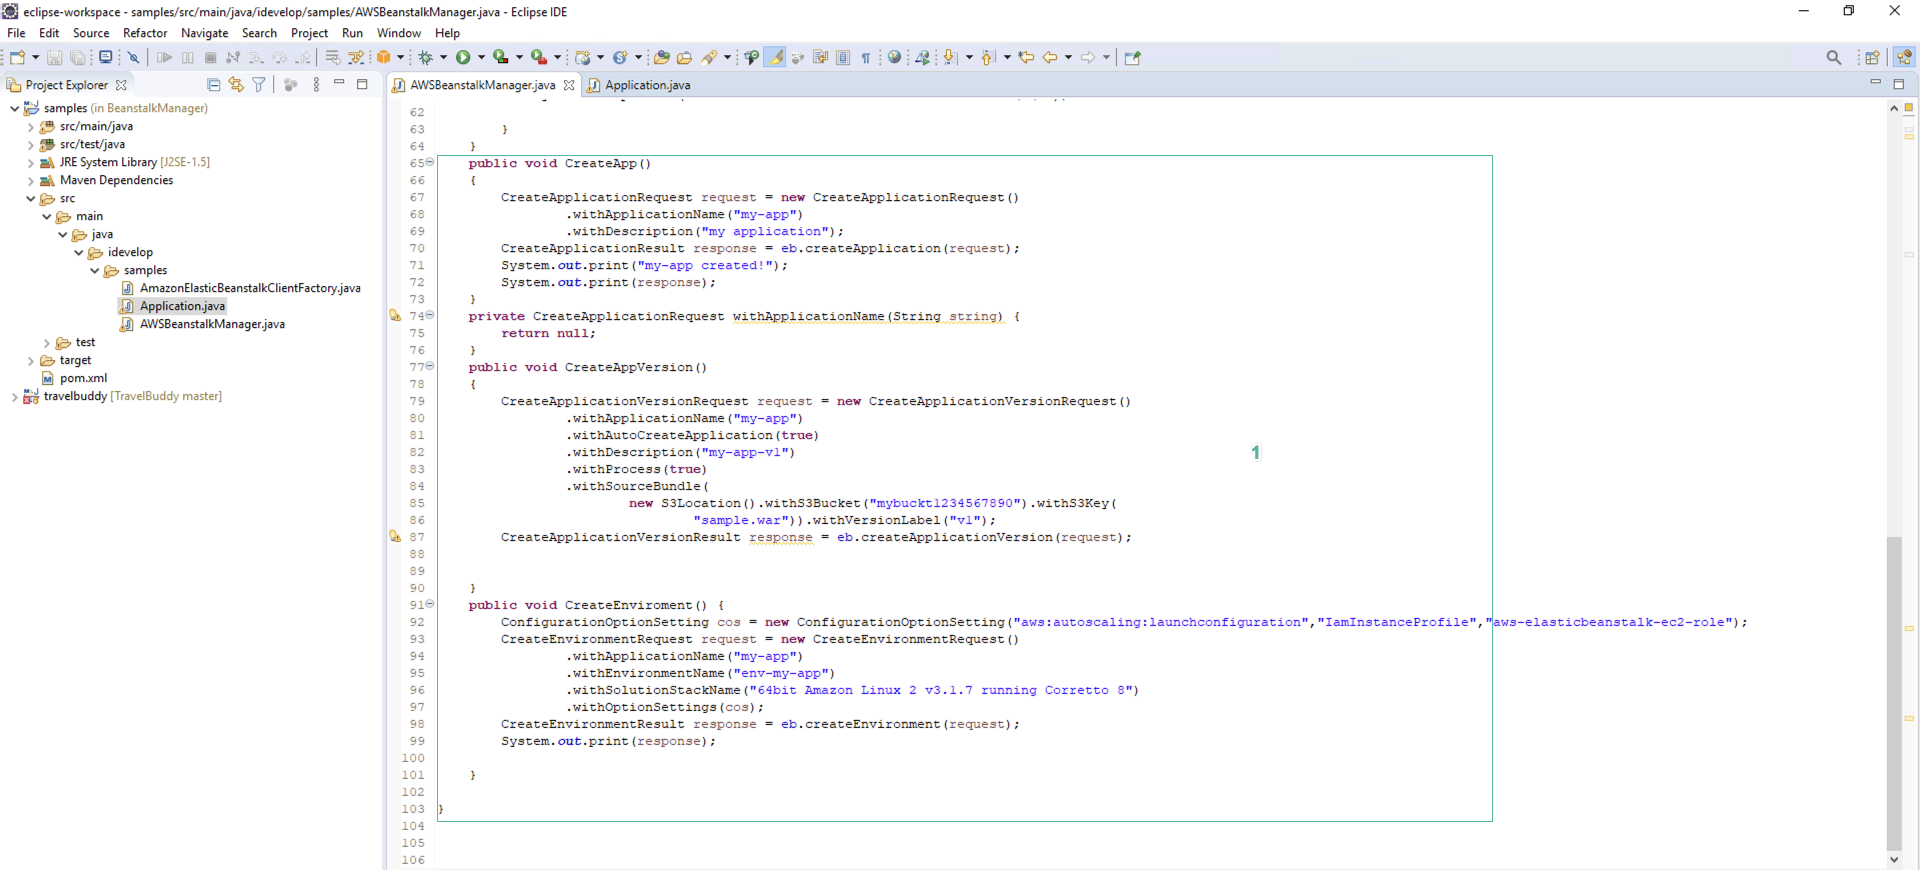
Và toàn bộ đoạn code tạo Application và Environment như sau:
public void CreateApp(){
	CreateApplicationRequest request = new CreateApplicationRequest()
			.withApplicationName("my-app")
			.withDescription("my application");
	CreateApplicationResult response = eb.createApplication(request);
	System.out.print("my-app created!");
	System.out.print(response);
}
private CreateApplicationRequest withApplicationName(String string) {
	return null;
}
public void CreateAppVersion()
{
	CreateApplicationVersionRequest request = new CreateApplicationVersionRequest()
			.withApplicationName("my-app")
			.withAutoCreateApplication(true)
			.withDescription("my-app-v1")
			.withProcess(true)
			.withSourceBundle(
					new S3Location().withS3Bucket("mybuckt1234567890").withS3Key(
							"sample.war")).withVersionLabel("v1");
	CreateApplicationVersionResult response = eb.createApplicationVersion(request);


}
public void CreateEnviroment() {
	ConfigurationOptionSetting cos = new ConfigurationOptionSetting("aws:autoscaling:launchconfiguration","IamInstanceProfile","aws-elasticbeanstalk-ec2-role");
	CreateEnvironmentRequest request = new CreateEnvironmentRequest()
			.withApplicationName("my-app")
			.withEnvironmentName("env-my-app")
			.withSolutionStackName("64bit Amazon Linux 2 v3.1.7 running Corretto 8")
			.withOptionSettings(cos);
	CreateEnvironmentResult response = eb.createEnvironment(request);
	System.out.print(response);

}
Gọi hai hàm này trong tập tin Application.java
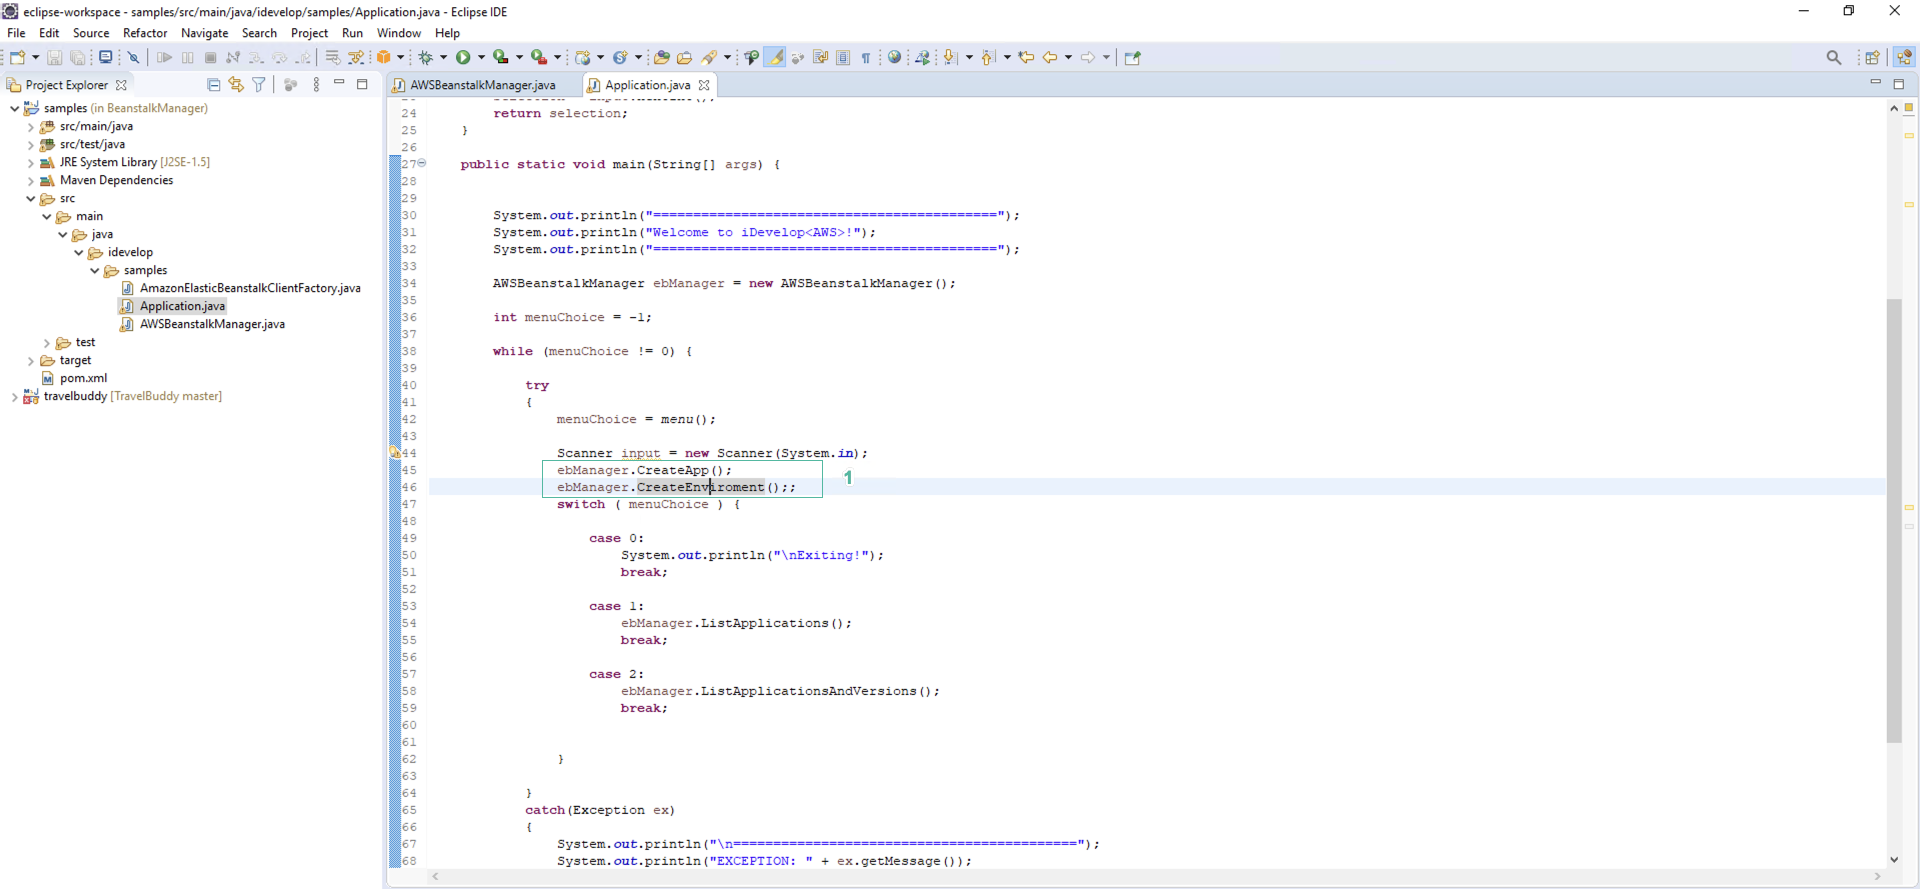
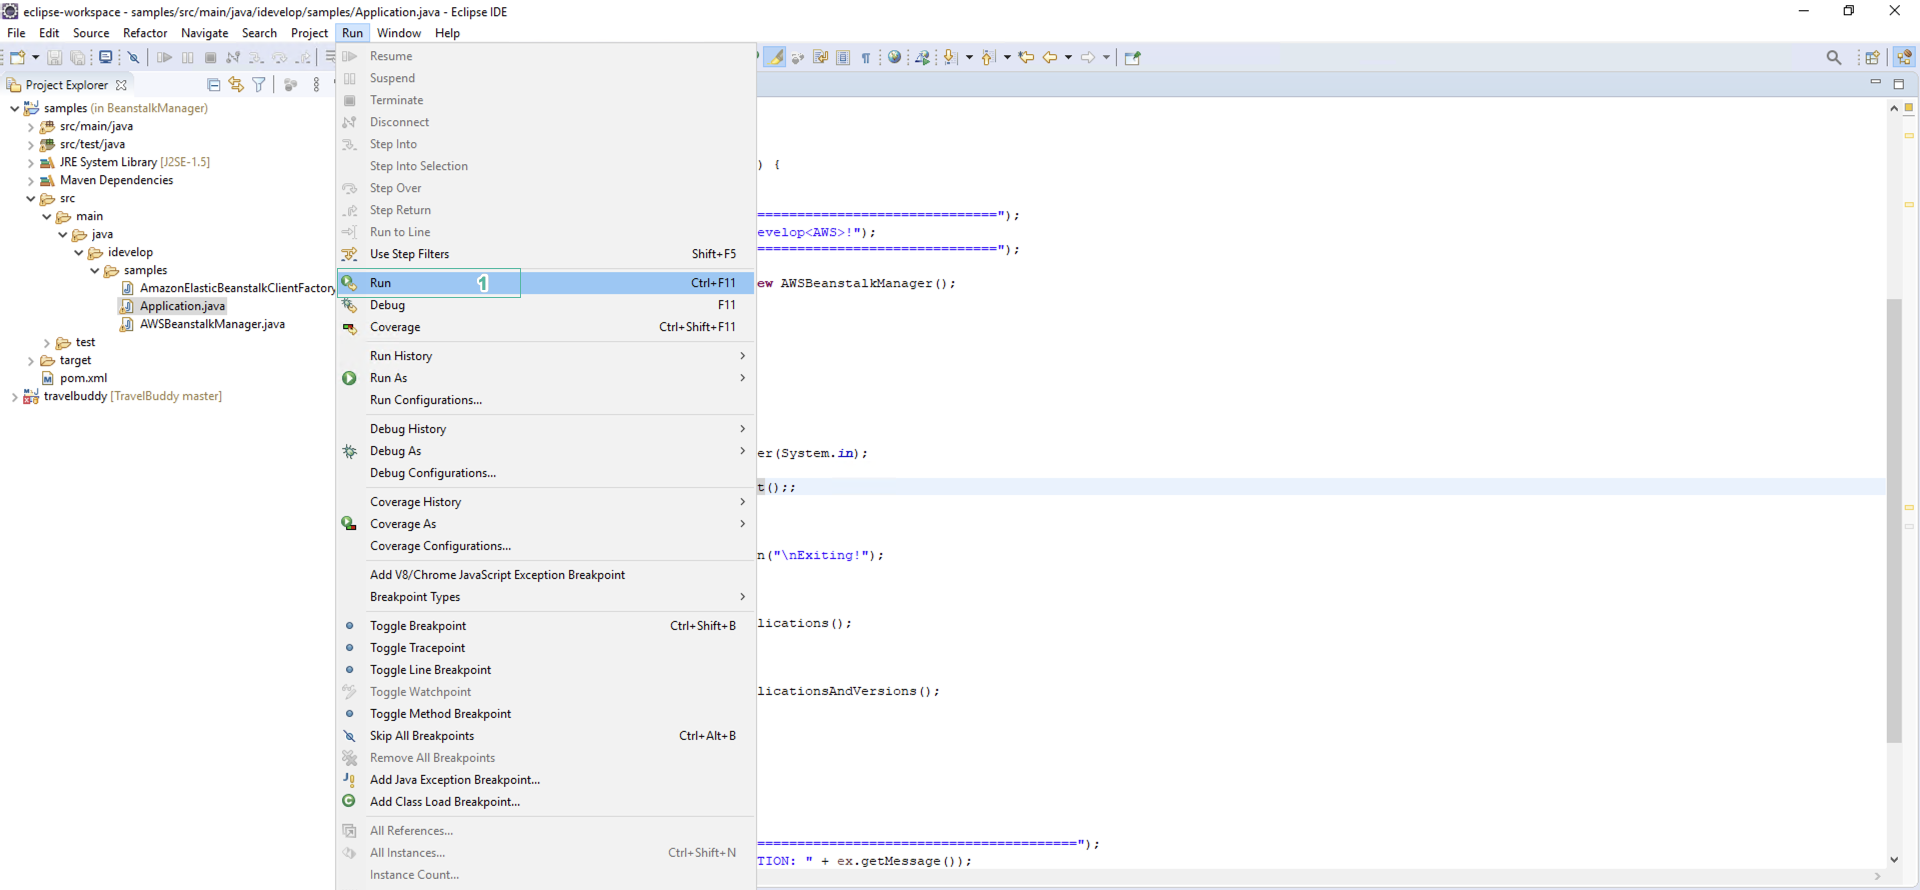
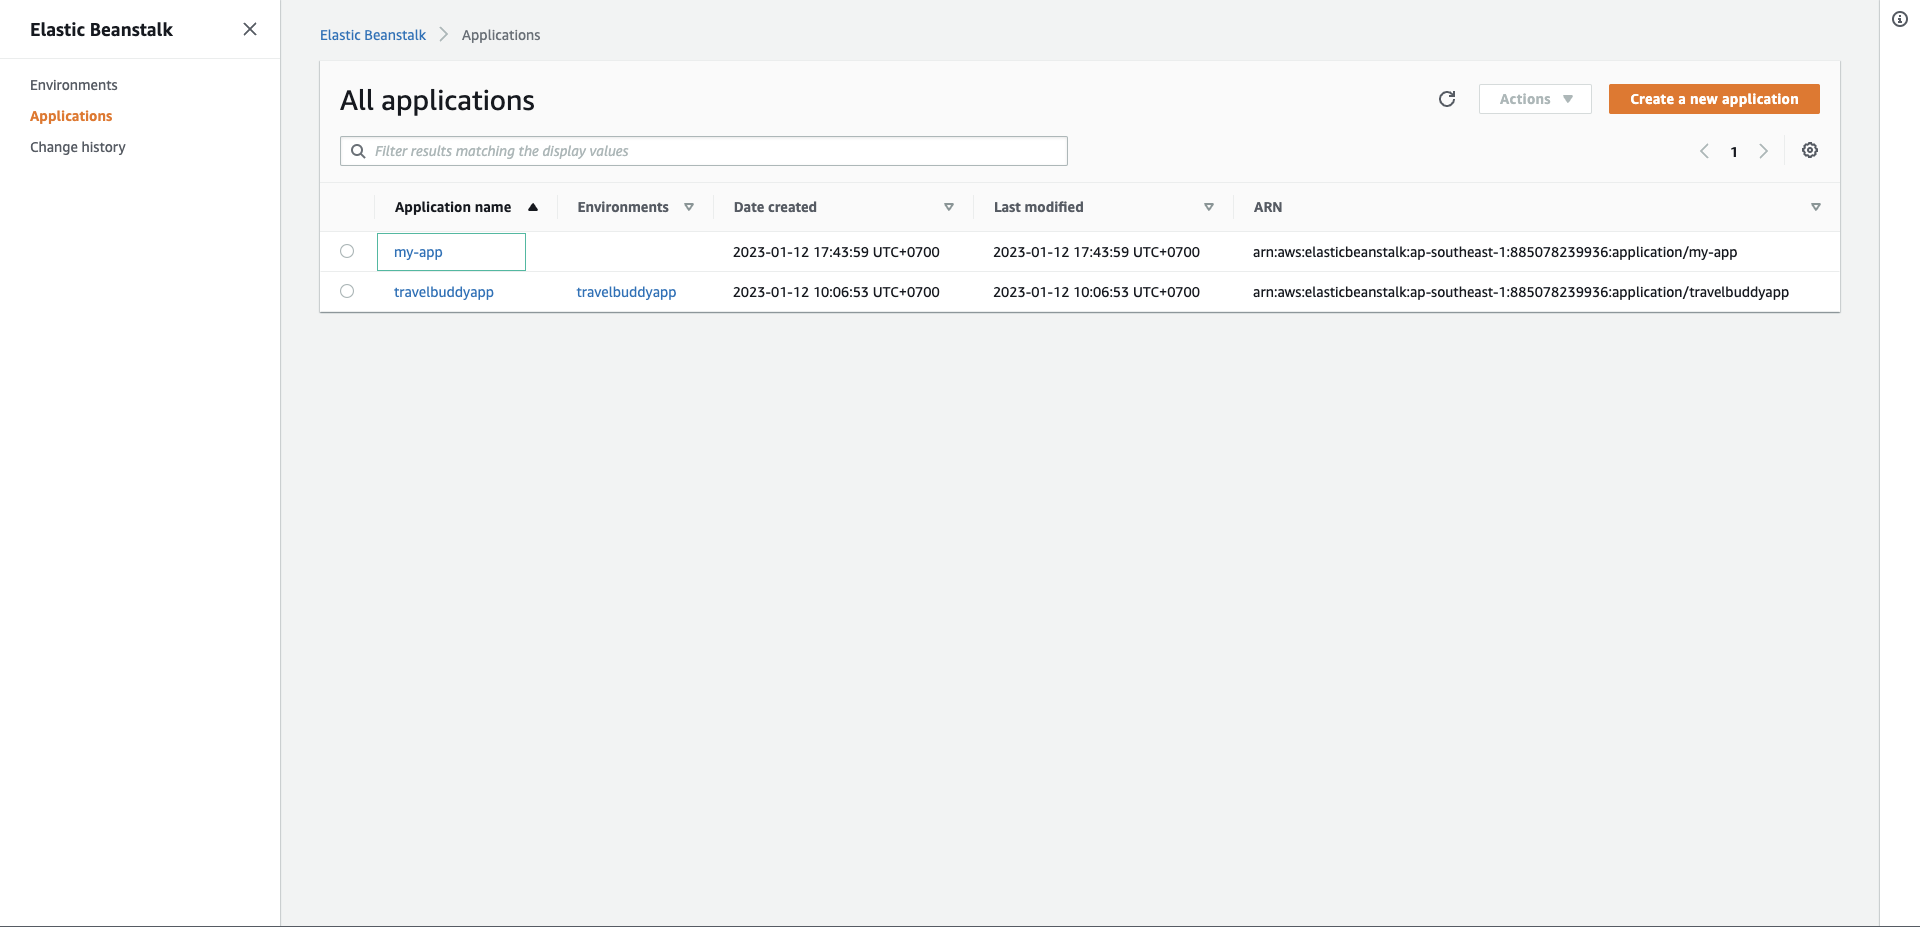
Dùng lệnh mvn install hoặc chọn Ctrl + F11 để khởi chạy chương trình. Sau khi chạy thành công, ta được một ứng dụng my-app được triển khai trên môi trường env-my-app.
Nếu gặp lỗi trong quá trình chạy chương trình liên quan tới tạo môi trường cho ứng dụng tương tự như SolutionStackName 64bit Amazon Linux 2 v3.1.7 running Corretto 8 not found, bạn cần cập nhật Solution Stack Name.
Mở CLI và chạy lệnh aws elasticbeanstalk list-available-solution-stacks |grep Corretto để liệt kê các Solution Stack Name corretto hiện có. Chọn Solution Stack Name Coretto 8 phù hợp